
DIY, Pinatas, The Amazing Race
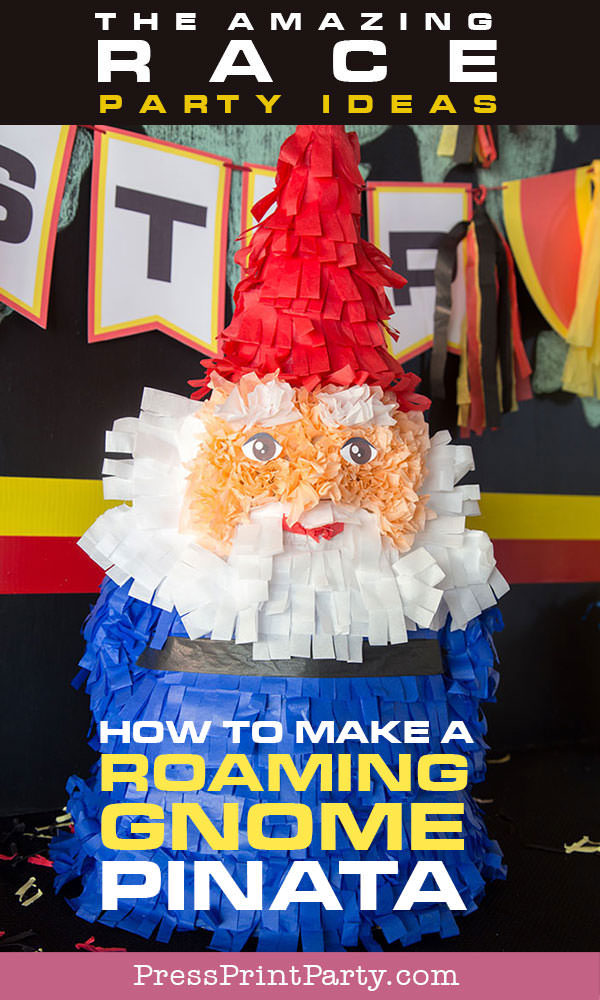
How to Make a Roaming Gnome Piñata for an Amazing Race Party
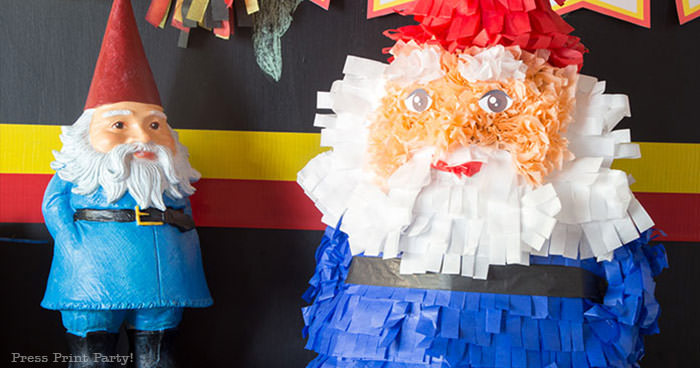
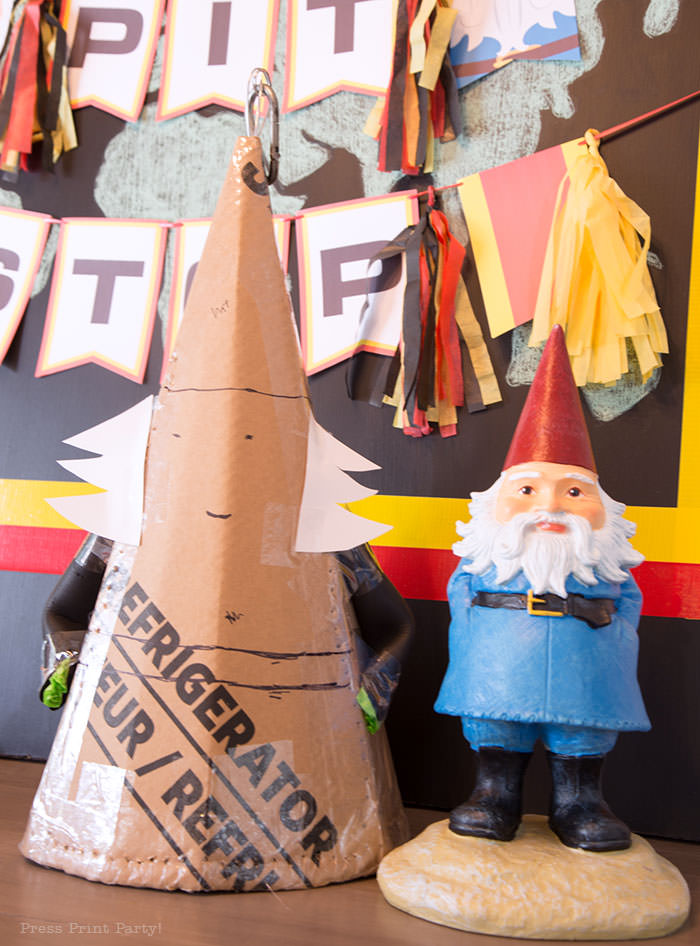
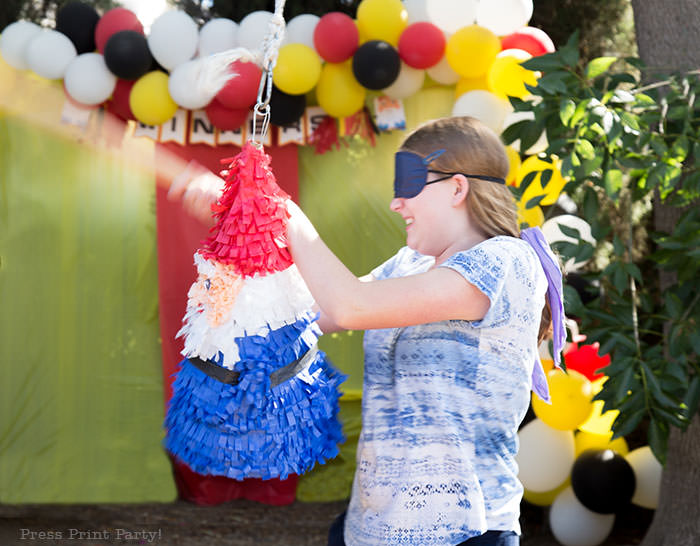
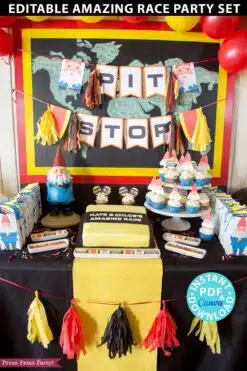
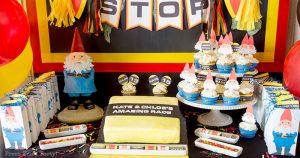
Our Roaming Gnome piñata was one of the highlights of our Amazing Race Party.
The Roaming Gnome is one of the icons of the Amazing Race. So when throwing an Amazing Race party it was almost a requirement that we had to have a piñata that looked like him.
Not a big surprise, nobody sells Roaming Gnome piñatas. So we had to make our own. I wanted it to match the Travelocity Roaming Gnome and the Amazing Race printable set that I”d created.
So…….I suggested that my husband do it.
How to Make the Body of the Gnome Piñata
My husband usually builds the body and I decorate. He’s not an especially handy, manly-man kind of guy but the piñatas are an opportunity for him to flex some creative, stuff-building muscle. Our girls, and all of their friends, are teenagers so when they get a bat in their hands they can really do some damage. A delicate, little, store-bought piñata won’t do it anymore. But he takes it to the nth degree and tries to make the piñatas indestructible. Some people would use masking tape. He uses packaging tape. Some folks would poke the ends of a wire coat hanger into the sides to hang it up. He buys a spool of wire and builds a top to bottom wire frame. Some people would just tape paper to the frame. He uses fishing line to sew cardboard to the frame.
I love the guy but he’s clearly touched.
But he sure does make some tough piñatas!
He’s joked that he should switch careers and become a piñatero ( a guy who makes piñatas) for a living. But for all the time it takes, he’d have to sell them for $100 per in order to make any money at it!
So here’s his process for the gnome pinata body, keeping in mind that you don’t have to make it this strong.
Cutting the cardboard into a cone shape
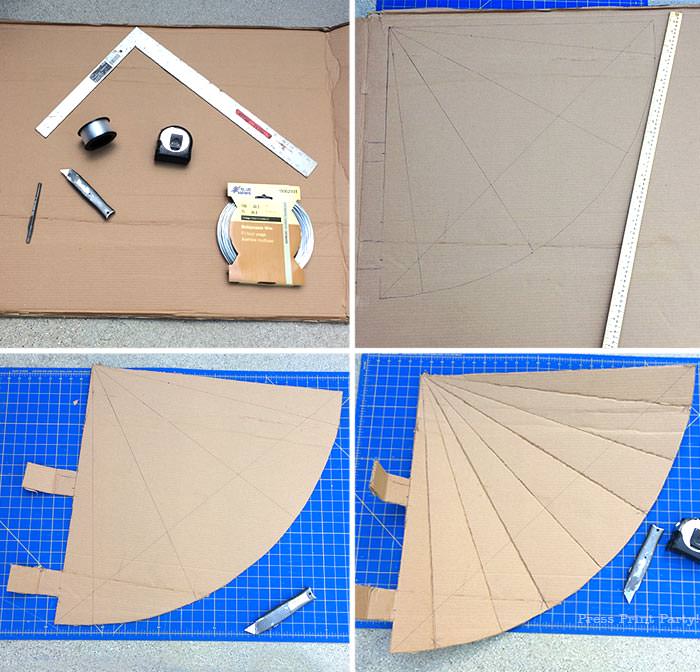
For this piñata, we first got out the cutting mat, the cardboard and all of our tools.
Then we cut the cardboard into a wedge shape with a couple of large tabs and scored several smaller wedges so that the cardboard would curve smoothly into a cone shape.
Make the wire interior frame
Our popcorn box piñata was the first one where he used an interior frame. We had to because our pinatas had the bad habit of falling off the hook before they had really taken much damage. You can see that process better in the popcorn piñata post.
We bought a spool of wire that looked to have the right thickness and bendability and made a couple of large triangles with two loops on the upright sides. The loops would be the anchors for his over the topstitching job.
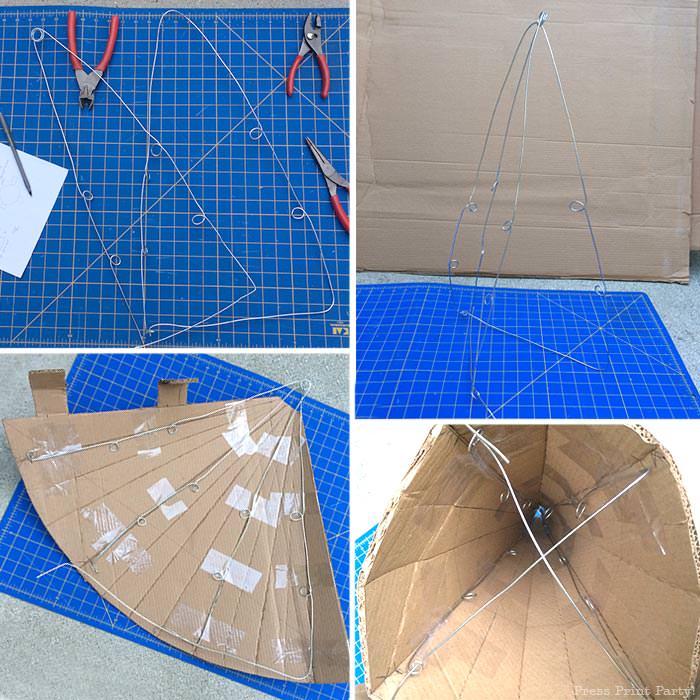
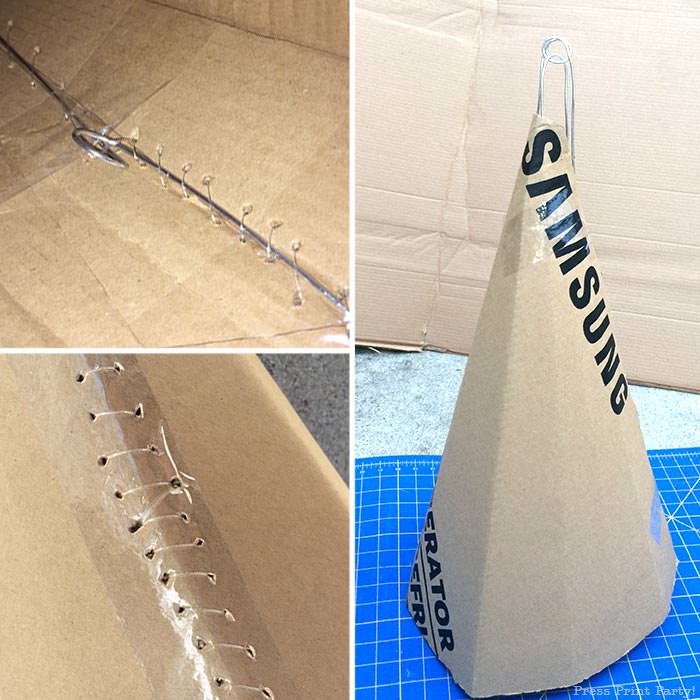
Sew the wire body
Tape the wire frame to the cardboard to keep it in place and get sewing.
Make the bottom and fill with candy
Cut an oversized bottom with plenty of room for tabs. Stich it 90% closed, then fill, a few final stitches and now it’s ready for decoration.
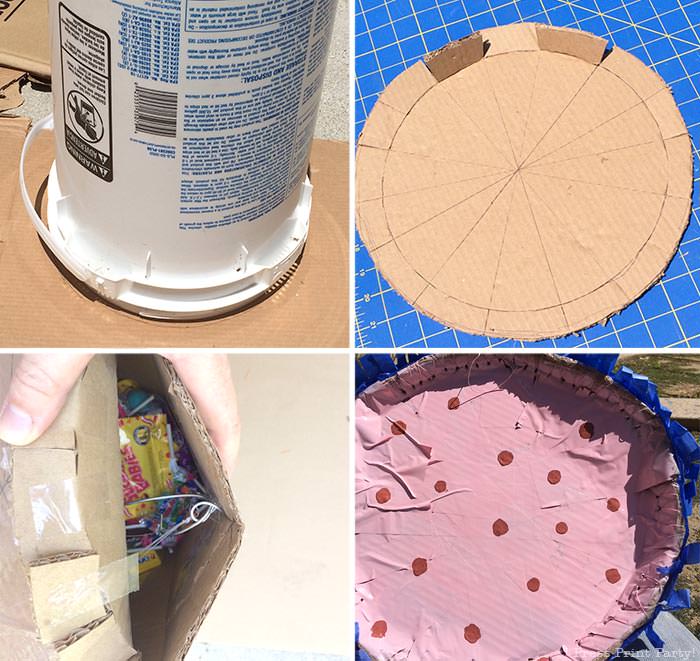
Yes, he painted the bottom pink with pokadots!
Prep the body for the decorations
I had bought an official Travelocity Roaming Gnome to use as a decoration so it served as a model for the piñata. I drew on the body of the piñata where I thought the hat, face, and belt should go.
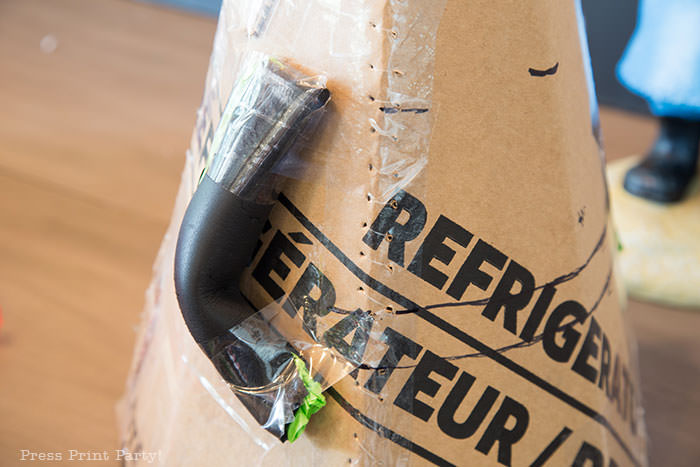
To create the shape of the gnome’s arms, I used some foam tubing insolation that I had laying around the garage. I stuffed it with tissue paper and taped it to the body. To keep the shape of the beard on the sides, I cut some white cardstock in a beard like pattern and taped it to the side of the head.
The whole thing stood at about 2 feet tall.
I also added a curly mustache cardstock template in front that’s not pictured above but you can see a glimpse of it in the picture below.
Decorating the roaming gnome piñata
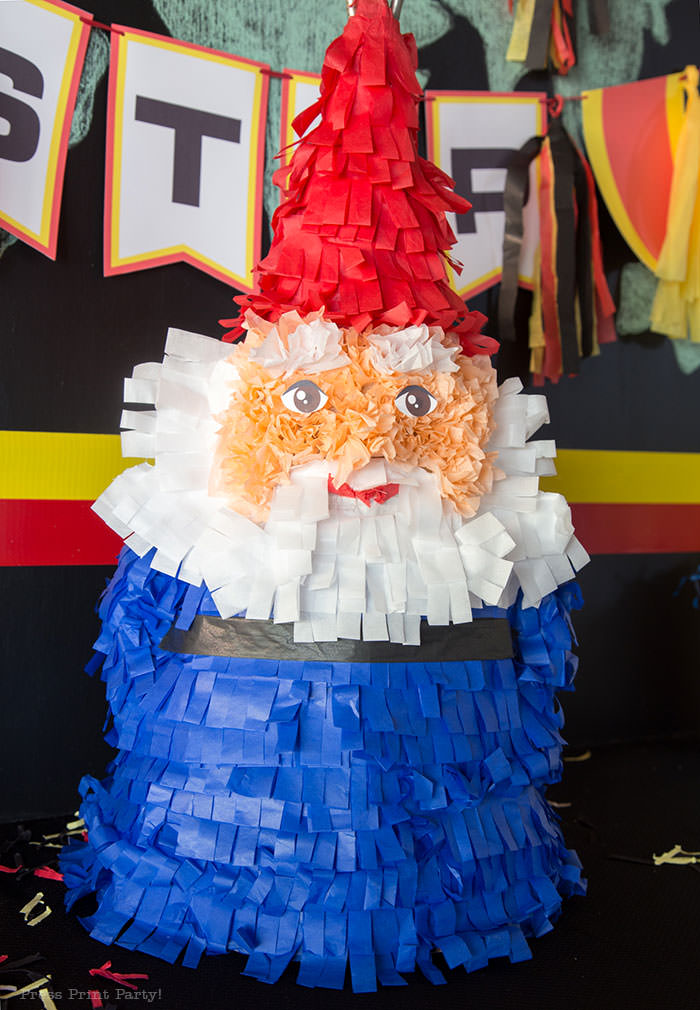
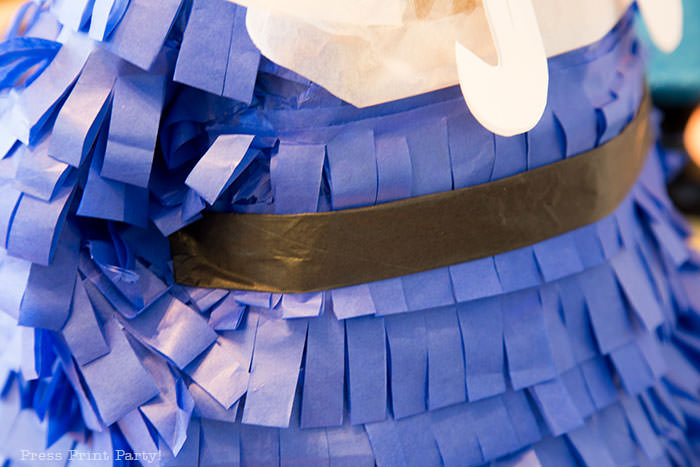
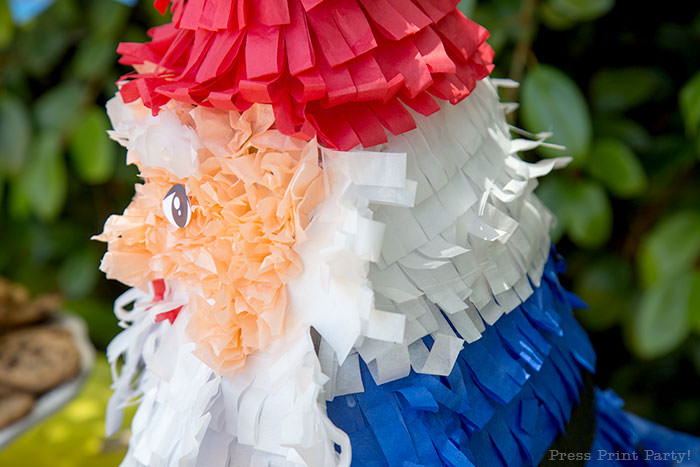
For this piñata, I used tissue paper and the same method I used for the Eiffel Tower piñata. Fold long strips of tissue paper in half and cut fringes. Glue the fringes in a spiral all around the gnome starting at the bottom and stopping at face/beard level. Start with the blue body and add a black belt to go under the arms by folding a long strip of black tissue paper.
Use white fringed strips for the beard and red for the hat and don’t forget to refer back to the model gnome for accuracy.
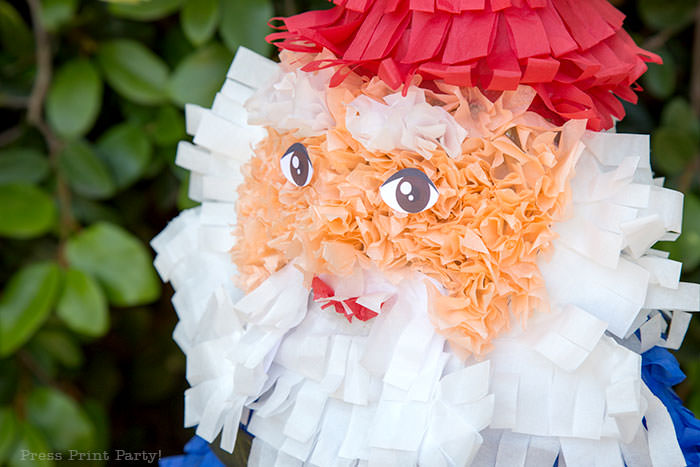
The face is also made with tissue paper but the method here is different. I cut lots of small squares of peach tissue paper, wrapped each one over the eraser end of a pencil and glued the centers close together. For the nose, I used bigger squares of tissue paper so it would protrude.
I used the same method but with the bigger white squares for the eyebrows, and with smaller red squares for the mouth. I printed and glued the eyes at the end. The eyes are available as a free printable at the end of this post.
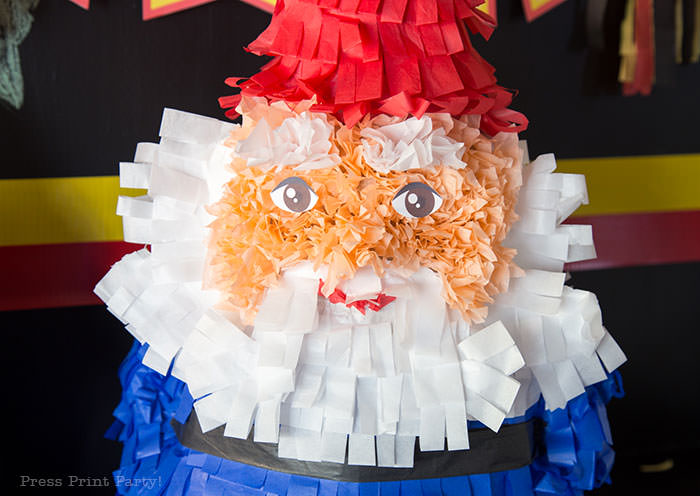
I think they look very much alike.
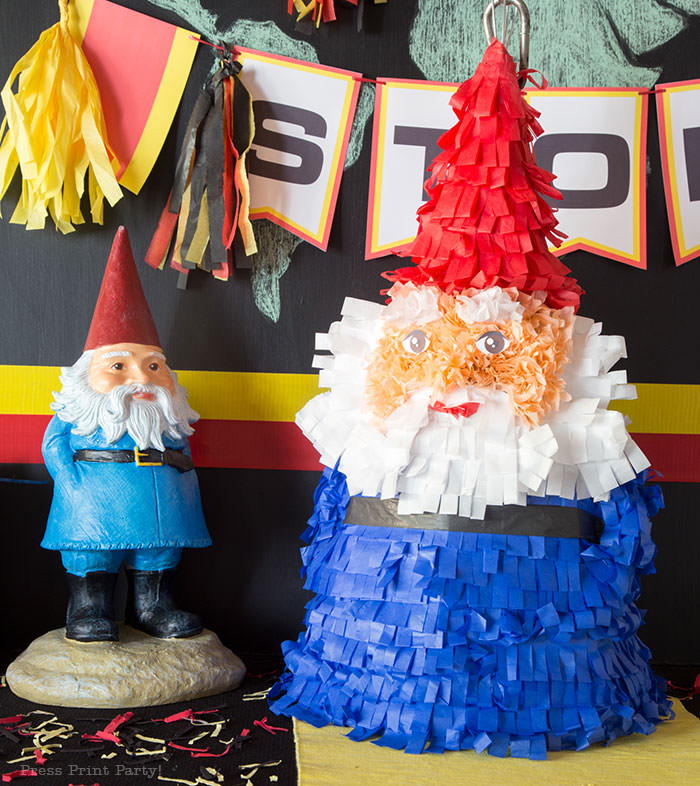
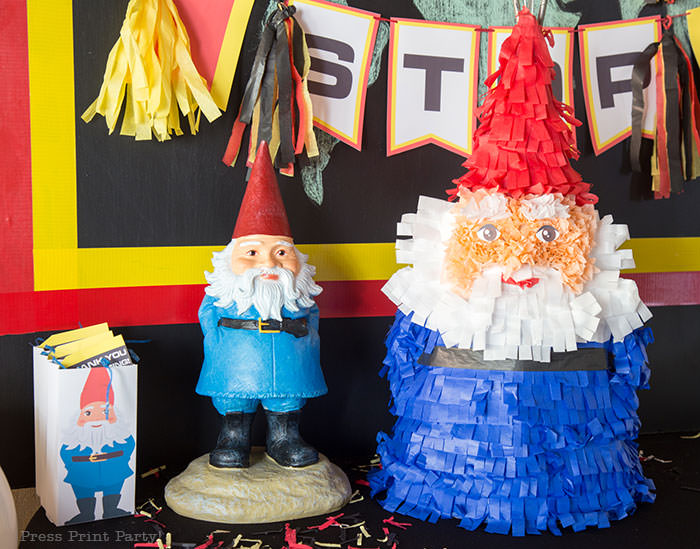
I like to use my piñata as a decoration during the party. This one looked great on the snack table.

We did make feet with more black tubing wrapped in black tissue paper and attached them to the bottom with wire when we hung the piñata. It was a pretty shaky attachment and they were the first thing to go.
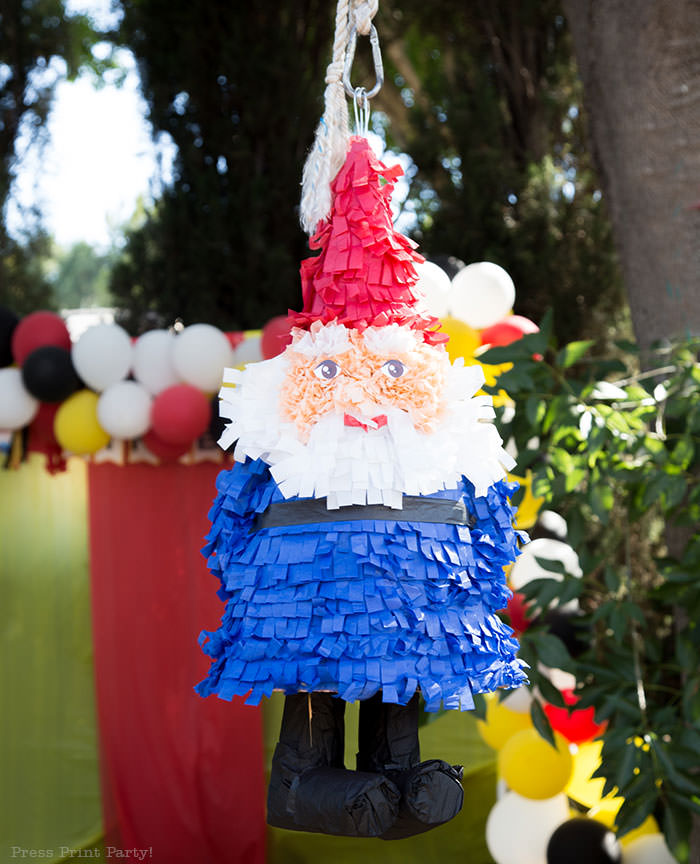
After 20 teenagers gave it a thorough beating a hole finally developed along the bottom and as the gnome spun it sprayed candy (and pennies) all over the yard. It was awesome.

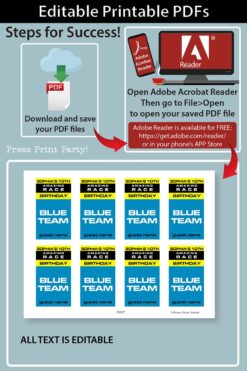
Get Your Freebie:
If you’ve already subscribed, you can get the password from the bottom of any email I send and go directly to the Free Downloads Library.


We are searching for ideas for our office party. Your Gnome is beyond amazing. I fear that it is much more than our skill level. LOVE IT though.