 🎄 Christmas
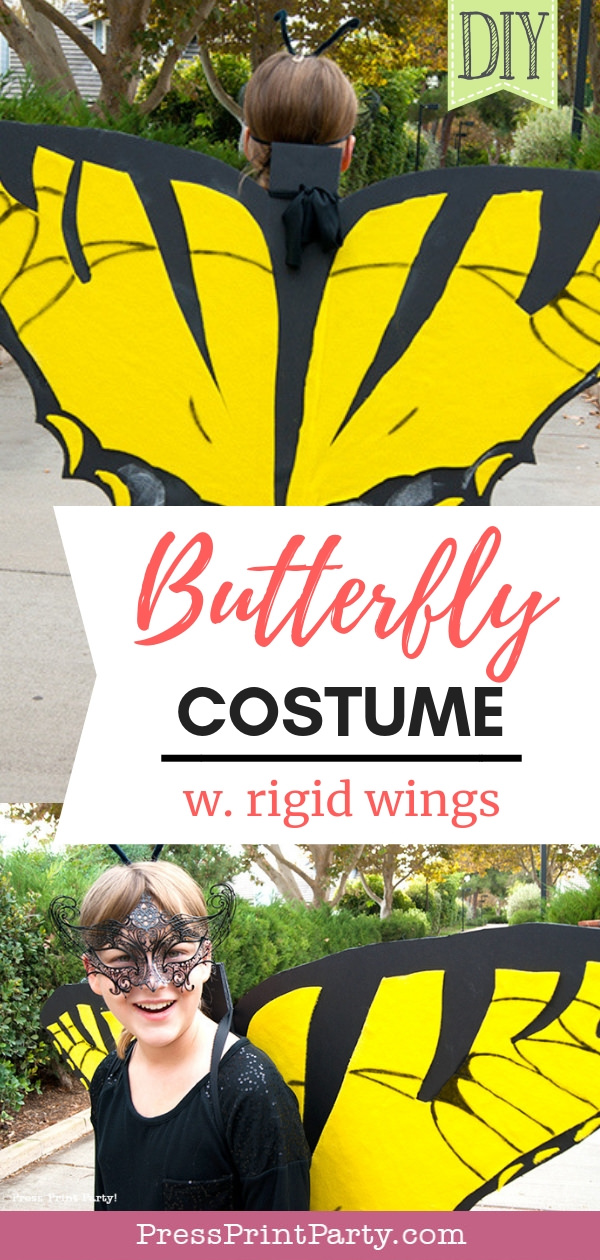
DIY Butterfly Costume for Kids With Rigid Wings
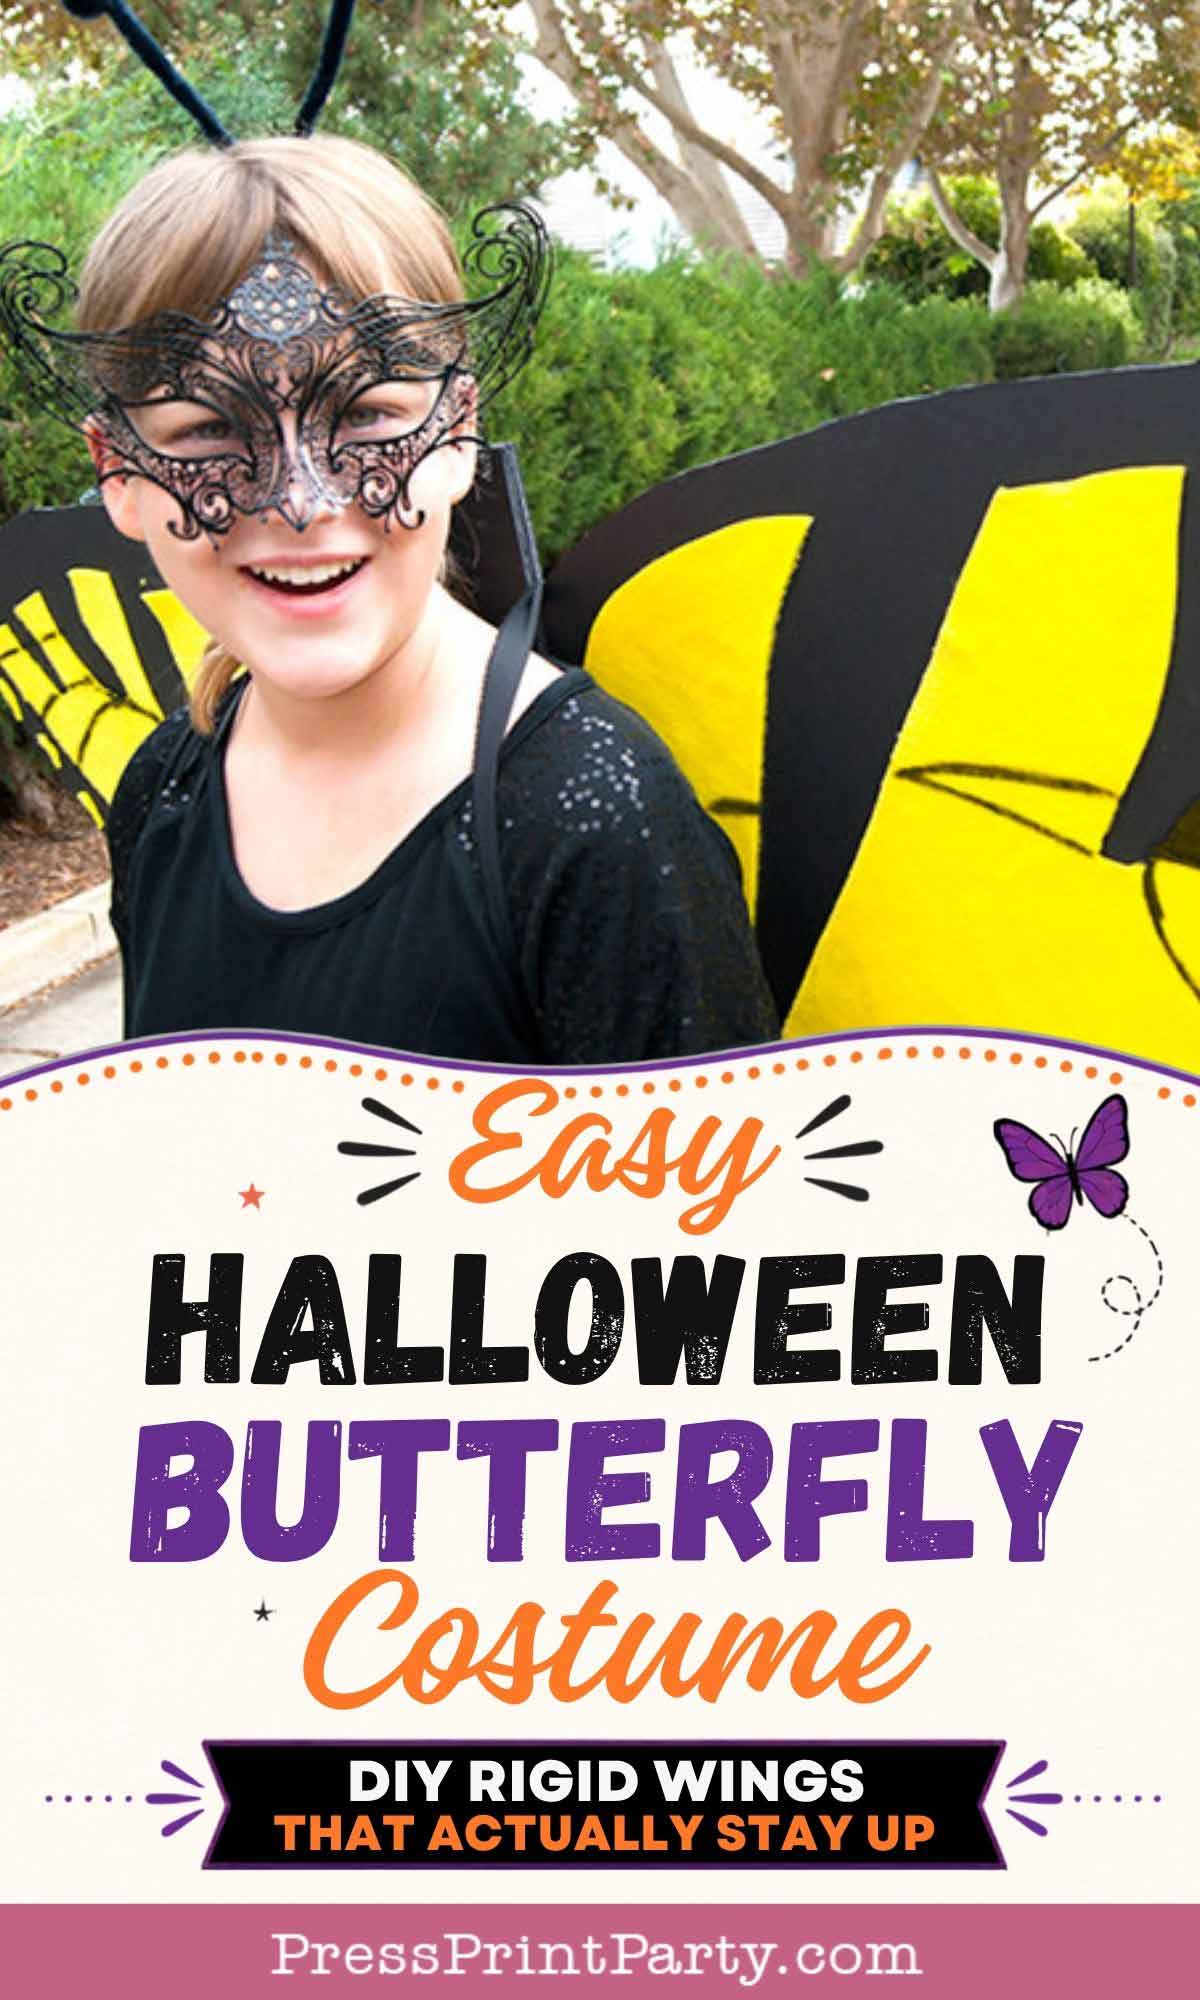
Apparently, asking for ordinary costume wings was beneath us that Halloween, so this DIY butterfly costume came with a full list of design requirements.
One of my daughters wanted to dress as a butterfly, but she was very specific about her wings. They needed to sit behind her—not hang underneath her arms—and they had to fold.
This post contains affiliate links. I may earn a small commission at no extra cost to you. Thank you for supporting my blog!
Her sister had already requested a bat costume with movable wings, so Mama’s homemade Halloween costume workshop was officially open for business.
The idea began after a family trip to Venice, Italy, where both girls fell in love with the beautiful masquerade masks displayed throughout the city.
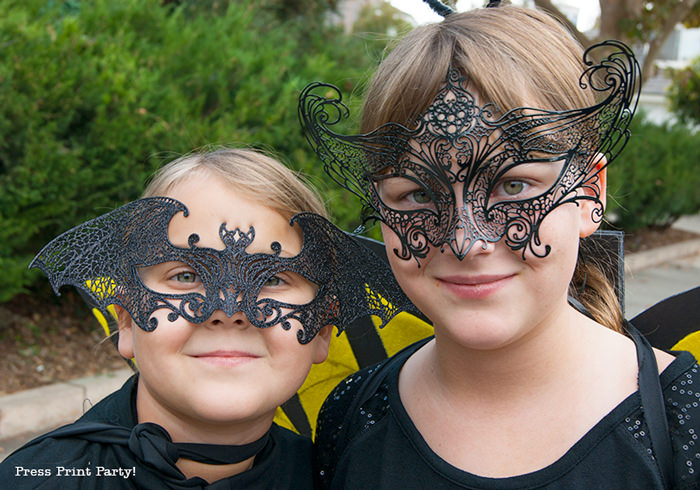
My daughter chose a mask that reminded us of butterfly wings, and we used it as the inspiration for her costume.
These large butterfly wings are made with foam board and felt, so you can customize the shape and colors to resemble your child’s favorite butterfly.
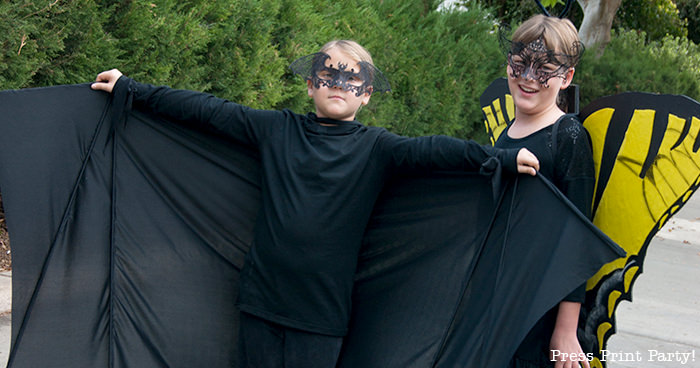
Be sure to see the homemade bat costume I made for her sister that same year and for more colorful, creative ways to celebrate, visit my Halloween party ideas for costumes, games, decorations, treats, and lots more Halloween fun.
More Fun Costumes for Kids
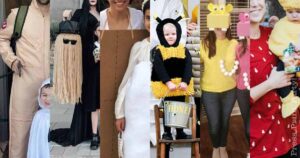
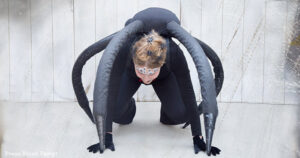
Keep the costume inspiration flying with a few more homemade ideas that are playful, original, and much easier than they look.
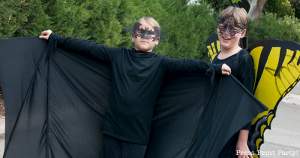
🦇 Homemade Bat Costume – Make dramatic bat wings that fold down when your little creature of the night lowers her arms.
🍭 Tic Tac Costume – Pick a favorite flavor and make an oversized candy container complete with balloon Tic Tacs.
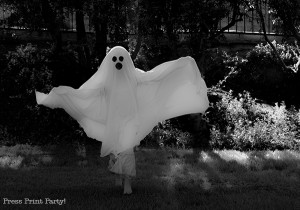
👻 DIY Bedsheet Ghost – A few smart adjustments turn an ordinary white sheet into a ghost costume that stays put.
🌊 DIY Jellyfish Costume – Ribbons, lights, and an umbrella come together for an under-the-sea costume with plenty of wow.
🎃 Easy Last-Minute Costumes – Pull together a cute kids’ costume without spending the night before Halloween in a crafting panic.
Supplies for a DIY Butterfly Costume
You will need:
- Two large black foam presentation boards (the big ones from an office store- I think 3′ x4′)
- Felt in the colors of your chosen butterfly
- Black jersey fabric, ribbon, or wide elastic for shoulder straps
- Strong craft glue or a low-temperature hot glue gun
- A craft knife
- A cutting mat or protected cutting surface
- A metal ruler or straightedge
- Scissors
- A pencil
- Black permanent marker
- White chalk or a white paint marker
- A butterfly mask or antenna headband
- Clothing that coordinates with the wings
Choose foam boards large enough to create wings that span approximately the width of your child’s outstretched arms. The exact board size will depend on the child and the final wing shape.
Adults should handle all craft-knife cutting and hot glue.
How to Make a DIY Butterfly Costume for Kids
Step 1: Choose a Butterfly Design
Before cutting anything, choose the butterfly you want to recreate.
You can use a photo of a real butterfly, create a simplified pattern, or let your child invent an entirely new species.
My daughter had a very particular butterfly in mind, so I did my best to reproduce its colors and markings with felt.
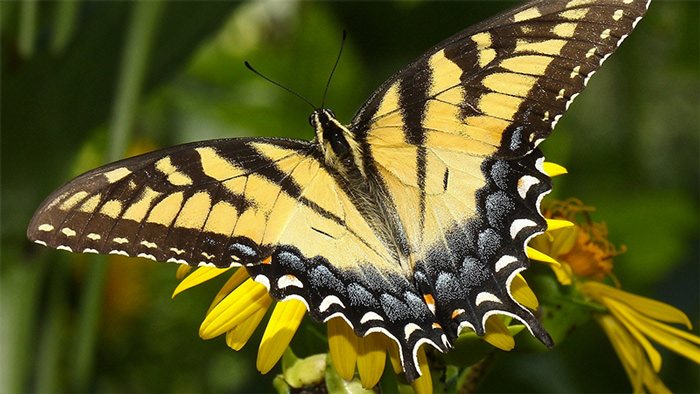
Save or print a reference image that you can keep beside you while designing the wings.
Step 2: Measure Your Child’s Arm Span
Ask your child to stand with both arms extended to the sides.
Measure from fingertip to fingertip. Use this measurement as a guide for the total width of the open wings.
The wings do not need to reach the full width of the child’s arms, but this measurement will help keep them in proportion. Also measure from the shoulders to the desired bottom edge of the wings.
Make sure the finished wings will not drag on the ground or prevent your child from walking comfortably.
Step 3: Make the Foam-Board Backing
Lay the two black foam boards flat on your work surface.
Each board will form one side of the butterfly wings. The inner sections will overlap or connect at the center of the child’s back.
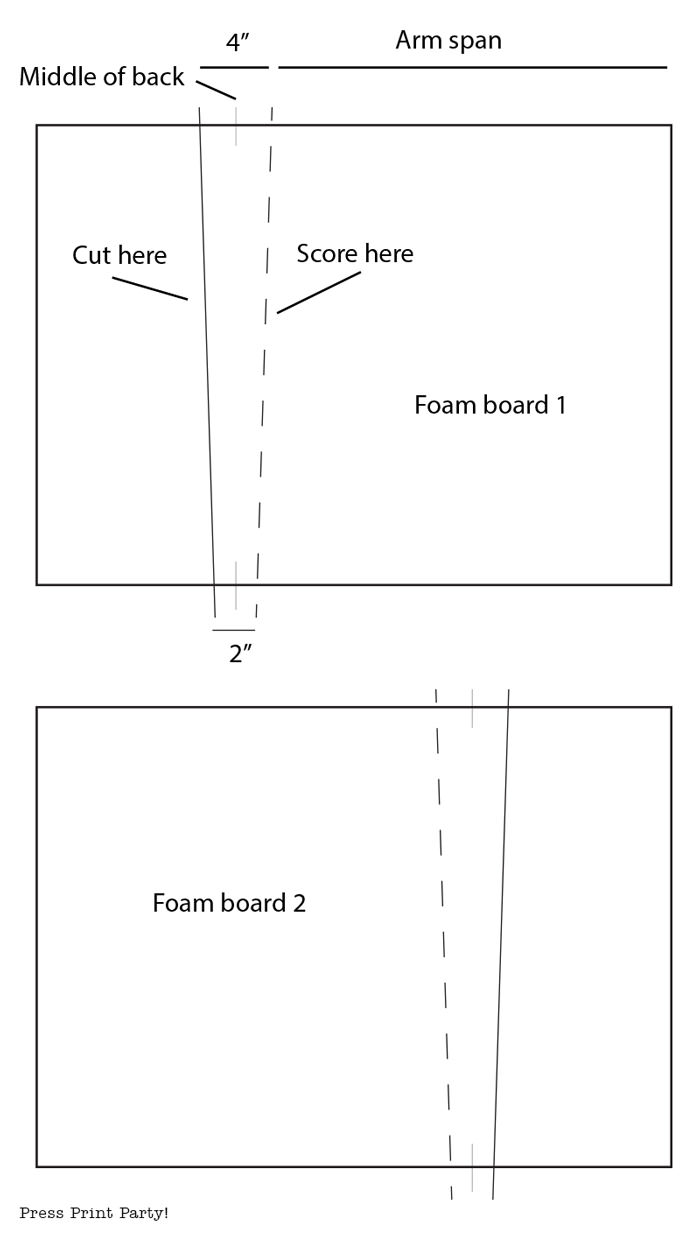
Mark the sections that will be cut and the lines that will be scored to allow the wings to fold.
Cut and score the foam boards as shown in the diagram below.
Step 4: Score the Folding Lines
Place the foam board on a cutting mat or another protected surface.
Using a metal ruler as a guide, lightly run a craft knife along each folding line. Cut through the top layer of paper and partially into the foam, but do not cut through the back layer.
The goal is to create a hinge that allows the board to bend while remaining connected.
Work slowly. It is much easier to deepen a score line than to repair a foam board that has been cut completely in half.
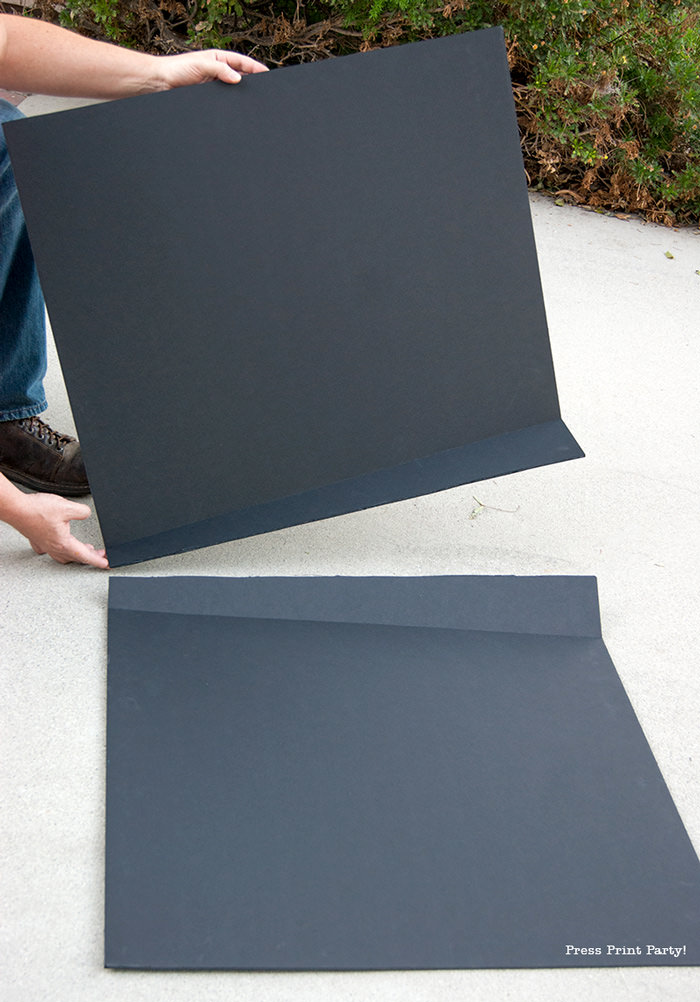
Step 5: Test the Fold
Gently bend the foam board along each scored line.
The board should fold cleanly without separating. If it is too stiff, carefully deepen the score a little at a time.
Repeat the process on the second foam board, making sure the two sides fold in matching directions.
Step 6: Draw the Butterfly-Wing Shape
Before joining the two foam-board backings, draw the outer butterfly-wing shape onto each board.
Use your reference image to create large upper and lower wings. Keep the design broad and avoid extremely narrow points, which are more likely to bend or break.
Step back and compare both sides before cutting. They do not have to be scientifically perfect, but they should look balanced when placed together.
Step 7: Cut Out the Wings
Have an adult cut along the marked wing outlines with a sharp craft knife.
Cut the wing shapes before joining the two sides together. It is much easier to turn, position, and cut each board separately.
After cutting, place the wings side by side and make any small adjustments needed to improve the symmetry.
Step 8: Connect the Two Wing Sections
Position the two finished foam-board sections so they meet or overlap at the center.
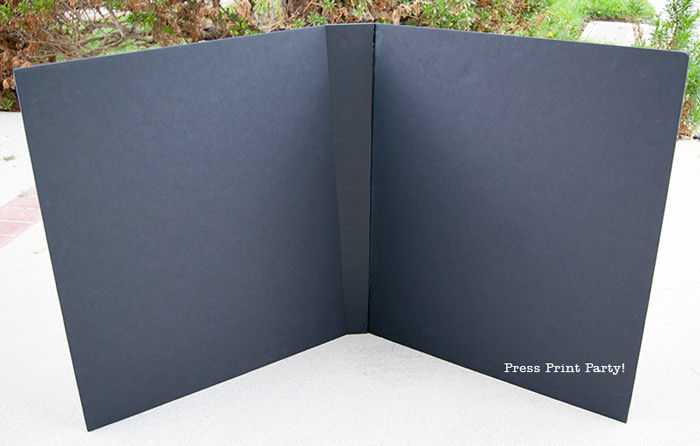
Glue the center sections together securely, following the placement shown in your diagram. Keep the scored folding sections free so the wings can still open and close.
Obviously I didn’t cut the wing shape before I glued the board. Don’t make the same mistake.
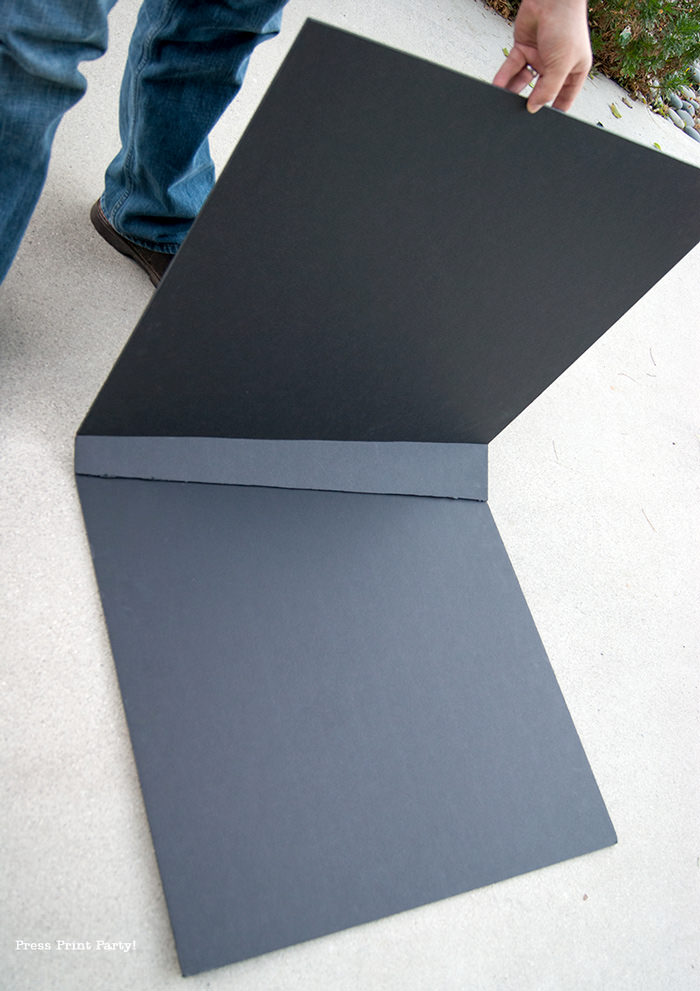
Allow the glue to dry completely before lifting or decorating the wings.
Step 9: Cut the Felt Decorations
Lay the felt over the foam-board wings and begin planning the colored sections.
Cut large pieces first, then add smaller spots, stripes, or accents. Simplifying the butterfly’s markings will make the project much easier without losing the overall look.
Place all the felt pieces on the wings before gluing. This gives you a chance to move the shapes around and correct the spacing.
Step 10: Glue the Felt to the Wings
Working one section at a time, glue the felt pieces to the foam board.
Smooth each piece outward as you work so it lies flat. Continue adding felt until the main colors and markings of the butterfly are complete.
Do not apply so much glue that the felt becomes stiff or the foam-board paper begins to wrinkle.
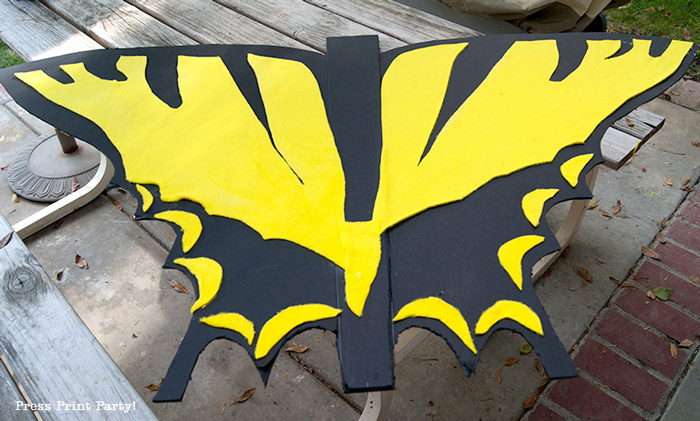
Step 11: Add the Final Wing Details
Once the felt is attached, use a black permanent marker to add outlines, veins, spots, or other dark details.
I also used white chalk to add lighter accents and make the pattern look more like my daughter’s chosen butterfly.
A white paint marker may create a longer-lasting finish, but test it on a scrap of foam board or felt first.
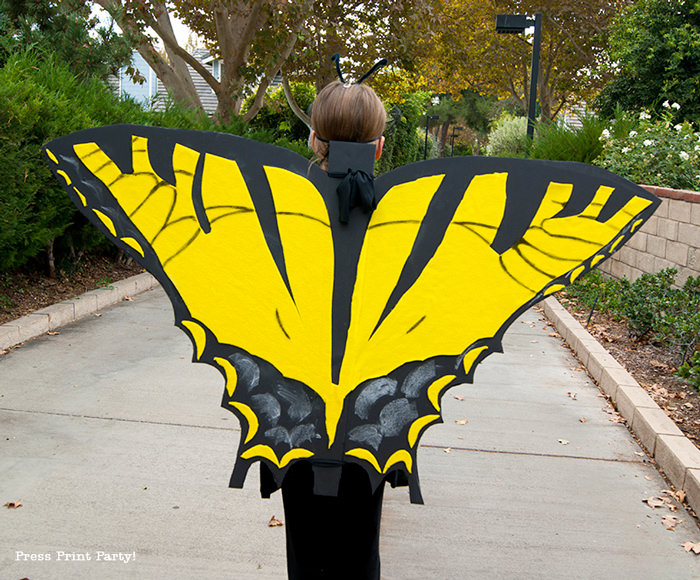
Step 12: Make the Shoulder Straps
Cut a long strip of black jersey fabric, ribbon, or wide elastic.
Create two shoulder loops that fit like the straps of a backpack. Attach the straps securely to the center section on the back of the wings.
I used leftover black jersey from the bat costume and made a simple shoulder harness that tied behind her. The straps were not fancy, but they held the wings in place.
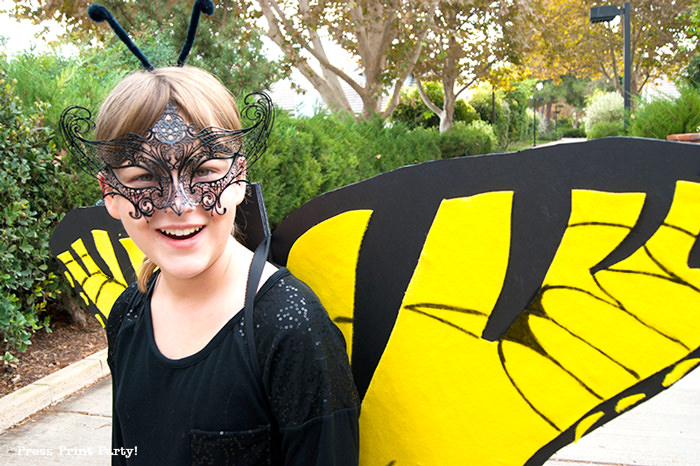
Test the straps several times and adjust them until the wings sit securely behind your child without pulling against the neck or shoulders.
Step 13: Complete the Butterfly Costume
Pair the wings with clothing in colors that coordinate with the butterfly design.
We completed my daughter’s costume with the beautiful masquerade mask she chose during our trip to Venice.
A butterfly mask, antenna headband, solid-colored dress, leggings, or tutu could also work.
Because the wings are the biggest part of the costume, the rest of the outfit can remain fairly simple.
How the Foldable Butterfly Wings Work
The scored foam-board sections act like hinges. They allow the wings to bend inward instead of remaining completely flat and rigid.
This makes the costume easier to store, carry, and fit through larger spaces. The folds also give the wings more dimension than a single flat piece of board.
These are still large costume wings, so your child will need to turn carefully and may need help navigating narrow doors, crowded parties, or classroom spaces.
Tips for Wearing Large Butterfly Wings
Have your child try on the costume well before Halloween. Check that the straps feel comfortable and that the wings remain centered.
Practice walking through doorways, sitting down, and turning around. The wings may need to be removed in the car or in crowded indoor spaces.
Foam board is lightweight, but it can bend if it is knocked against walls or furniture. Store the costume flat or gently folded until it is time to wear it.
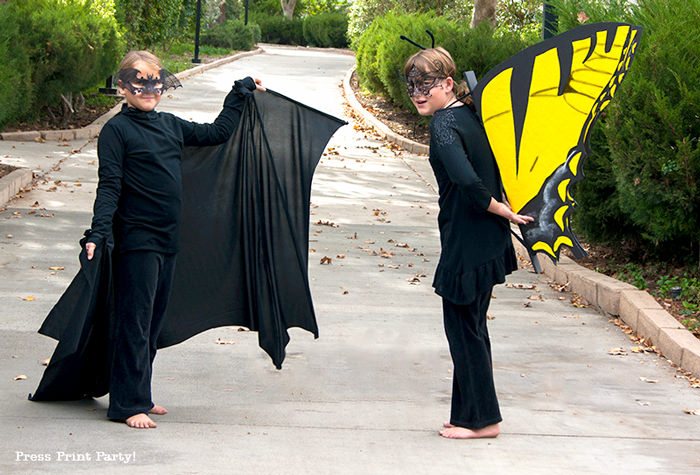
I have more Halloween costumes DIYs like an easy ghost costume and a stunning no-sew jellyfish costume.
DIY Butterfly Costume FAQs
How do you make butterfly wings for a kids’ costume?
For large wings that sit behind the child, cut the wing shapes from two pieces of black foam board. Score the boards where you want the wings to fold, connect them at the center, and decorate them with colored felt, marker, and chalk.
What is the best material for homemade butterfly wings?
The best material depends on the style of wings you want. Felt or fabric works well for soft wings, but it needs stabilizer or another backing to keep it from flopping. Foam board is a good choice for large, structured butterfly wings because it is lightweight and holds its shape. People making costume wings commonly ask how to stabilize fabric without making the wings too heavy.
How do you keep butterfly costume wings from falling down?
Use lightweight materials and make sure the shoulder straps fit snugly enough to hold the center of the wings flat against the upper back. Loose straps are a common reason costume wings sag or tip backward.
Can you use cardboard instead of foam board for butterfly wings?
Yes, but cardboard is usually not as sturdy and may be harder to fold neatly. Foam board gives large wings a strong shape without adding too much weight. If you use cardboard, keep the wings slightly smaller and reinforce the shoulder straps.
How big should butterfly wings be for a child?
Measure your child’s arm span and use it as a guide for the total width of the open wings.
Don’t forget to pin this DIY Butterfly costume:
Picked for you: