DIY, Party Crafts, The Amazing Race
FREE Printable DIY Luggage Tags Template
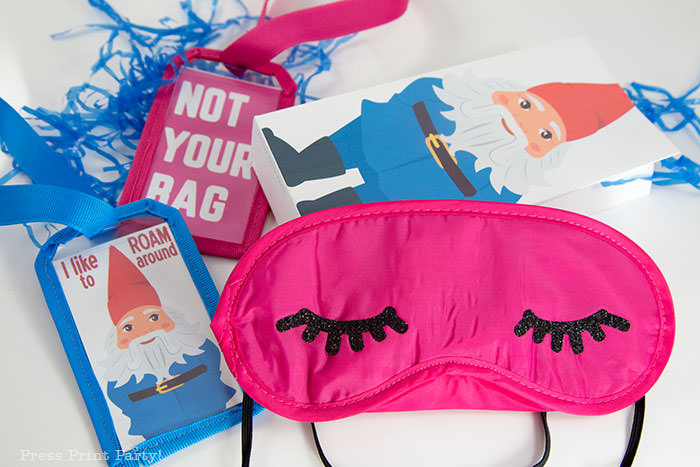
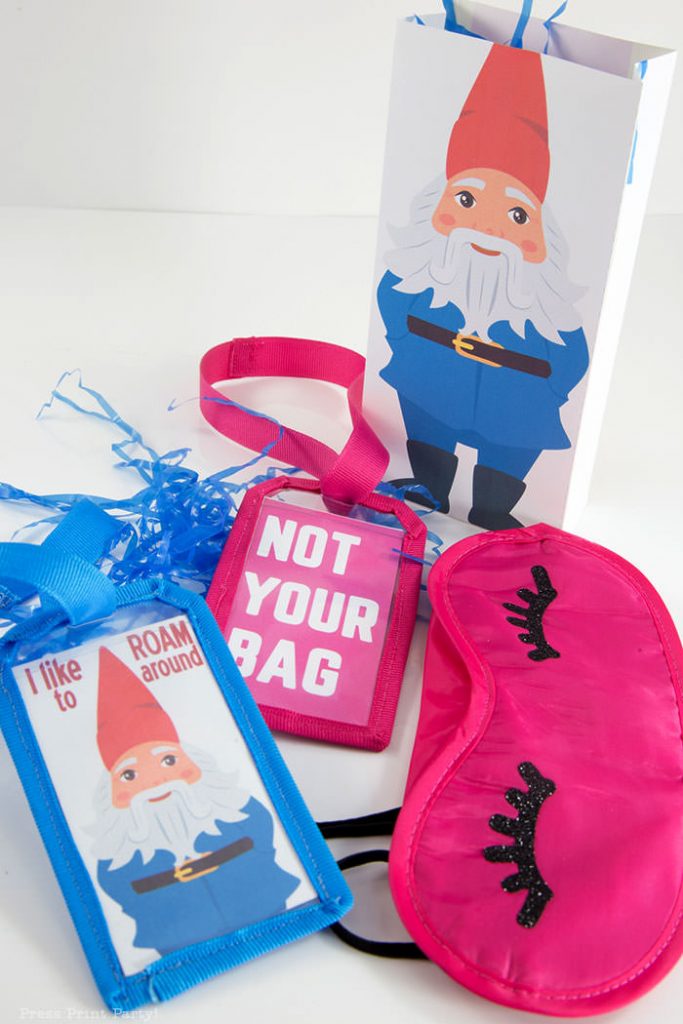
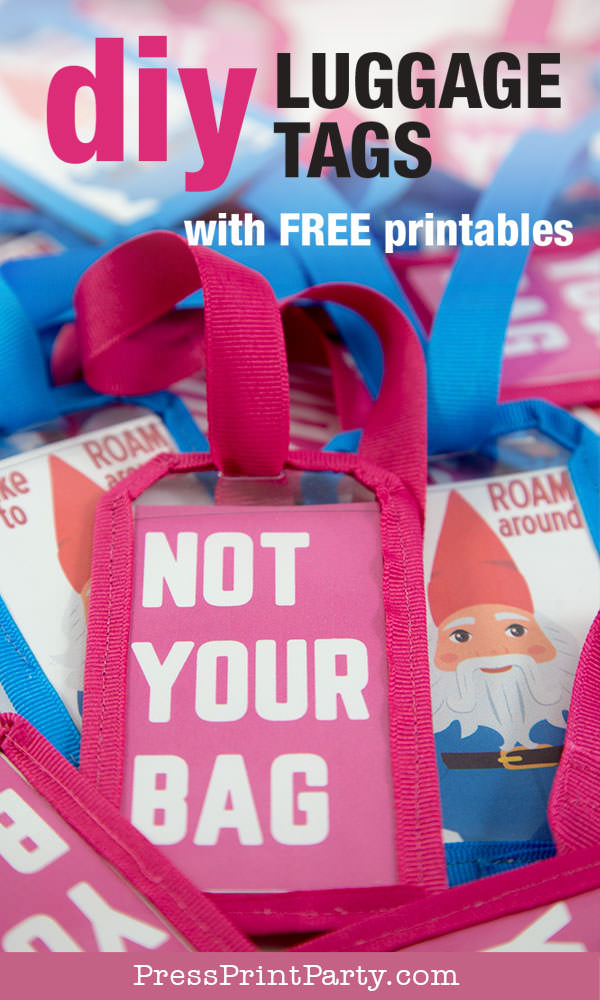
The favor bags for our Amazing Race party were, of course, travel themed with a cute sleep mask and two DIY luggage tags inside.
This post may contain affiliate links.
With 25 guests and two tags per guests I knew I couldn’t afford to buy them, so I had to make them.
I wanted to make the travel tags fun and unique and within the “travel around the world” theme, and above all, inexpensive.
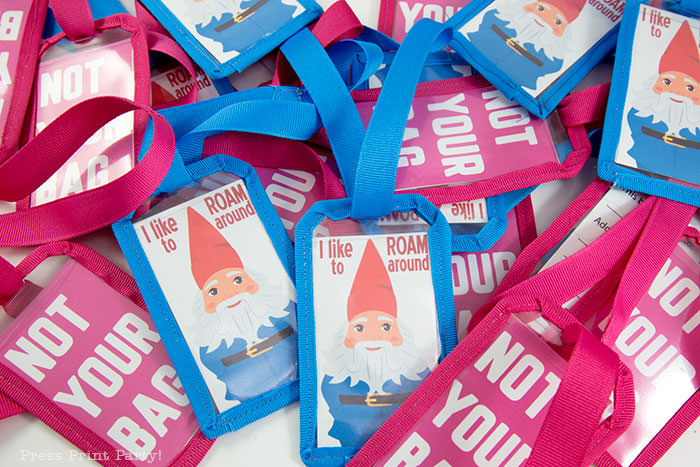
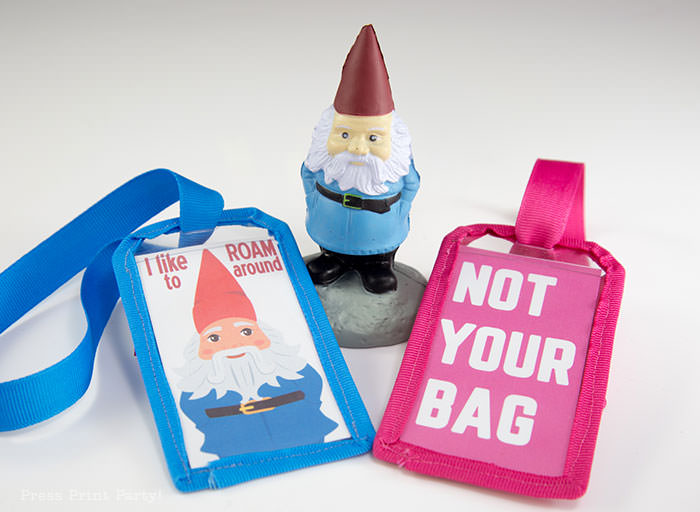
So I decided to make 2 printable luggage tag designs, one with my version of the roaming gnome that says ” I like to roam around” and one that says “Not Your Bag” in hot pink. Both tags are available for free in my free downloads library for newsletter subscribers.
DIY Luggage Tags Materials
- Plastic Name badge sleeves with an opening and a slit at the top
- ½ inch gross grain ribbon in the color of your choice. You’ll need two 14″ lengths per tag
- Custom Printable luggage tag cards available in my free downloads library for my Newsletter subscribers. If you’ve already subscribed, you can get the password from the bottom of any email I send and go directly to the Free Downloads Library. If not, you can sign up below:
Sewing your luggage tags
The idea is to use gross grain ribbon to sew an edge around the plastic badge holders. Not only will the ribbon make your luggage tag cute, but it will also make it stronger.
I used gross grain ribbon because it’s pretty, strong, and will not fray. I don’t recommend using any other kinds of ribbon.
- Cut your ribbon in 14″ lengths. You’ll need 2 lengths of 14” ribbon for 1 tag.
- Fold one of the lengths of ribbon in half lengthwise and iron it to make the sewing easier.
- With a sewing machine, start your ribbon’s edge at the bottom middle of your plastic card holder and slowly sew the ribbon around the edges folding the corners as you go.
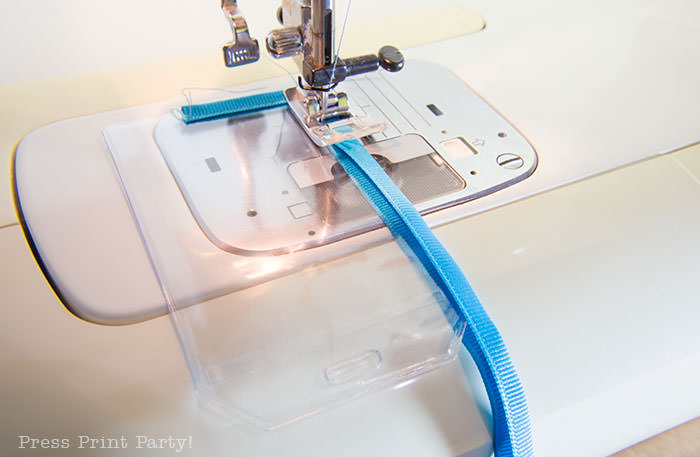
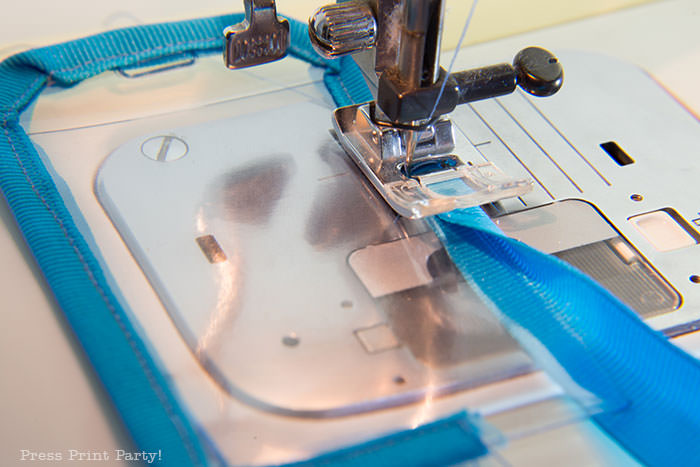
- Overlap the ends at the bottom and sew to the corner.
- Insert the second length of ribbon into the luggage tag slit, overlap the edges of the ribbon about a half an inch and sew them together with a square pattern.
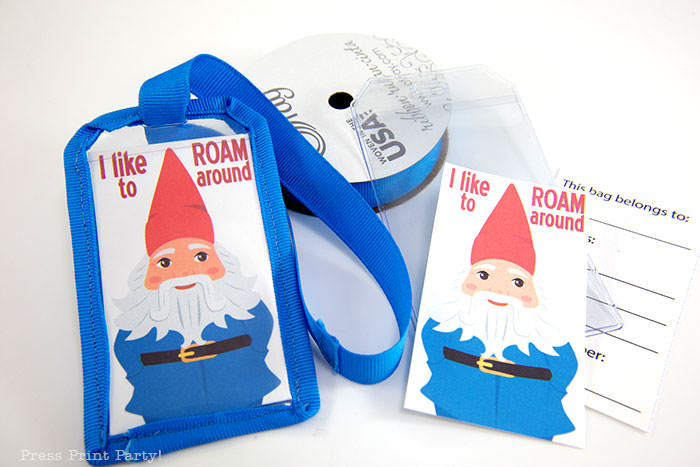
Insert Your Cards
This luggage tag is great the way it is and can hold a regular business card. But if you want it to be a little funnier, get my free “Roaming Gnome” and “Not Your Bag” luggage tag printables.
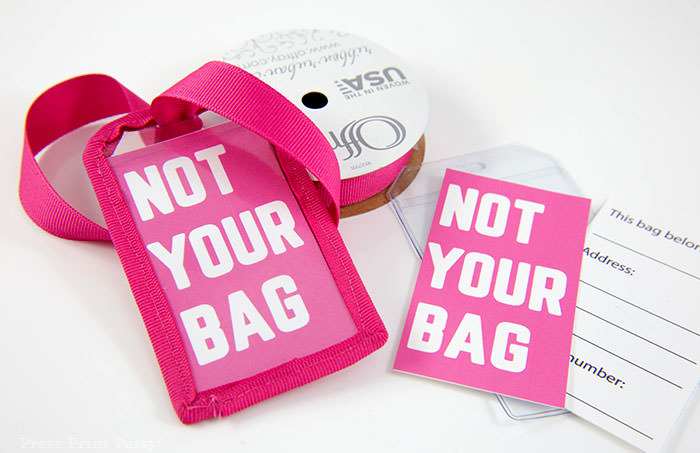
They also come with a printable card to add to the back that includes a place for your name, address, and phone number. You can insert that card with the blank side facing out so that someone who finds your bag can get ahold of you but that oddball standing next to you in line at the airport won’t have your contact info.
That’s it. It did take a while to make 50 of them but it was worth it.
The next month at summer camp all the girls that were at the party had one of these tags on their bags. That’s a win in my book!
Don’t forget to pin it:







wow, this luggage tag template looks so amazing and beautiful. I just love these tags. I must share this on my site. people would love to try like this new things. thanks for sharing this with us.
You made 50 of them!?? Holy cow you are amazing. Such a cute idea and I love that it’s something they can actually use that you make really fun.
These DIY luggage tags are easyt to make but yes, making 50 of them took some time…
What a cute DIY! You can always put together a theme so well!