Cakes, Party Eats, Safari Party
How to Make an Animal Print Safari Cake – Zebra and Leopard Prints
In the spirit of saving money so we could pay for an animal show at our Safari party, I decided to make my own animal print cake.
I poured over tutorial after tutorial and found some pretty cool methods that I wasn’t aware of previously.
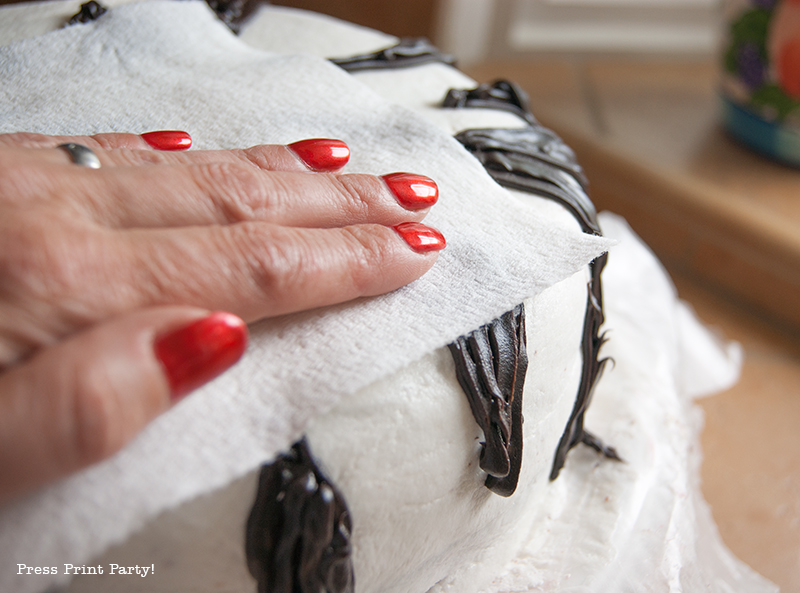
I knew I didn’t want cover the cake in fondant. Not only does it not taste good, but it’s harder to make and deal with than you might think. The solution was an American Butter Cream or ABC frosting for the connoisseur. This particular kind of frosting is very stable (even in the California heat) and ends up looking like fondant when smoothed with a Viva paper towel (the Viva method). Don’t worry I’ll explain.
I used the recipe from Peggy Does Cake found HERE. I liked it because it called for butter for taste, as well as Crisco for stability. It’s not the best tasting frosting out there but it sure handles designs well.
For the two layers I used two 9″ round pans for the bottom and two 7″ cake foil pans I found at the dollar store for the top.
For the cake, I tried to make a zebra pattern inside as seen HERE, but I wasn’t really successful. I realized later I had used a chocolate cake mix with pudding when the recipe said to make sure not too. Ooops. It still tasted great though.
For the filling you could use anything you’d like. I went the easy way and used whipped cream and strawberries.
With each layer of cake build, frost them with your white ABC frosting and smooth it with the Viva method explained HERE.
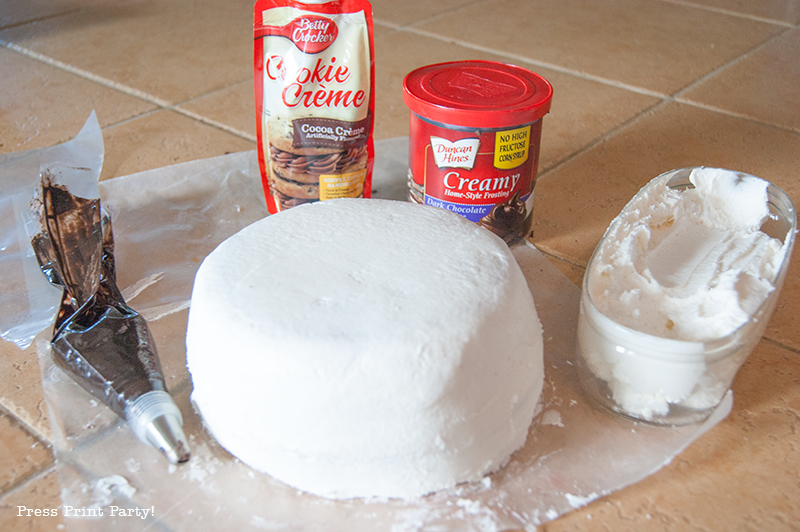
Now it’s time for the design! You could paint the design with food coloring, but personally I think food coloring tastes gross. So I decided to change a little the method found HERE and use different colored and flavored store bought frosting.
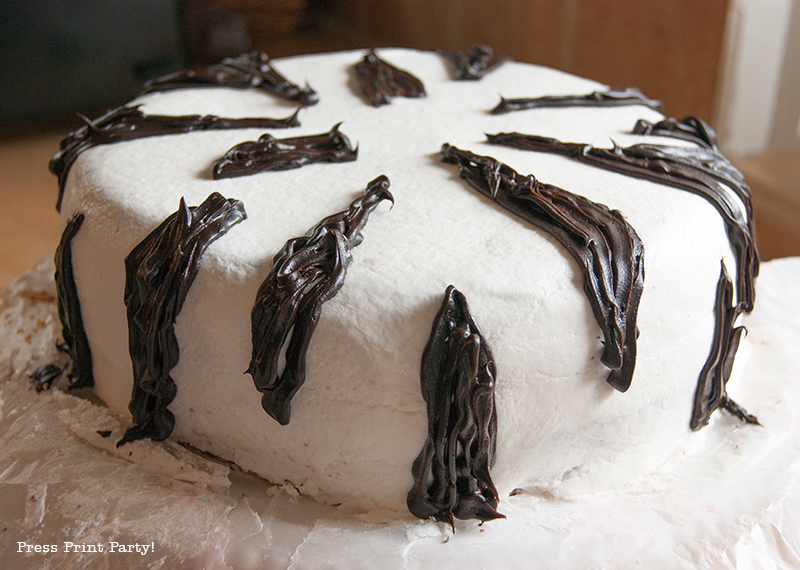
I pipped the dark chocolate frosting for the zebra stripes on the bottom layer. This is what it looked like before smoothing:
Wait about 30 minutes for the chocolate frosting to crust and smooth the design into the white frosting with a Viva paper towel. I just used my hand and it worked just fine.
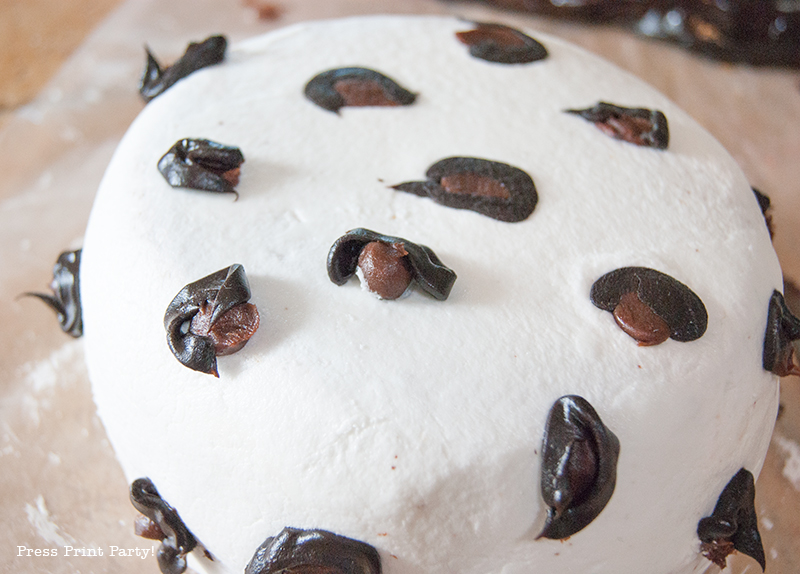
For the leopard design I used a light caramel frosting as well as the chocolate frosting. Next time I’d choose a lighter colored caramel frosting though.
In this picture I had already started to smooth some of the design.
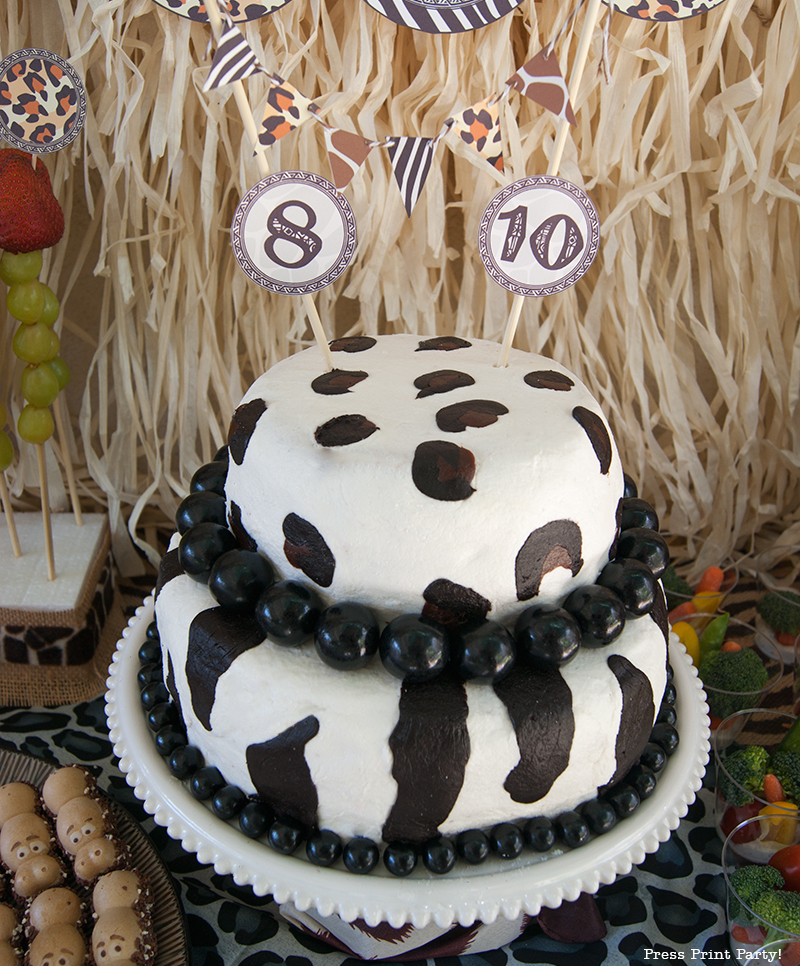
Once you stack the 2 layers, you may want to hide the seams for a slicker finish. Here I used black gumballs in two sizes found at the party store.
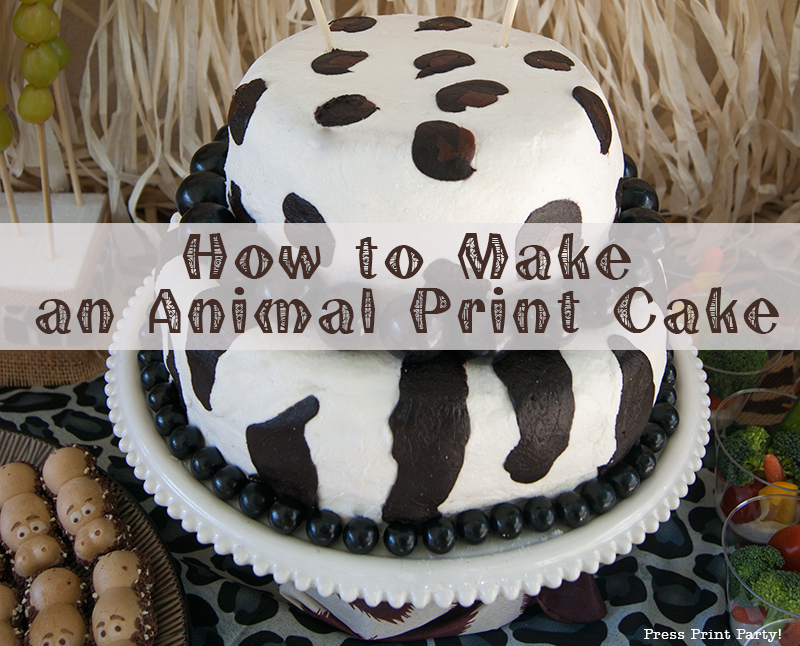
Here you have it, my homemade zebra and leopard print cake! I got lots of compliments and most couldn’t believe it wasn’t store bought. I added the cute flag topper with the help of the Safari printables in my shop.
Check out my Safari Party blog post for tons more ideas.

Pingback: A Wild Safari Party with an African Flair! - Press Print Party