
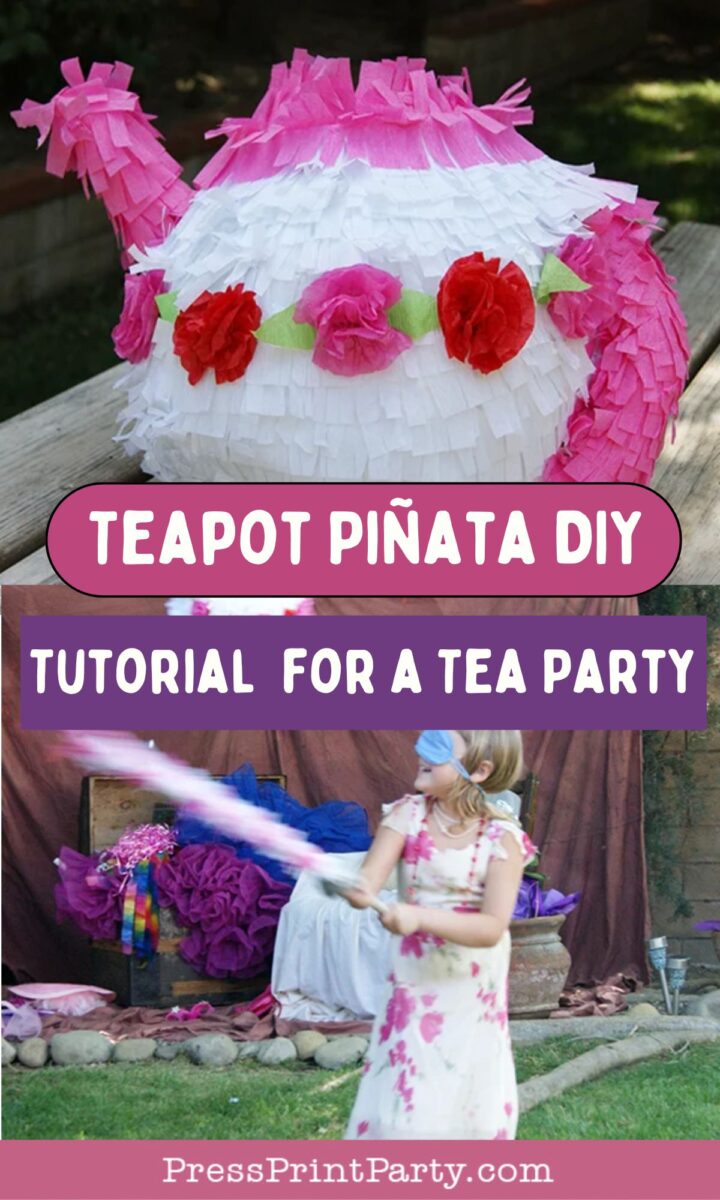
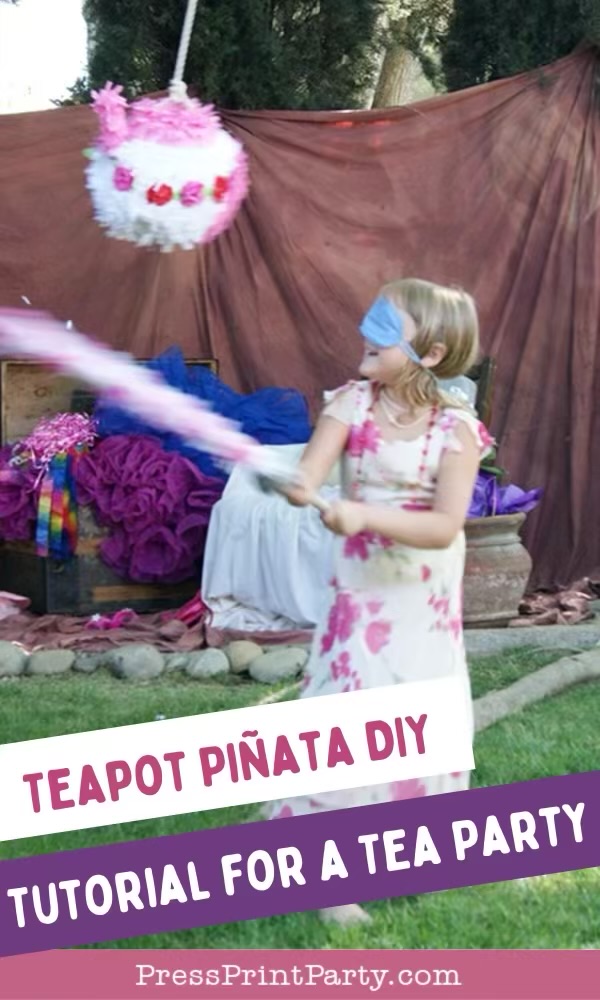
Teapot Piñata DIY Tutorial for a Tea Party
Somewhere between setting up dainty teacups and cutting tiny sandwiches, I decided our tea party needed a little chaos—in the best way possible.
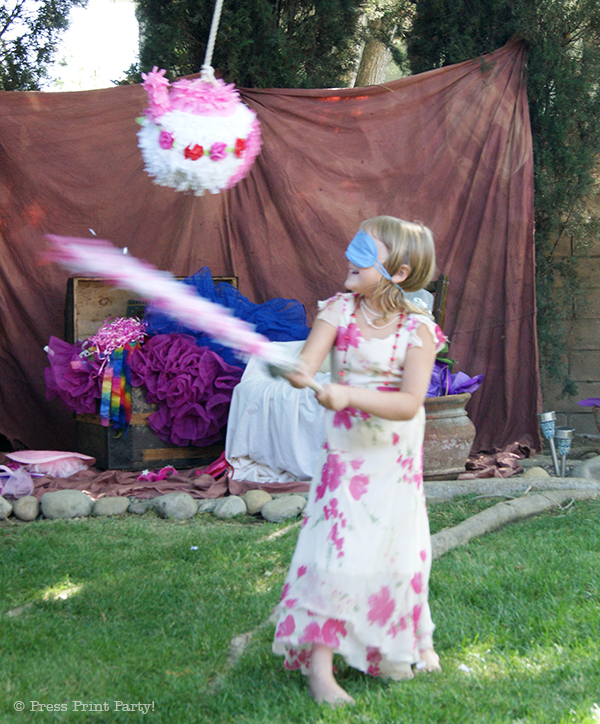
This teapot pinata completely stole the show at our girls’ tea party, and yes… they went wild for it.
Plus, making your own piñatas is fun, easy, and messy so the kids love it!
This post contains affiliate links. I may earn a small commission at no extra cost to you. Thank you for supporting my blog!
What I love about this idea is that it looks adorable sitting with your decorations, but then turns into the main event when it’s time to swing.
It’s that perfect mix of pretty and playful. And don’t worry—it’s way easier to make than it looks, which means you get all the credit without the stress (my favorite kind of party win).
For even more fun and easy setups, check out my birthday party ideas —because once you start, you might as well go all in.
🎀 More DIY Party Ideas
Teapot piñatas already bring the charm, but a few creative twists can turn your tea party into a full-on whimsical wonderland.
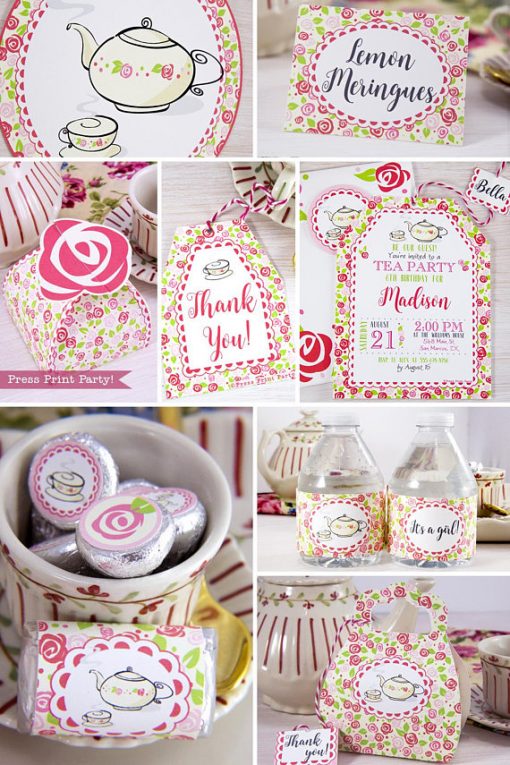
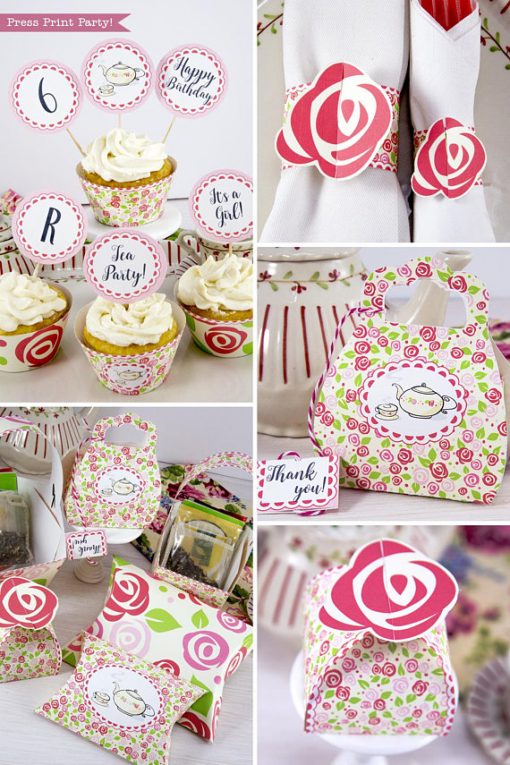
🫖 Delightful Spring Tea Party – Soft pastel inspiration to match your teapot piñata aesthetic perfectly.
🧁 Teapot Cupcake Cake Template – Cute coordinating dessert designs to pair with your piñata theme.
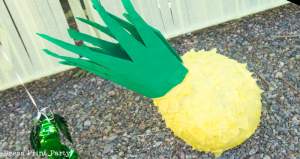
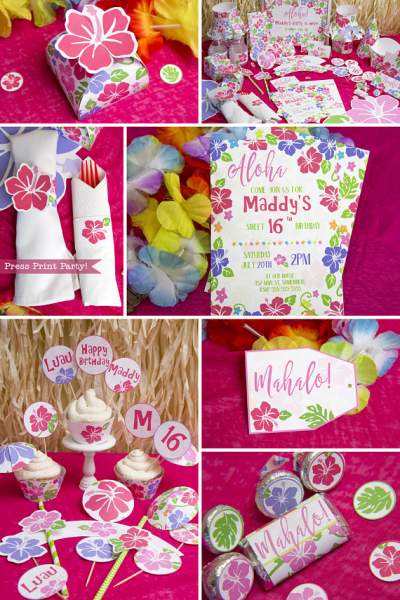
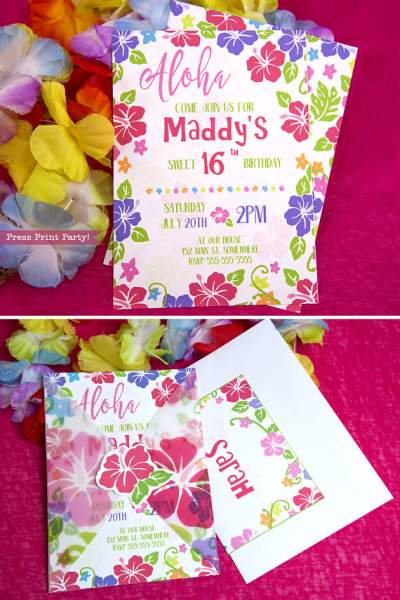
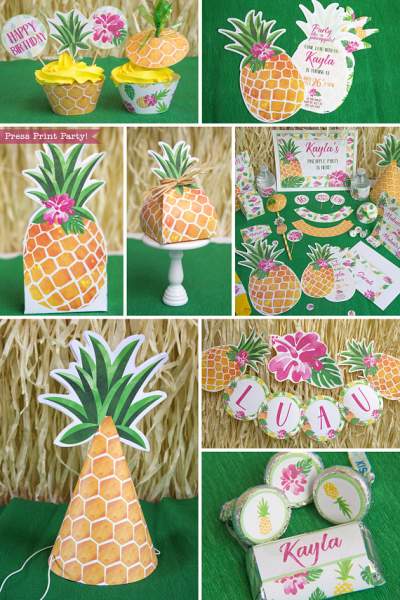
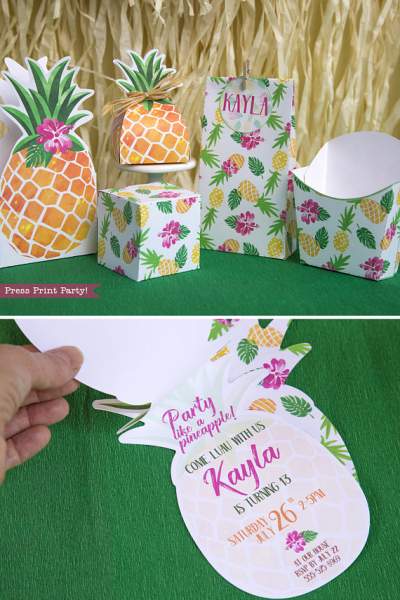
🍍 Pineapple Piñata DIY Tutorial – A tropical twist that inspires fun shape experimentation beyond teapots.
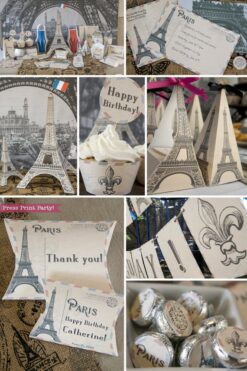
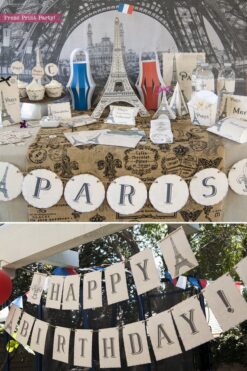
🗼 Eiffel Tower Piñata Guide – Elegant structure ideas for building taller, statement-making piñatas.


How to make a Teapot Pinata
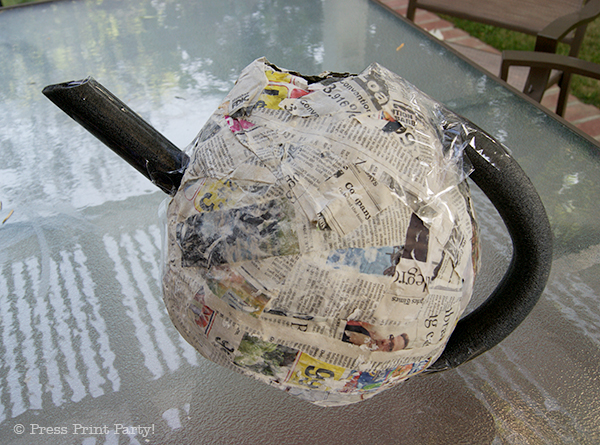
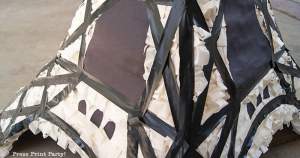
First, blow up a balloon and make a paste with flour and water.
There are plenty of recipes out there for paper maché paste but I like things easy so I just pour some white flour in a bowl and add water gradually until I have a consistency I’m happy with.
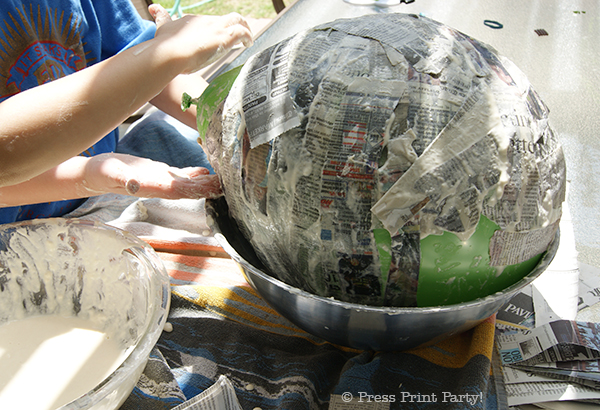
Usually 1 part flour to 1 part water. Dip strips of newspaper in the paste and “glue” them to the balloon.
Keep in mind the flour paste makes a strong glue so only 2–3 layers of paper strips will do.
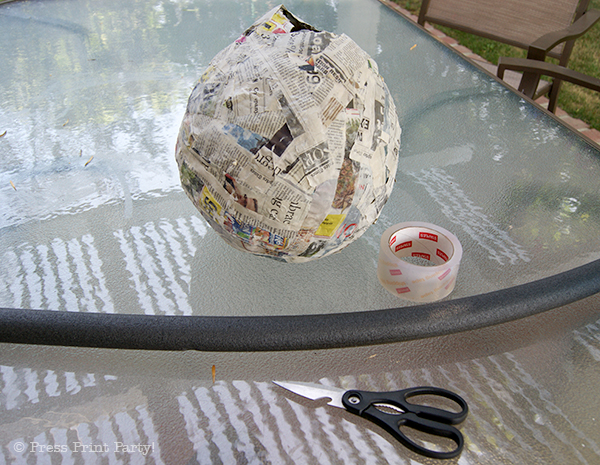
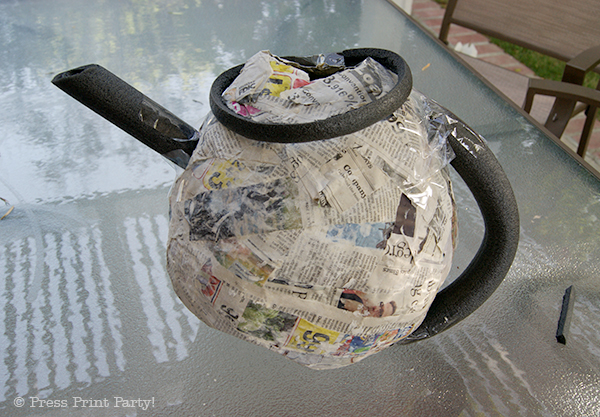
Our piñatas always end up pretty hard, but for this one, the kids just went to town with layers and my husband dubbed it the concrete piñata :). Make sure you leave the top open.
Let it dry overnight and go pick up some foam pipe insulation at your local hardware store and some packaging tape. Pop and remove the balloon.
Cut 2 pieces of the foam pipe insulation, one for the spout and one for the handle. Secure with the tape.
Cut another piece of foam insulation for the top and again secure with tape.
The decorations were done with crepe paper that we fringed with scissors and little flowers also made with crepe paper.
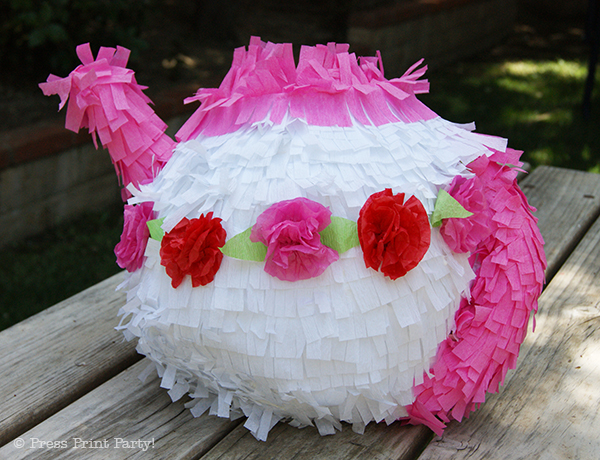
Start at the bottom and glue the fringed crepe paper around with regular white glue.
You’ll need to create holes for the rope with a knife or the drill. Fill with candy from the top.

And there it is in full action:
Don’t forget to pin this teapot piñata tutorial :
Picked for you:


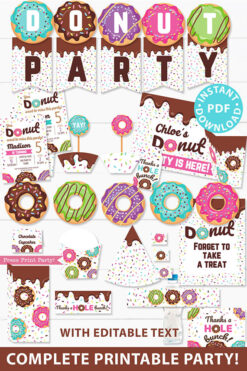
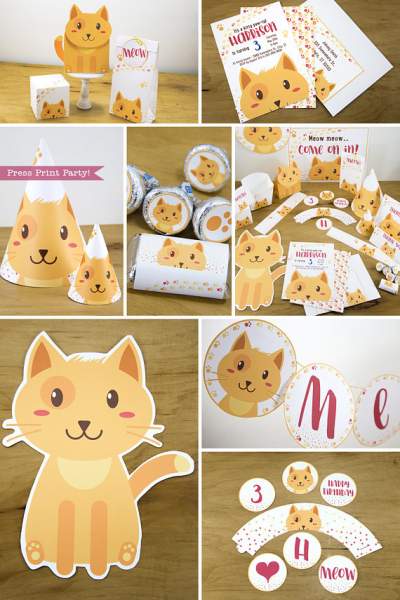
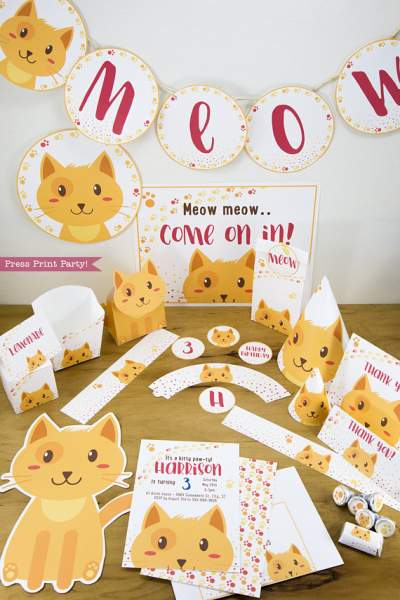
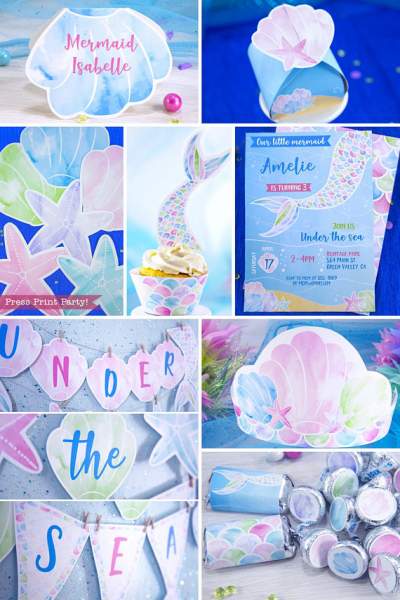
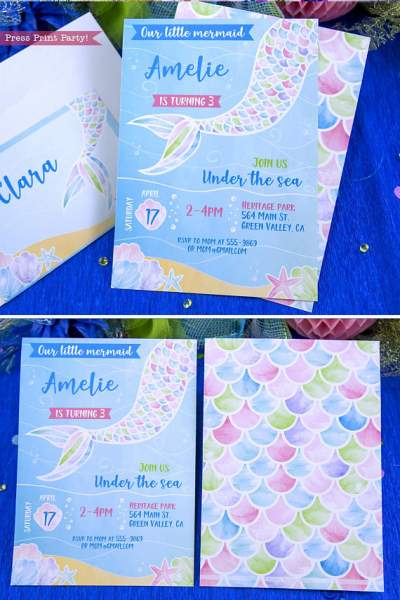
Check out our Birthday printables

Birthday Party Packages
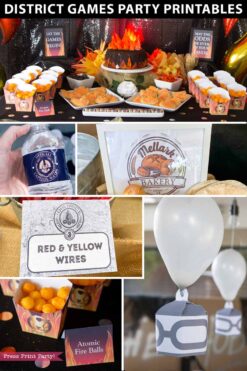
District Games Party Printables Set – Perfect for a Hunger Games Party


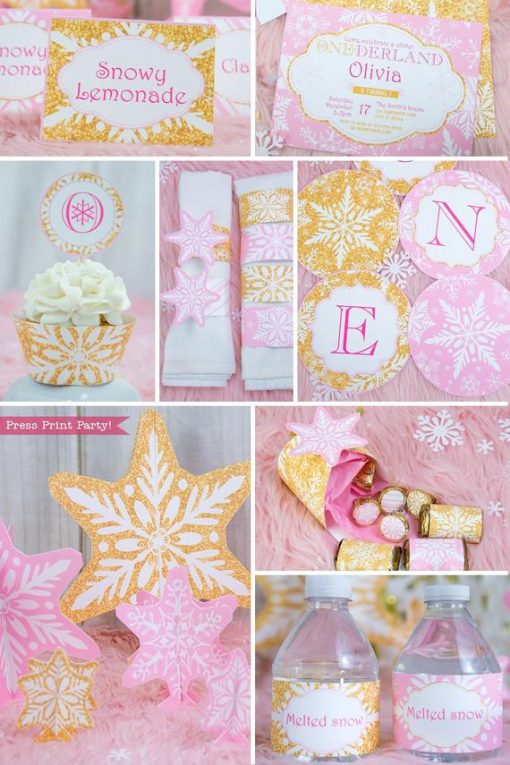
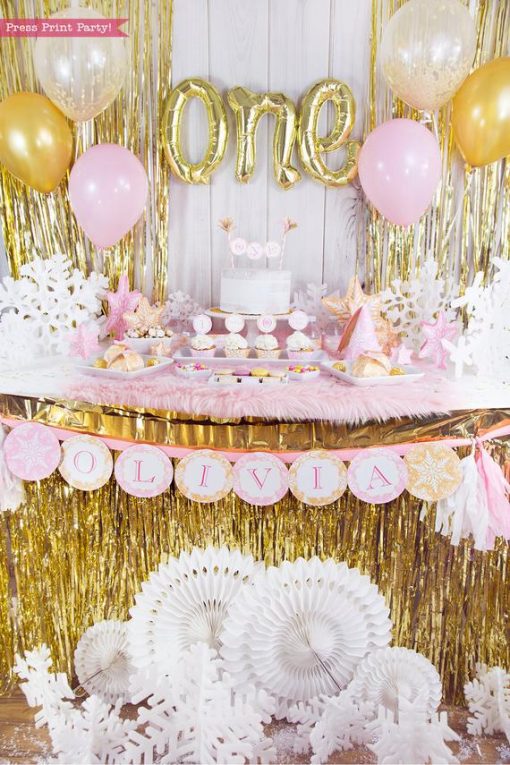
ONEderland Party Printables
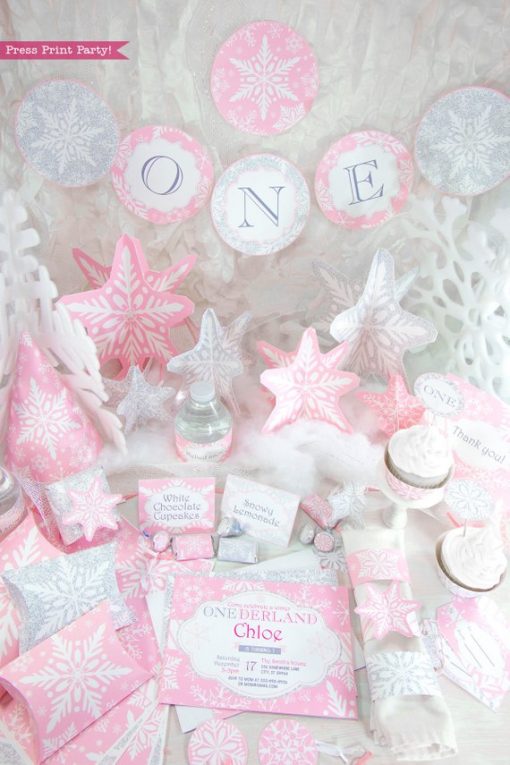
Winter ONEderland Birthday Printable Package, Pink & Gold Snowflakes
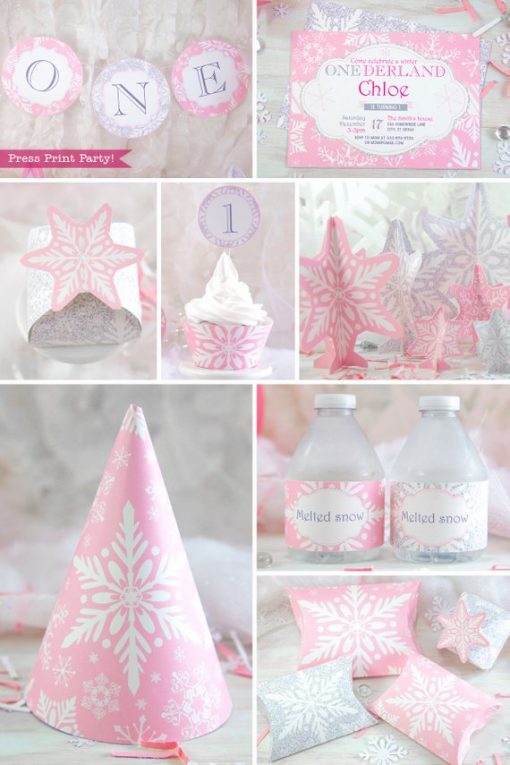
ONEderland Party Printables
Winter ONEderland Party Printable Set, Pink and Silver Snowflakes

Pingback: Free Teapot Cupcake Cake Template and Tutorial by Press Print Party!
Pingback: A Delightful Spring Tea Party - Press Print Party
Pingback: Eiffel Tower Piñata How to DIY by Press Print Party!