
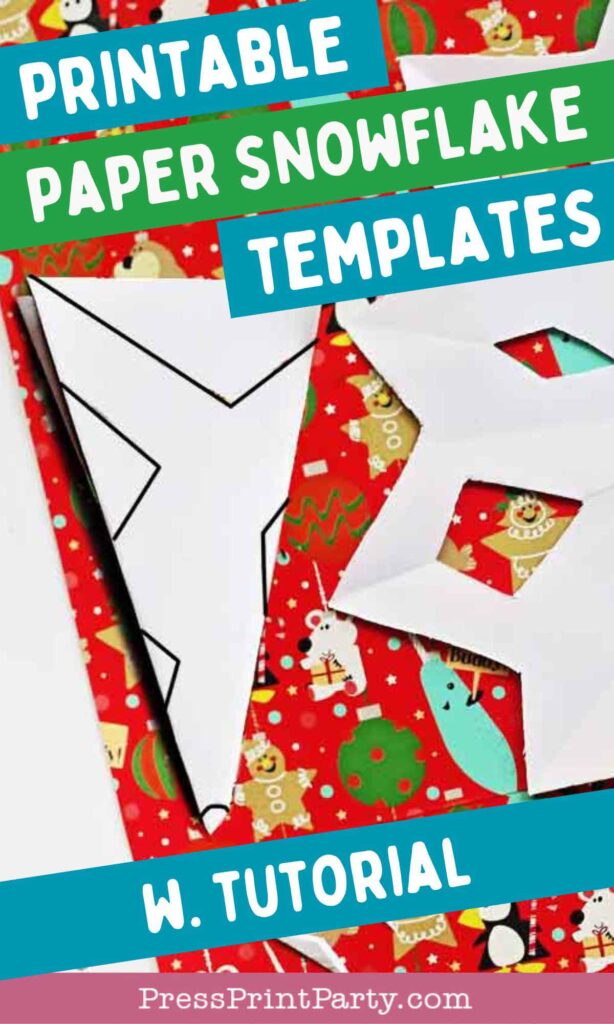
Free Printable Paper Snowflake Templates and Instructions
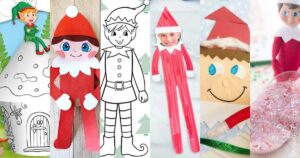
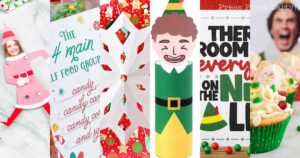
Paper snowflake templates are your ticket to turning your living room into a winter wonderland. Just like Buddy the Elf would!
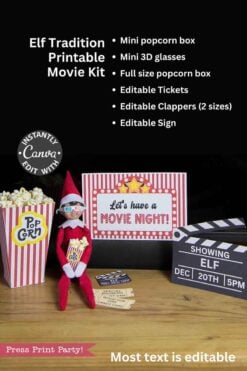
Remember how Buddy went wild with paper snowflakes in Elf? Well, my girls take that same enthusiasm and run with it, snipping away in front of all the best Christmas movies every December.
It’s one of our favorite traditions, equal parts festive and mess-making! Perfect for an Elf movie night activity.
Paper snowflakes aren’t just a fun holiday craft; they also double as charming (and practically free!) decor.
Whether you tape them to your windows, string them into garlands, or scatter them across your holiday table, they bring a cozy touch of winter magic to the whole house.
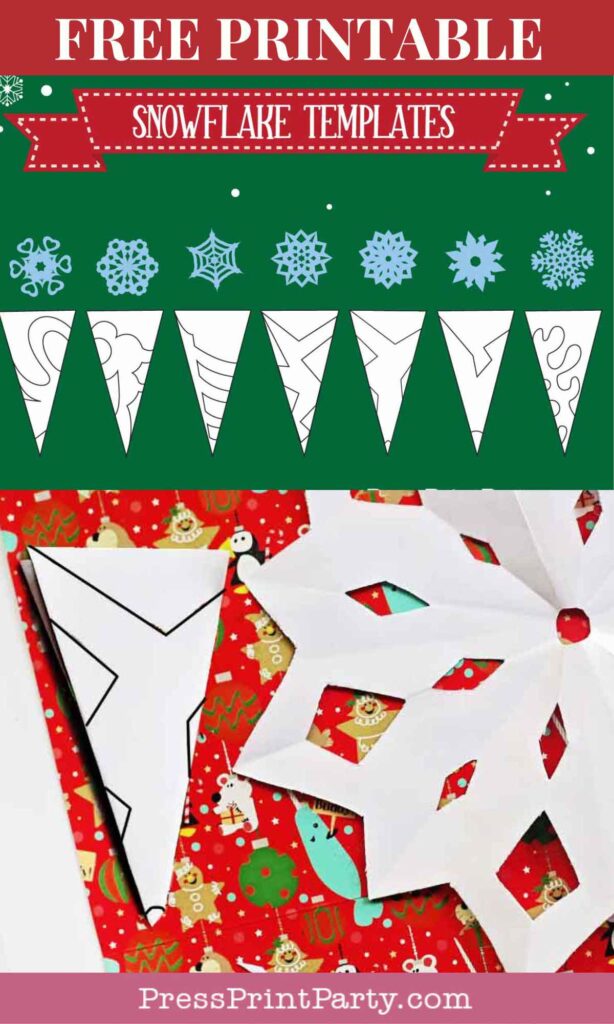
This blog post includes 7 free printable snowflake patterns for you to copy or use as inspiration and walks you through the very easy instructions.
So grab paper and scissors, put on Elf, and let’s start crafting our own blizzard!
You’ll also love:

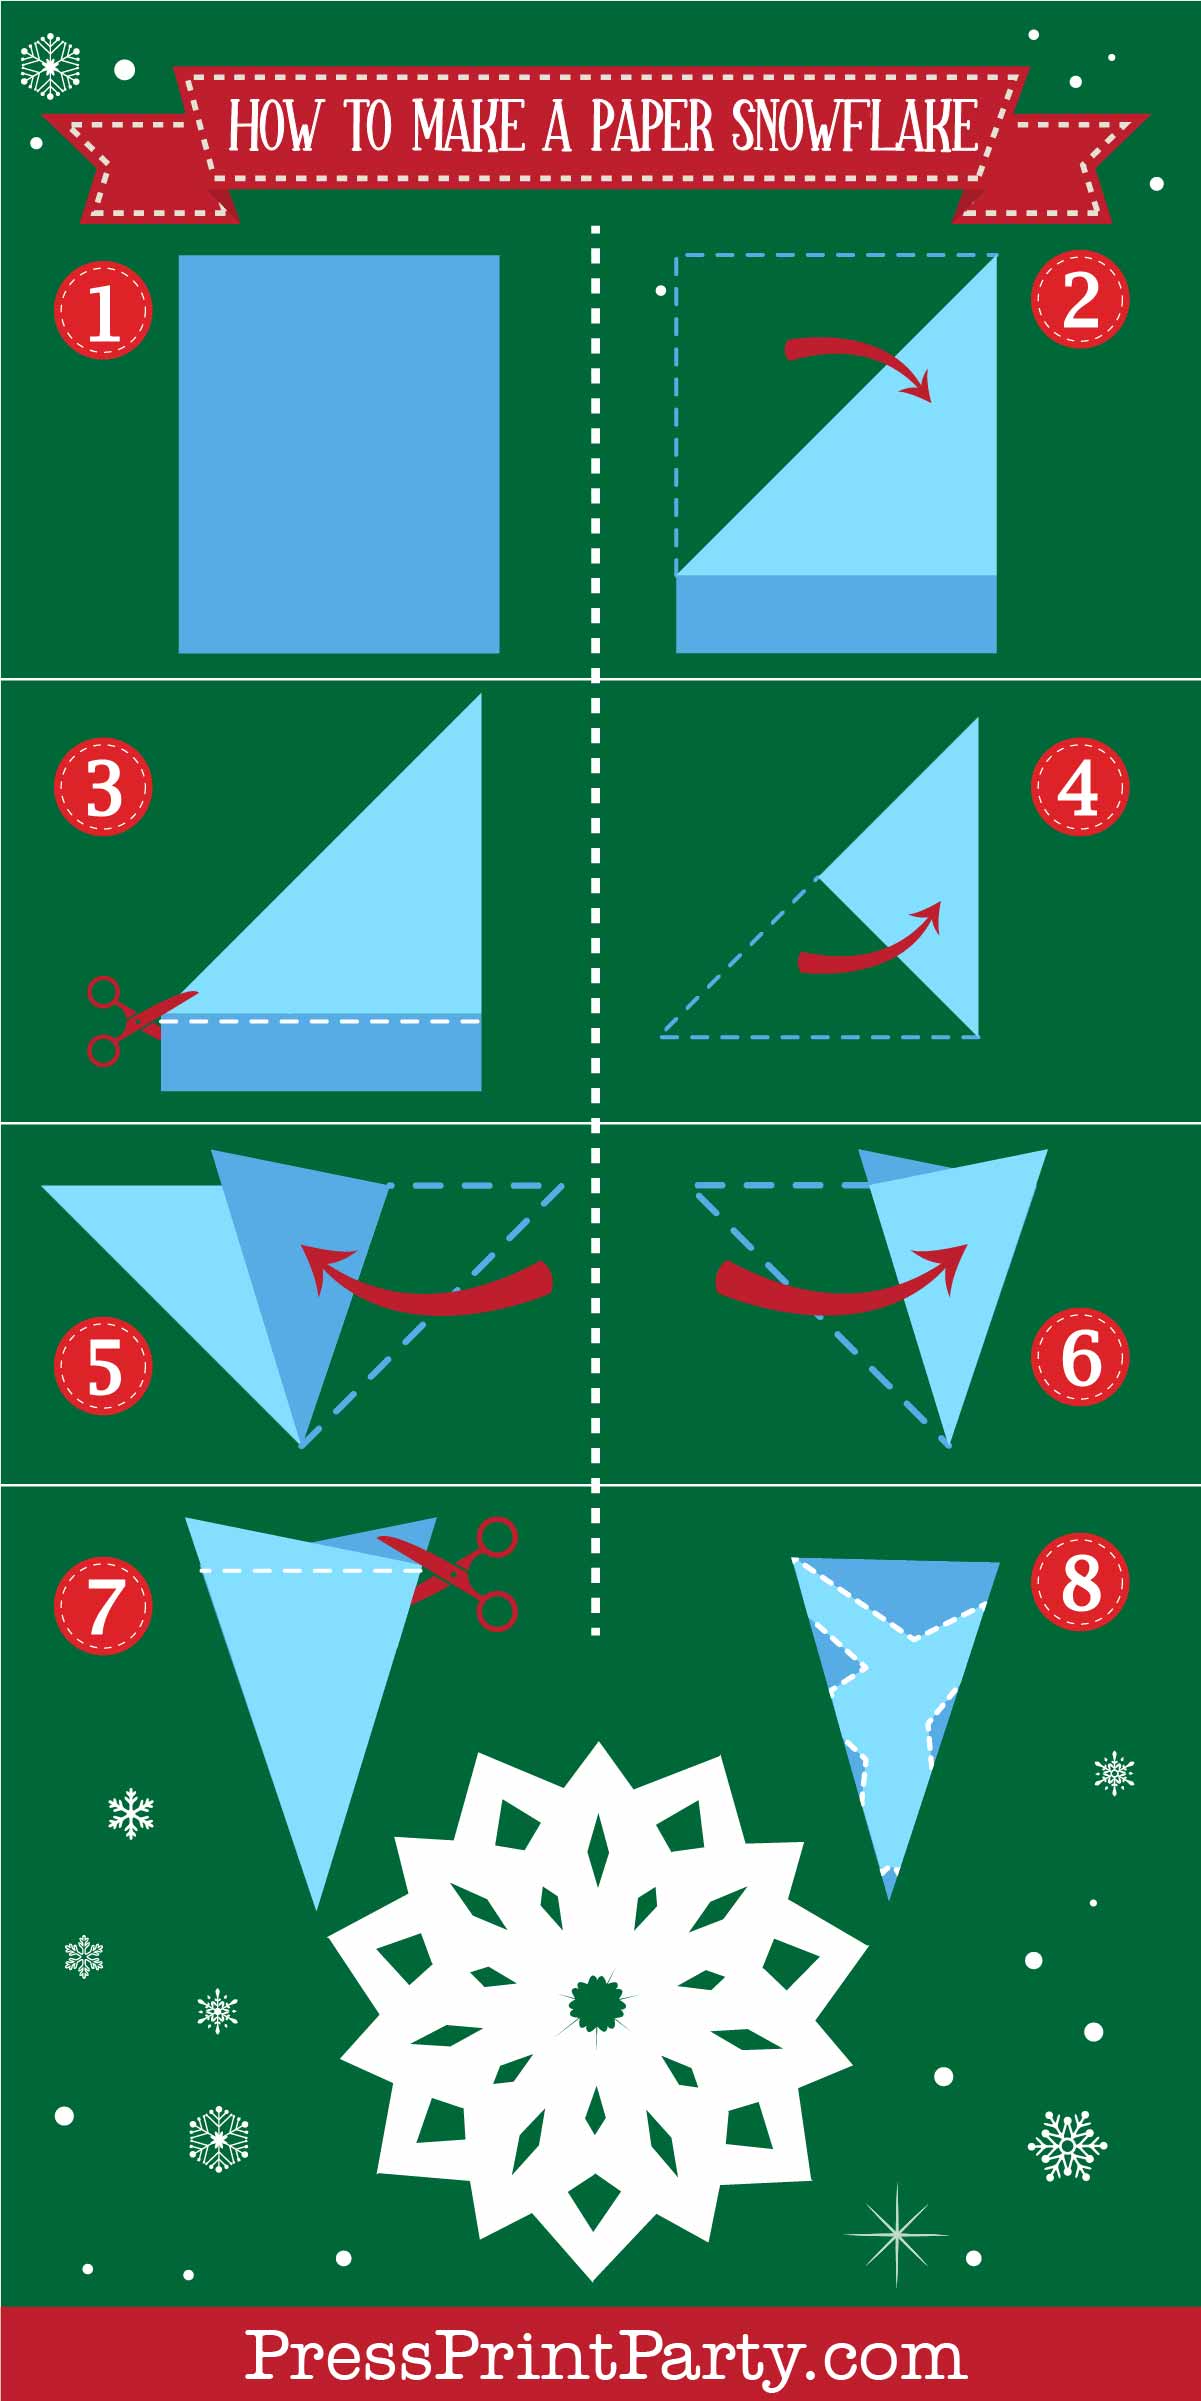
Paper Snowflake Step by Step Instructions
Step 1 – Paper Snowflake Materials Needed:
- Paper
- Scissors
- A pencil (optional)
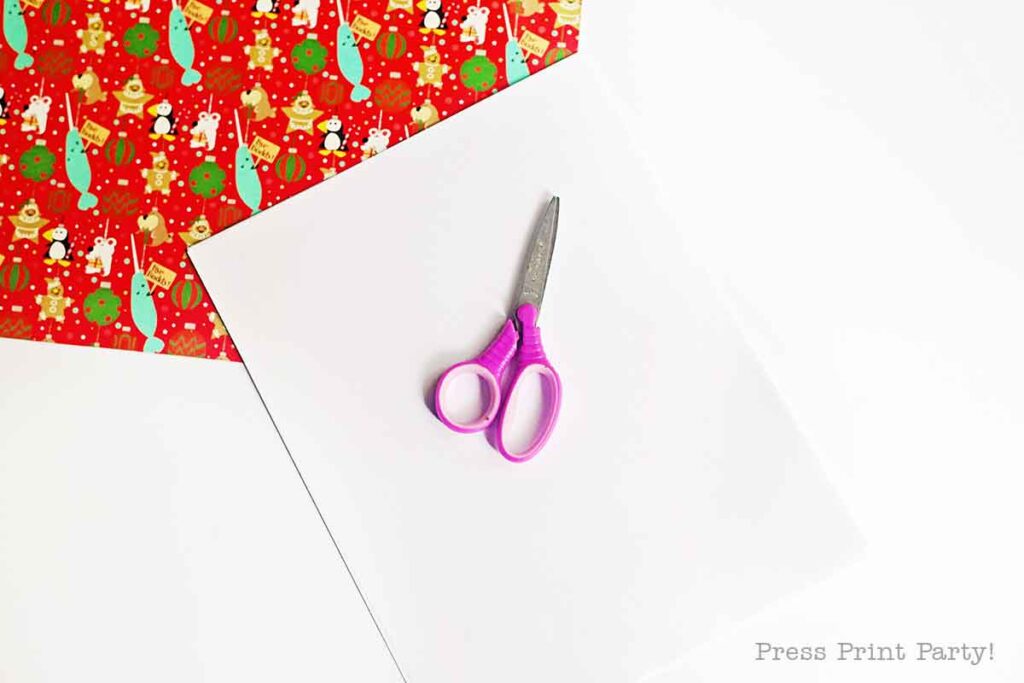
Step 2 – Fold the top of the paper diagonally.
- To create a square piece of paper first fold it diagonally.

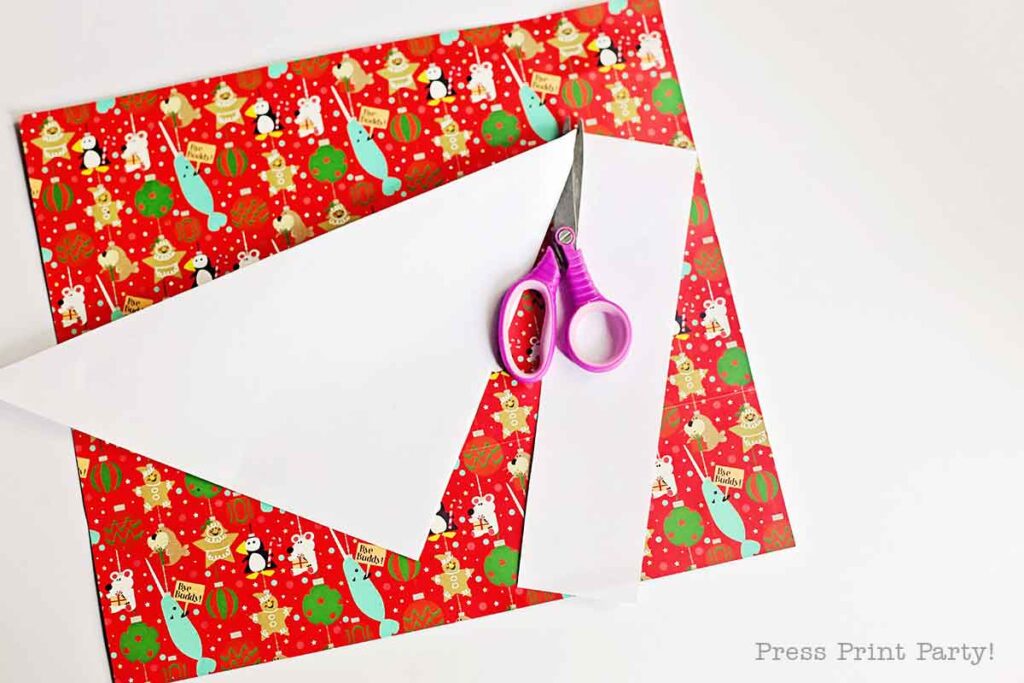
Step 3: Cut the Excess
- You now have a square piece of paper. Keep it folded in a triangle.
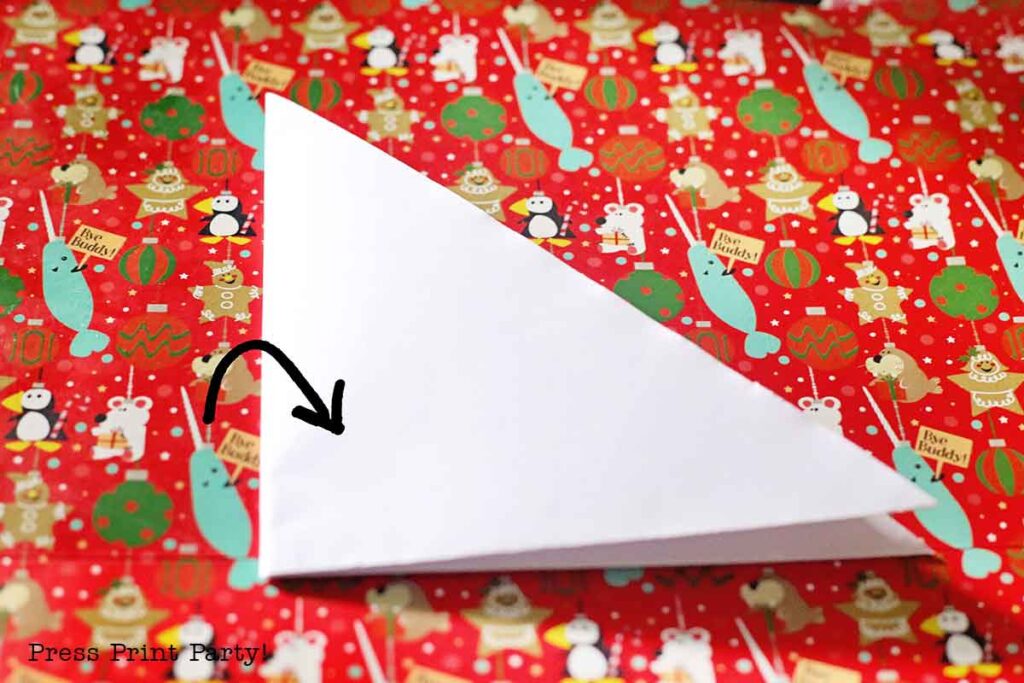
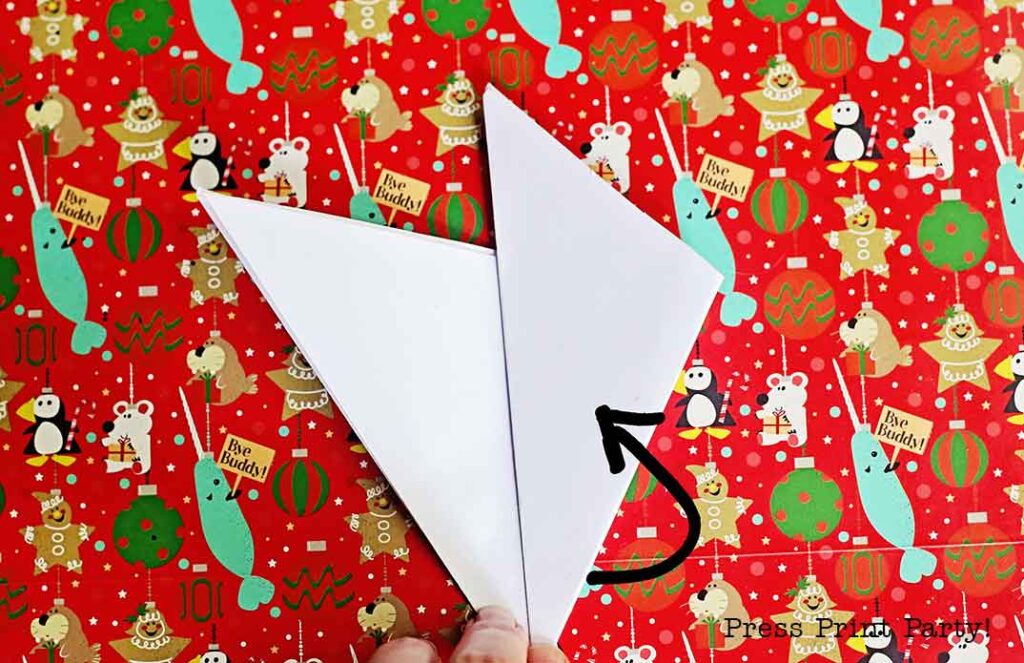
Step 4: Fold in Half Diagonally
- Fold the triangle in half again to form a smaller triangle.
Step 5&6: Divide into Thirds
- Fold the smaller triangle into thirds.
- This step may require a bit of adjustment to ensure symmetry.
- One side of the triangle will overlap the other; align carefully.
- You should end up with a narrow triangle with two points.

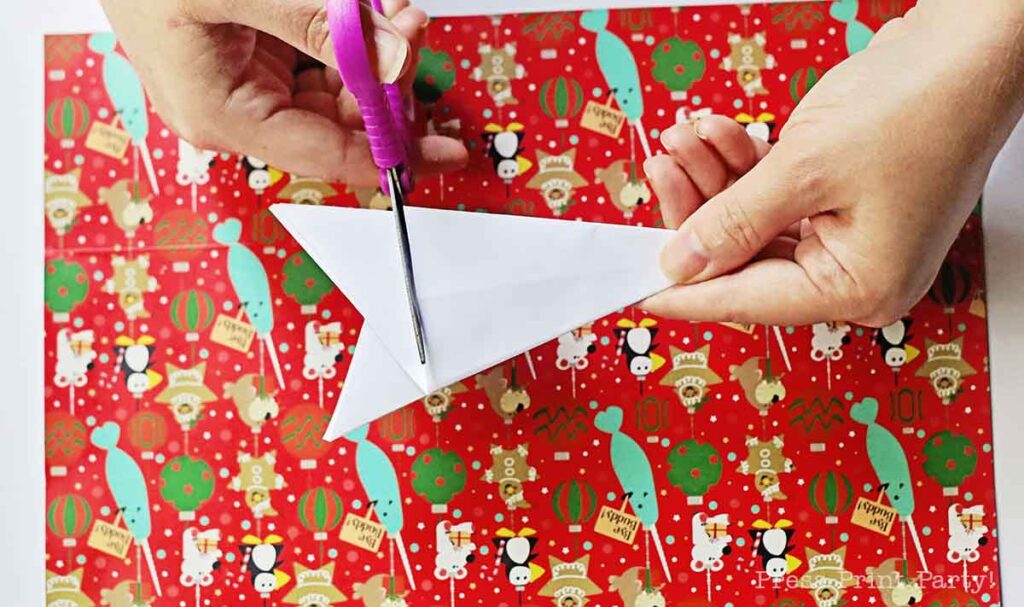
Step 7: Trim the Bottom
- Turn the paper over and cut off the pointed ends of the folded triangle to create a flat edge.
Step 8: Create Your Design
- Draw the pattern onto the folded triangle. (Optional)
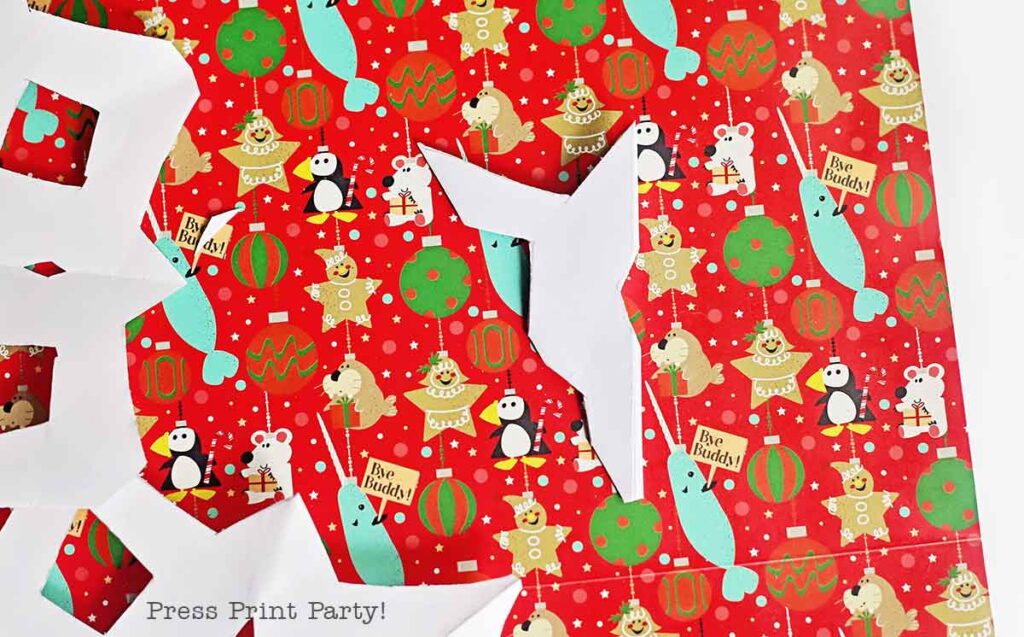
- Using scissors, cut small shapes along the edges of the triangle.
- Experiment with curves, angles, and points for unique designs.
- Avoid cutting all the way across the paper.

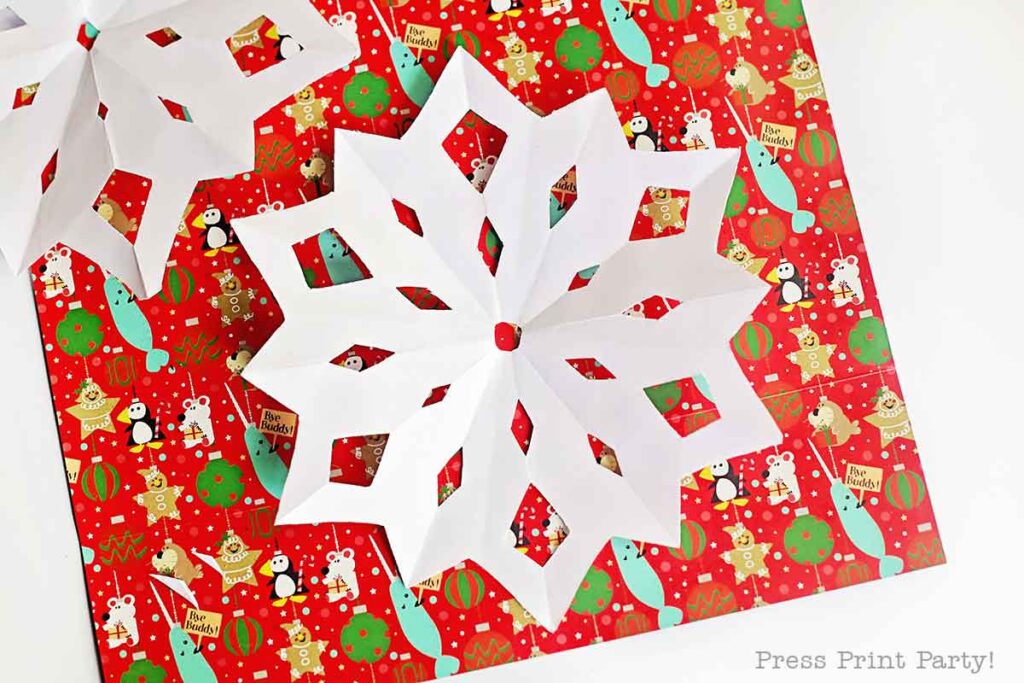
Step 9: Unfold
- Carefully unfold the paper to reveal your snowflake!
Tips for Success:
- Practice on scrap paper first.
- Run a hard, flat object like a ruler along the folds if you want sharp creases.
- Symmetry is key for a balanced snowflake.
- The more intricate the cuts, the more detailed the design.
- The pattern above is deliberately kept simple so that younger kids can follow it. Feel free to alter it for more complex shapes or use the patterns provided below.
- Be sure to never cut all the way across the triangle.
- You can use a coffee filter instead. Just follow the same folding pattern. Just start at step 2 and Skip step 7.

You’ll also love:
Free Printable Paper Snowflake Templates
Create a winter wonderland with these 7 free printable paper snowflake templates! From simple designs to more intricate snowflakes, there’s something for every skill level.
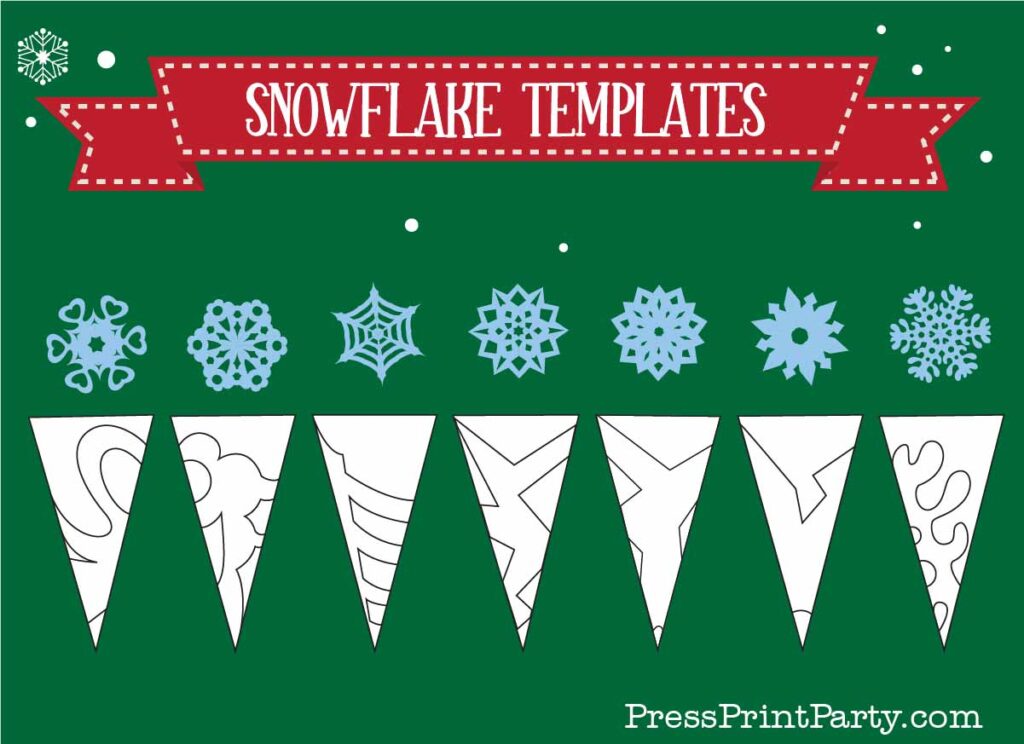
Perfect for crafting with the kids or adding festive decor to your home. Download the free PDF from my exclusive library—just sign up for my newsletter below to get the link and password.


More Fun Printables You Can’t Resist!
Can’t get enough of free printables? We’ve got you covered! Check out these awesome finds to keep the creativity flowing:
- 10 Beautiful Christian Christmas Coloring Pages for Kids
- Snow Much Fun! 10 Printable Winter Games for Kids!
- Get Inspired by Nature With This Mushrooms Coloring Book
- 10 FREE Christmas Games Printables for a Merry Holiday Party
- 10 Free New Year’s Printable Games Kids Will Love
Don’t forget to pin these free printable paper snowflake templates:
Get Your Freebie:
If you’ve already subscribed, you can get the password from the bottom of any email I send and go directly to the Free Downloads Library.


&url=https://www.pressprintparty.com/shop/printable-christmas-stickers-food/&media=https://www.pressprintparty.com/wp-content/uploads/2025/09/christmas-vintage-labels-set-2-foods-1.jpg)
snowflakes