
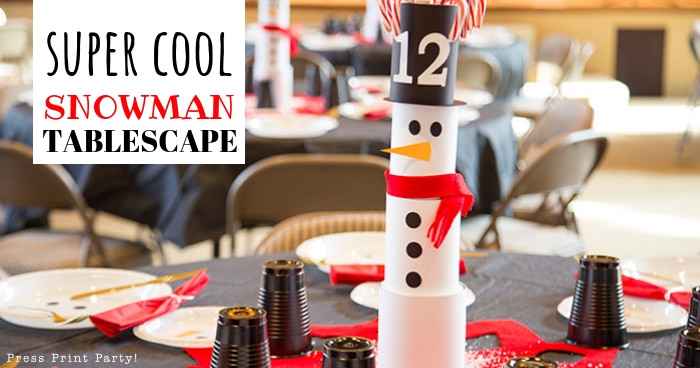
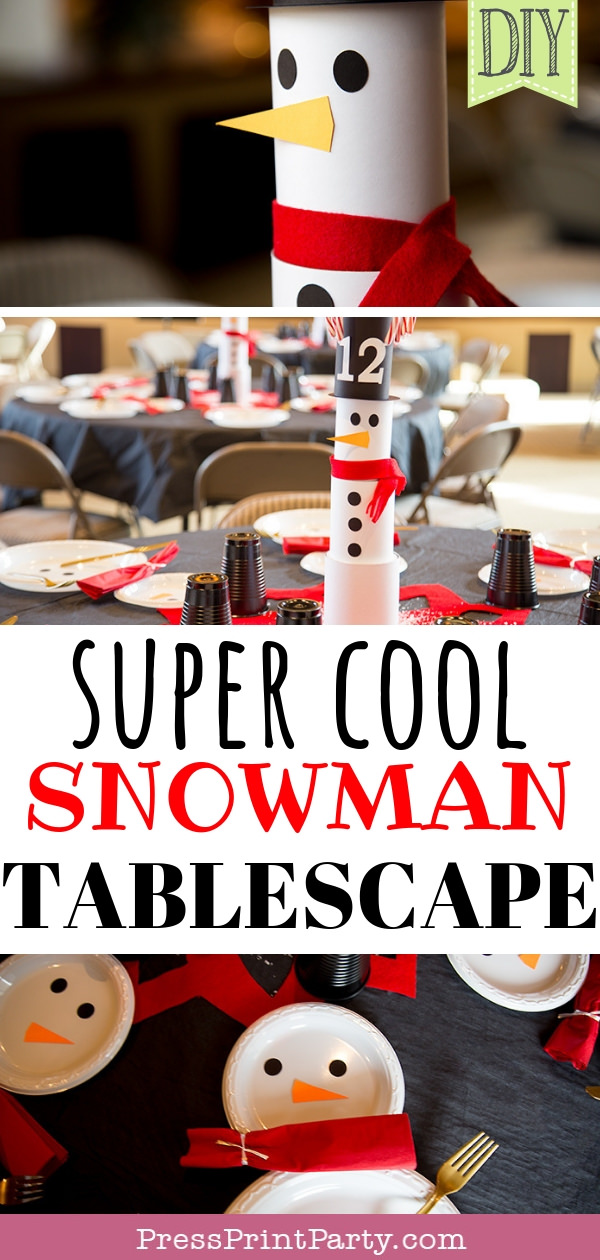
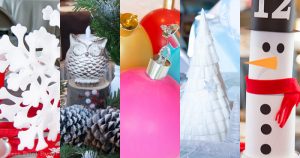
Super Cool Snowman Table Decor You Can Make w. Household Items
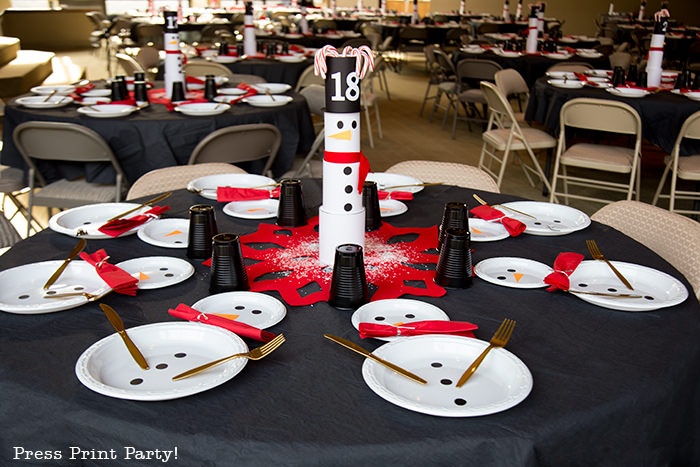
This adorable and easy to make snowman makes a wonderful centerpiece for your Christmas table. Round up the look with a black tablecloth and snowmen made out of white plates, and you have yourself a funky fable everyone will be amazed by.
So cheer up your Christmas tablescape this year and do something a little different, and not just for the kid’s table.
Each year, I decorate the tables for our annual Christmas dinner at church. It’s always a challenge to find something cheap and easy to make for 40 tables so I want to make sure I give credit for the original idea for this tin can snowman craft centerpiece to My Creative Stirrings (The original post no longer exists).
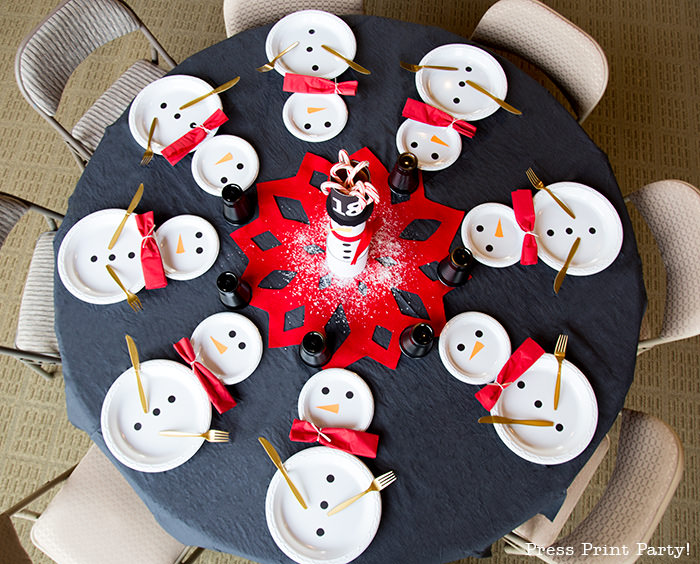
Paired with a black tablecloth and snowman plates, they became the centerpiece of a charming tablescape.
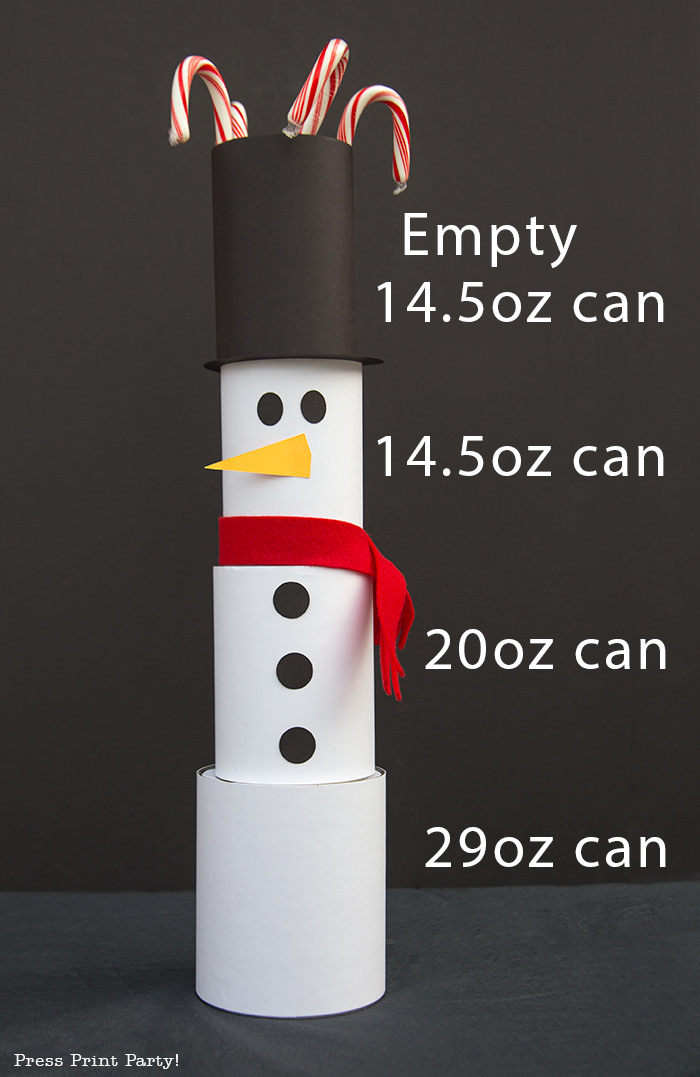
You’ll need 4 tin cans per snowman. (Yeah, I know they’re not made out of tin but what else do you call them??) The awesome thing about it is that they don’t even have to be empty. Actually, except for the hat, they really shouldn’t be. This made getting a bunch of cans from the food pantry at church a breeze. (And I was able to return them all after the dinner was over!)
Snowman Table Craft Materials:
For the Snowman Centerpiece:
- One empty 14.5 oz can ( g)
- One full 14.5 oz can ( g)
- One full 20 oz can ( g)
- One full 29 oz can ( g)
- White cardstock – (If, like us, you’re not going to remove the labels off the cans you’ll need a thick cardstock of at least 110lb so you won’t see the labels peek through).
- Black cardstock
- Orange cardstock
- Red felt
- Candy canes
- Glue dots
- Optional SVG cut files for the eyes, noses, and table numbers. Download at the end of the post.
For the Snowman Plates
- 10” plastic dinner plates
- 7” plastic dessert plates
- Red paper napkins
- Black cardstock
- Orange cardstock
- Gold colored utensils
- White ribbon
- Black cups
Instructions Snowman Centerpiece:
- Cut strips of the white cardstock to wrap each full can completely. You don’t want to see any of the silver of the can. Just measure the full height of your can and cut a strip long enough to wrap the can.
- Cut a strip of black cardstock to wrap the empty 14.5 oz can.
- Cut a piece of red felt 1” x 16” and cut fringes on the last 2” on each side to make the snowman’s scarf.
- Because I wanted to keep my cans well hidden and not show any silver, I also cut a circle of white cardstock to go on top of the 29 oz and the 20 oz cans before stacking them.
- Cut a circle of black cardstock about a ½ inch wider than the 14.5 oz can to act as the brim of the black hat.
- Cut three 3/4″ circles out of the black cardstock for the buttons (a 3/4″ circle punch works great for that), 2 ovals for the eyes, and one nose from the orange cardstock. I have included my SVG cut files for these, as well as the cut files for the table numbers I used on the hats.
- Glue the 3 buttons on the 20 oz can
Glue the eyes and nose on the full white 14.5 oz can.
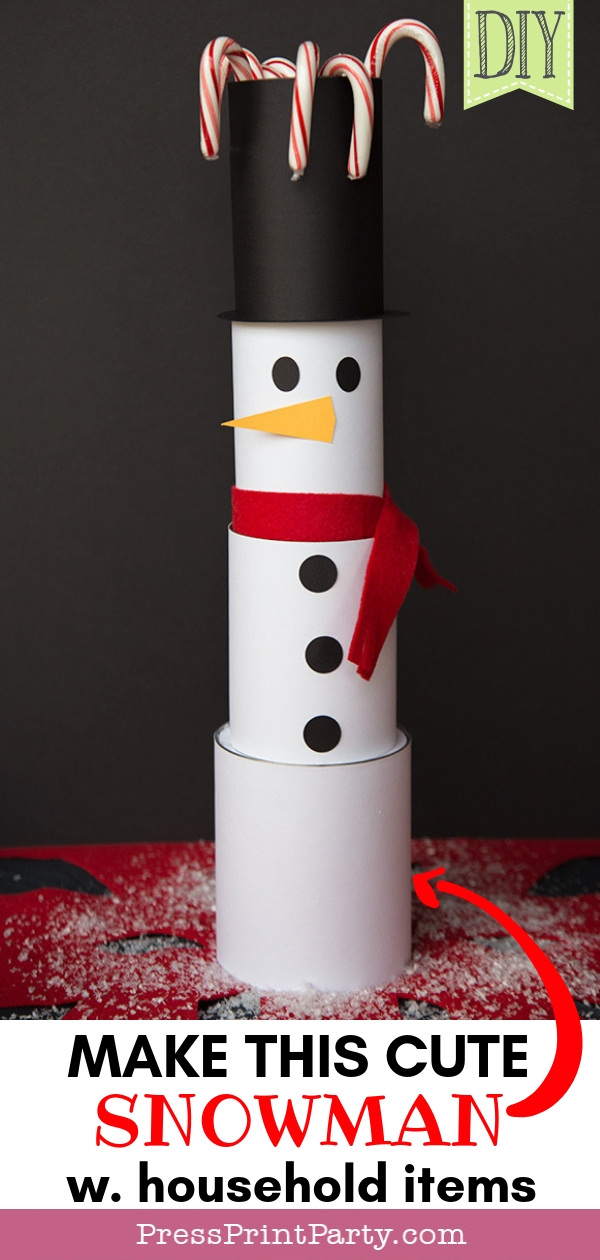
Now, all there is left to do is stack. From top to bottom this is what you get:
Empty black can
Black cardstock circle
Full white 14.5 oz can with eyes and nose
White cardstock circle
Full white 20 oz can with buttons
White cardstock circle
Full white 29 oz can
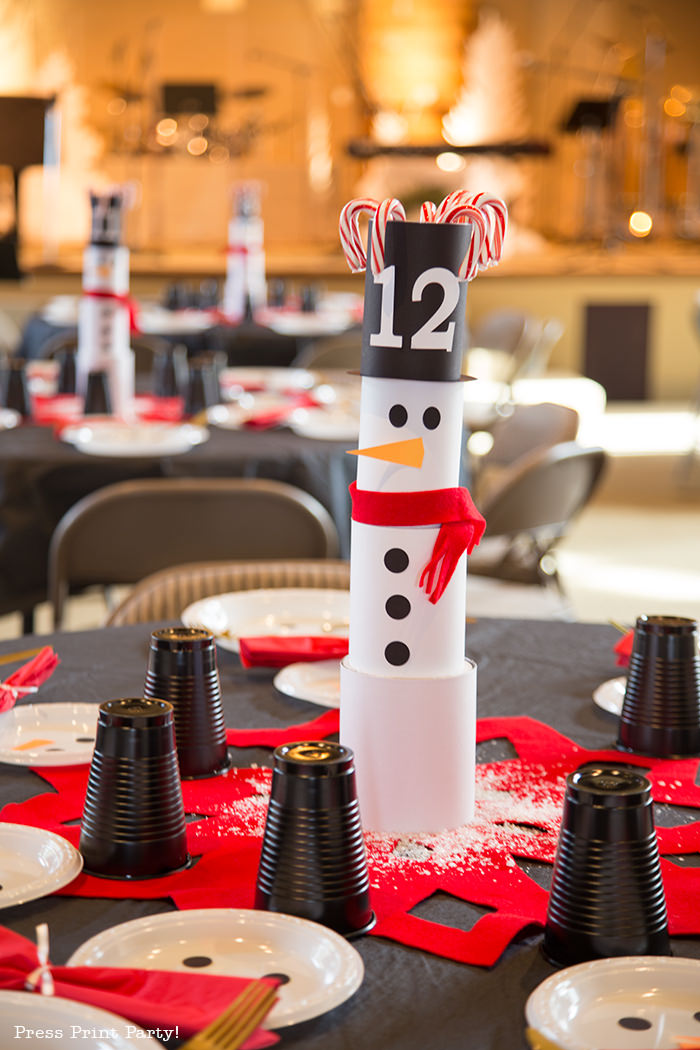
Next, wrap the red felt scarf at the bottom of the full white 14.5 oz can and fix it with a glue dot. Now fill the top can with candy canes, and you’ve got yourself an amazing snowman Christmas table centerpiece.
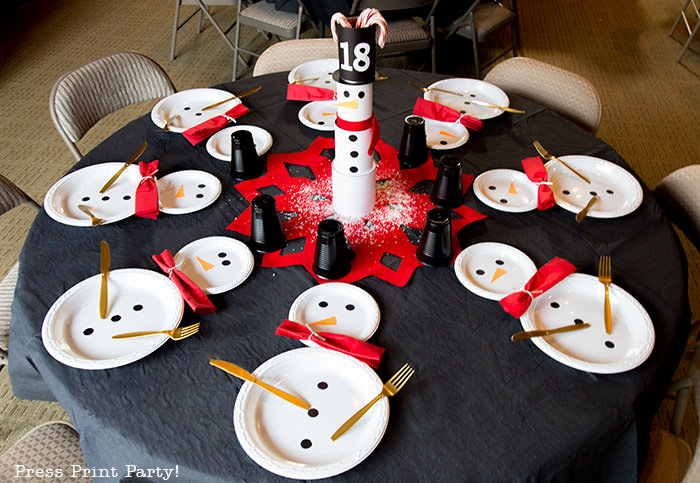
Instructions for the Snowman Plates:
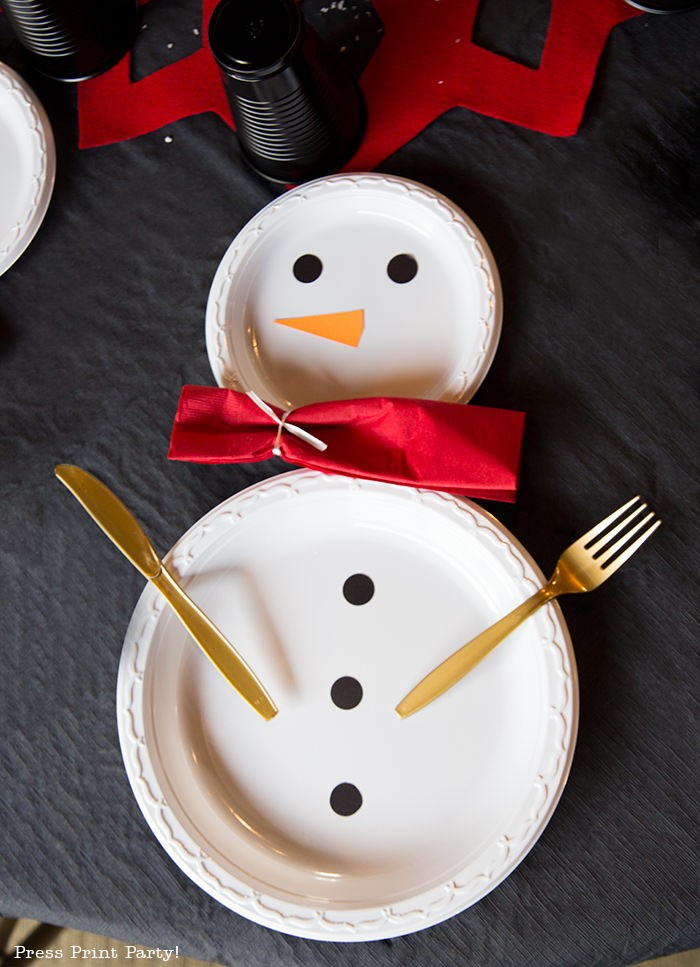
- Place the white dessert plate at the top of the white dinner plate.
- Fold the red napkins to be long and skinny. Our napkins started out square and we folded them in half and in half again the long way.
- Tie a piece of white ribbon about 3” from the edge. There’s no need to fringe the napkin, we tried and it just looked messy. We also had 300 to do so we abandoned that idea fast.
- Place the red napkin scarf in between the 2 plates.
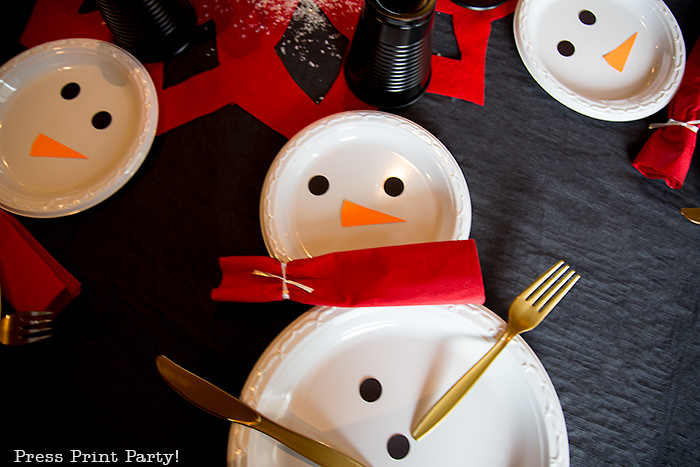
- Place 3 cardstock circles on the dinner plate for the buttons, 2 more circles for the eyes, and the orange nose on the dessert plates for the head.
- Place the utensils on the dinner plate to represent the limbs of the snowman.
- The upside down black cup represents the hat of the snowman.
Looks like a one of my snowman lost his hat!
Tying the Snowman Theme all together:
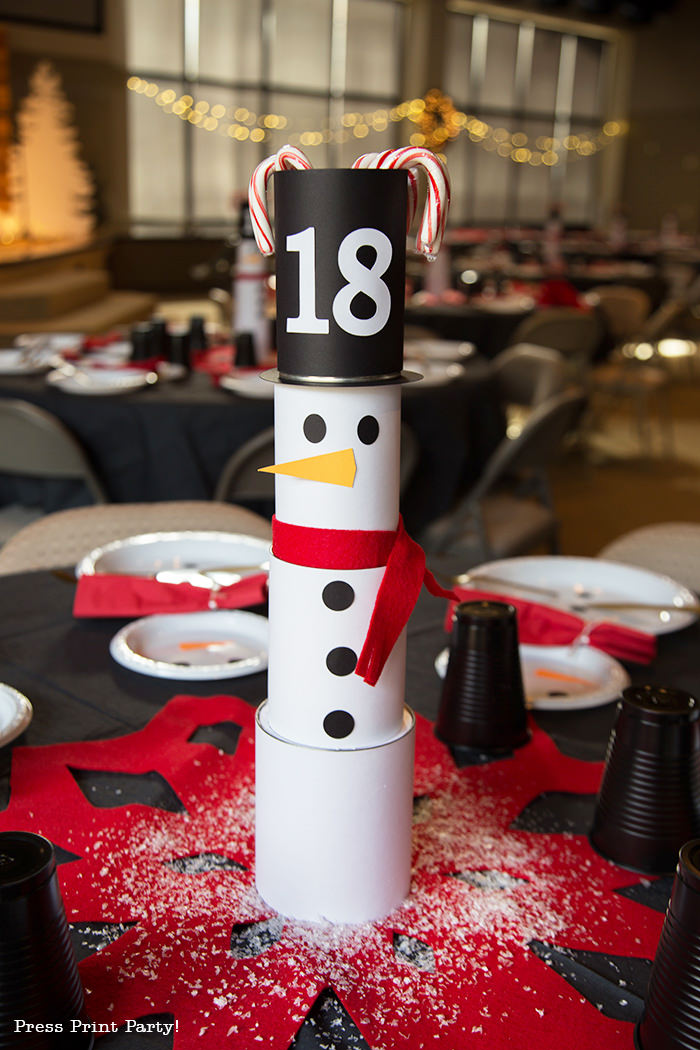
I used a black tablecloth to add to the contrast. I felt that it was a bit of a bold move and was afraid of what it would look like at the end. I could have gone with red but the black ended up being the right choice.
I also placed a huge red snowflake made out of felt at the center of the table. I had used those for my red and white snowflake Christmas table and thought it would add more depth to the design.
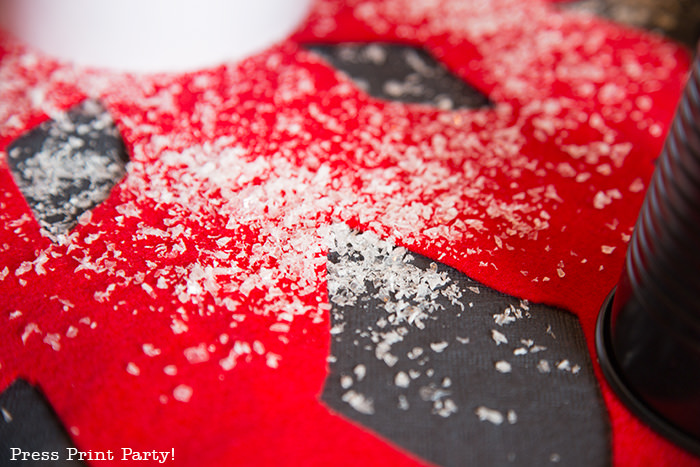
A little bit of fake snow finished the look. I could’ve sprinkled the table with white snowflakes as I did for the Winter Wonderland themed Christmas table, but in the end, I decided against it.
Adding the table numbers to the snowmen’s hats worked great and everyone found their seats easily.
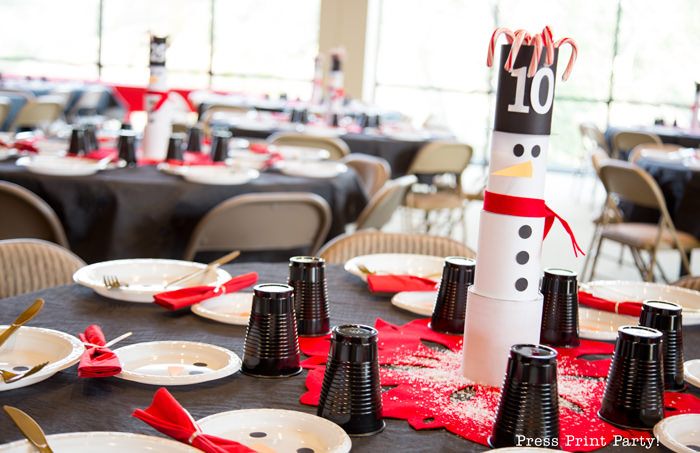
Looking at a room full of these snowman tables was striking. Christmas should be fun and these whimsical snowman tables sure fit that bill.
Get Your Freebie:
If you’ve already subscribed, you can get the password from the bottom of any email I send and go directly to the Free Downloads Library.
Check out our holiday printables


SUPER CUTE snowmen, Nathalie! Thanks for sharing! Creatively, Beth
What darling snowmen centerpieces! I love when you can use household things like cans and make them pretty!
Thank you! And you don’t even have to empty them first! Everyone has cans and white paper and can make this!
The snowman plates are the coolest! Such a festive table!
Thank you! Who doesn’t like snowmen!
My son just came in and said, “look at that snowman!” I think we have to make this craft for him now. Such a cute way to decorate your table.
Too funny! And you probably already have everything at home to make them!
I absolutely love love this snowman idea!! The cutest ever!
Thank you so much. They were fun to make.
This is SO cute! I love how simple yet super effective the place setting design is at creating a snowman. The centerpiece is darling. I’ve got a fun snowman neighbor gift I need to write up and we can link them up!
That’s be great Bri!
This is so creative and cute! You did a great job with this! The centerpiece is genius! And I love the tablescape snowman set up.
Thank you so much, I did love how cute the whole room looked!
What adorable ideas for a snowman theme!! So fun!
Thank you! It’s nice to not take yourself too seriously sometimes.