
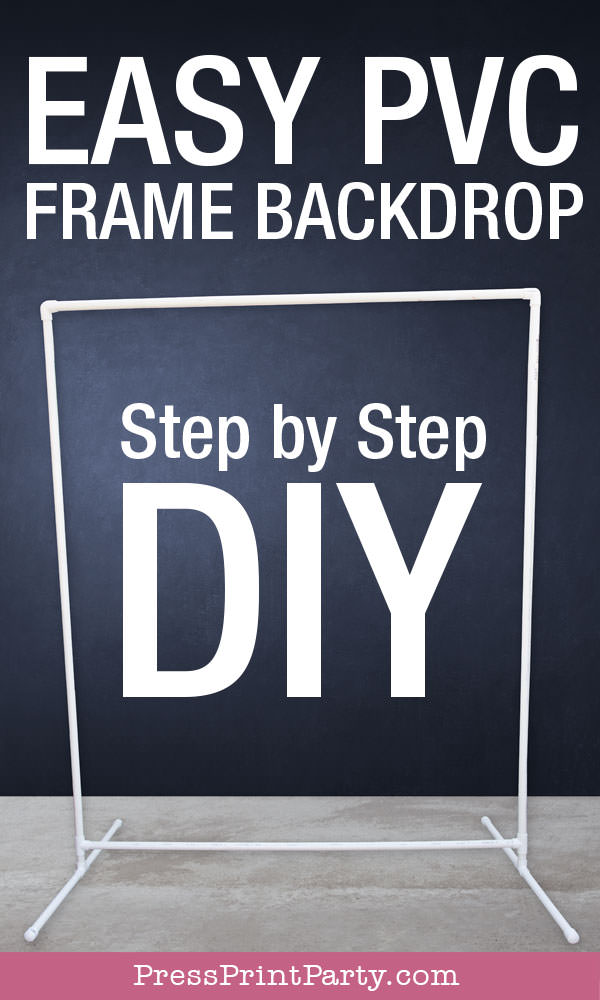
Easy PVC Backdrop Frame DIY
Have you ever wondered how all those wonderful backdrops for party dessert tables or photo booths hold up?
Whether or not you have a wall available, sometimes, having a free-standing backdrop with a frame is the best solution for your needs, and a PVC frame is cheap, easy to make, and very sturdy.
This post contains affiliate links. I may earn a small commission at no extra cost to you. Thank you for supporting my blog!
But before I go into how to make a PVC backdrop frame, I want to make you aware that you can buy a collapsible and adjustable frame for around $50:
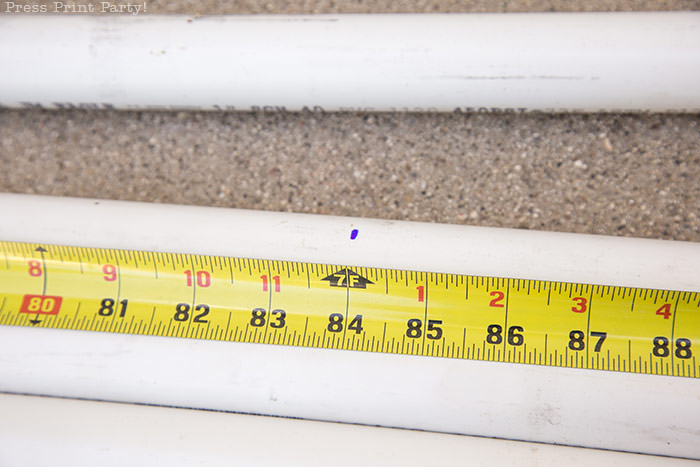
They’re definitely more flimsy than the PVC frame I’m going to show you, but they’ll get the job done and have the advantage of being adjustable. My PVC frame cost $28 in materials but I already had the PVC cutter tool. You can of course use any kind of saw or cutting tool but the PVC cutter is really an amazing tool. The phrase “hot knife through butter” gets used far too much but for this tool, it’s absolutely true. Nice, clean cuts without any rough, irregular edges – it’s a simple tool to use and a great asset to have in your arsenal if you occasionally use PVC for crafting or DIY projects.
Before you start making your PVC Frame
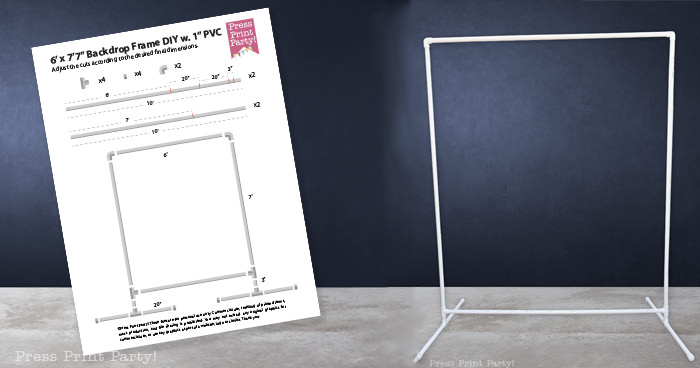
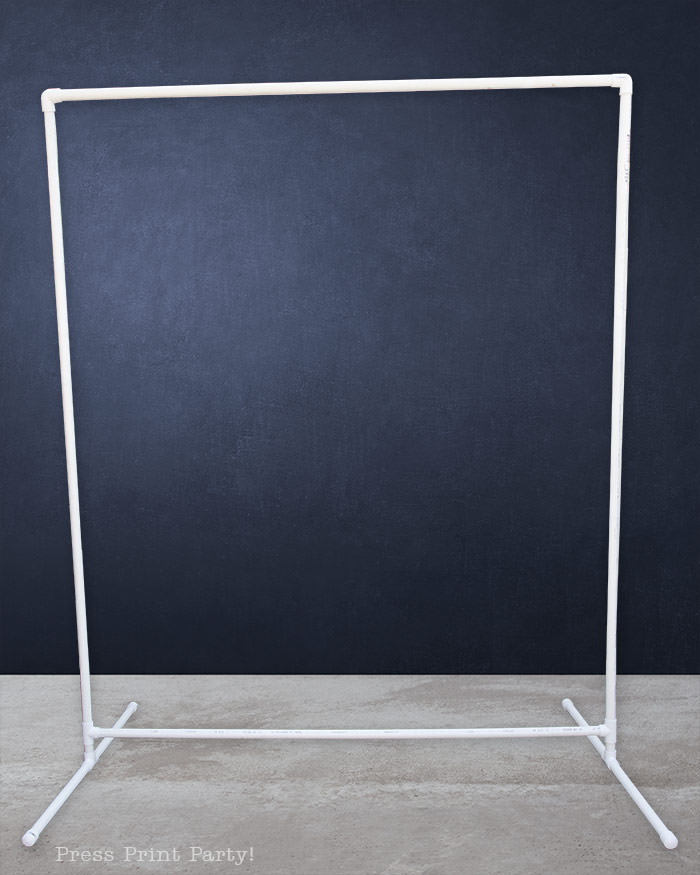
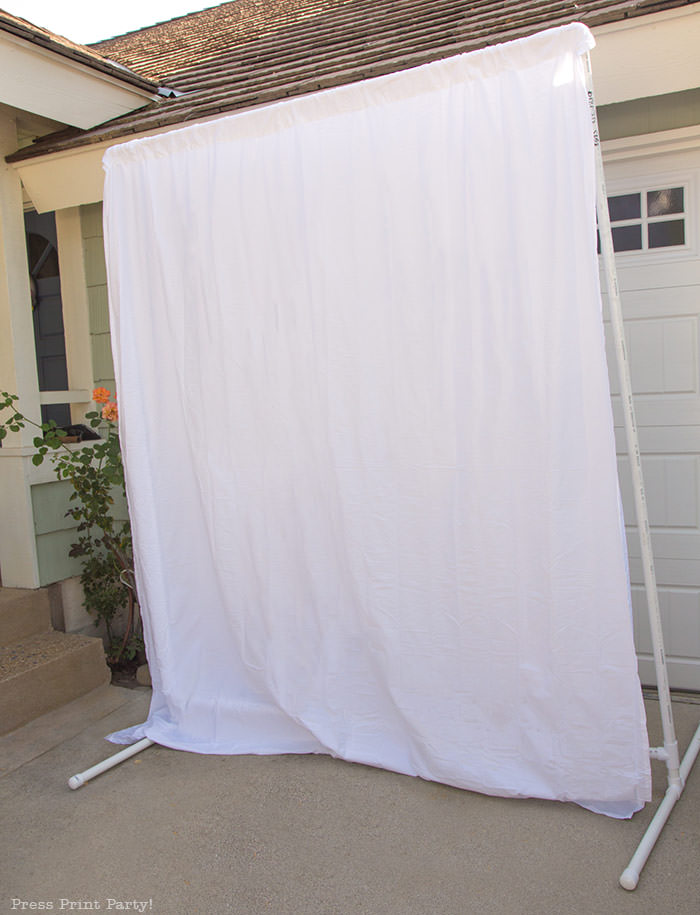
You’ll need to decide how tall and wide to make your frame to fit most of your needs. I have a frame that’s roughly 8’ wide by 7’7″ tall that I use as a photo booth backdrop and another frame that’s 6’ wide x 7’7″ tall that I use as a backdrop for my dessert table.
The height of the larger one is a bit less than 8’ so an 8’ curtain or sheet would drape at the bottom. But that’s a personal decision. Think hard about the dimensions YOU need and adjust accordingly.
I used 1 inch PVC for strength. I’ve made a frame with the smaller PVC and I just found it too flimsy. The feet in my schematic are wide enough to be rather sturdy but you may want to add sandbags or heavy rocks on them if the wind is going to be a problem.
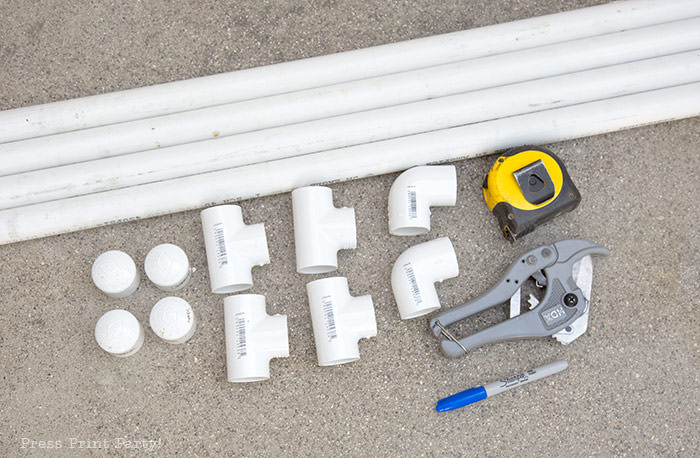
PVC Backdrop Frame Materials for a 6’ x 7’7″ frame.
- 4 – 10 feet tall 1 inch PVC pipe
- 4 – 1” caps
- 4 – 1” T connectors
- 2 – 1” corners
- 1 Sharpie
- 1 PVC cutter tool
- 1 measuring tape
How to make your PVC Frame backdrop
To make it easy to have the instructions with you when you’re working, the schematics are also available as a printable page in my Free Downloads Library available for subscribers.
Once you start, it shouldn’t take any longer than 20 minutes to make.
Cut the PVC with the PVC cutting tool so that you have these pieces:
- 2 – 6’ pieces
- 4 – 20” pieces
- 2 – 3” pieces
- 2 – 7” pieces
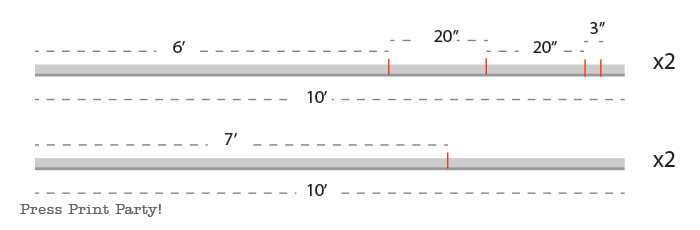
You can cut 2 of the 10’ PVC as follows: 6’ + 20” + 20” + 3” (you’ll have 2 pieces of 5” PCV left over).
And cut the 7’ pieces out of the other 2. (You’ll have 2 pieces 3’ of PVC left over).
First thing, I suggest measuring and marking the PVC with a sharpie and only then start cutting.
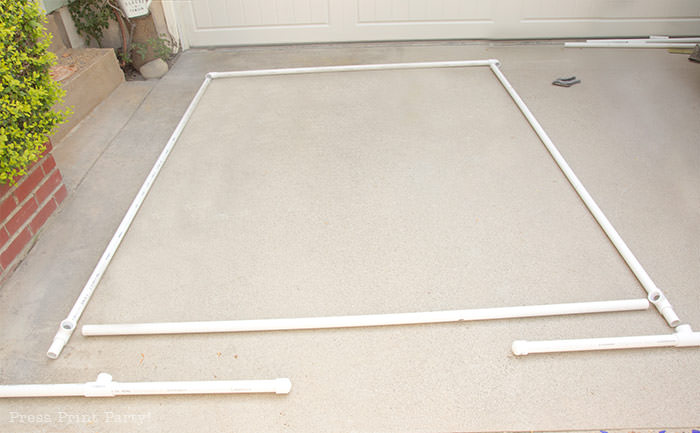
Once all the pieces are cut it’s a simple task of assembling like this:
Assemble the feet with the 20″ sections, a T connector and 2 caps as shown:
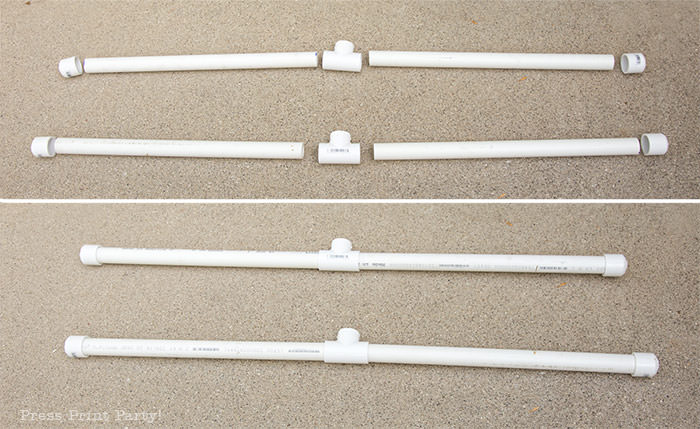
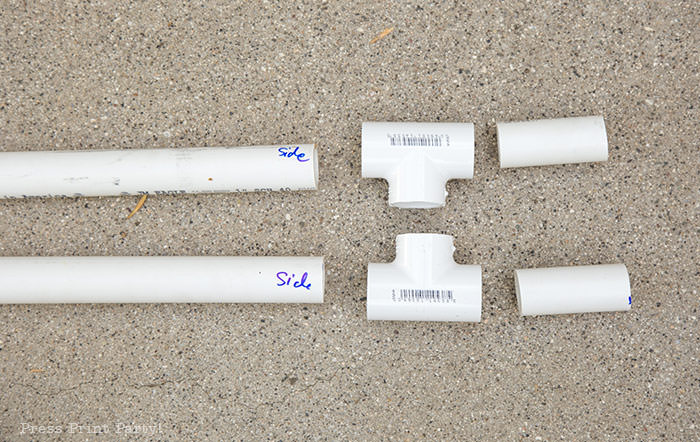
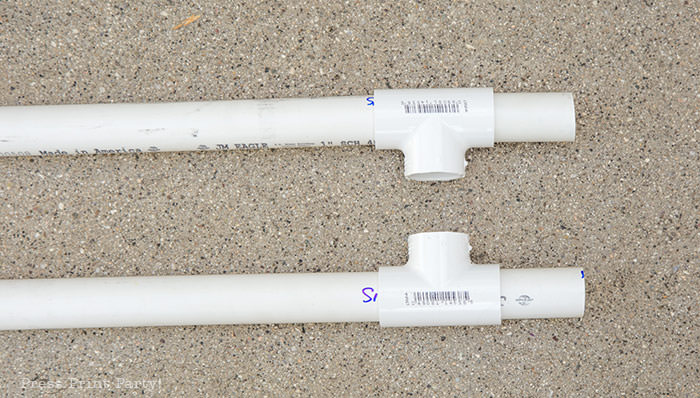
Put together the sides with the 7′ section, a T connector and a 3″ section:
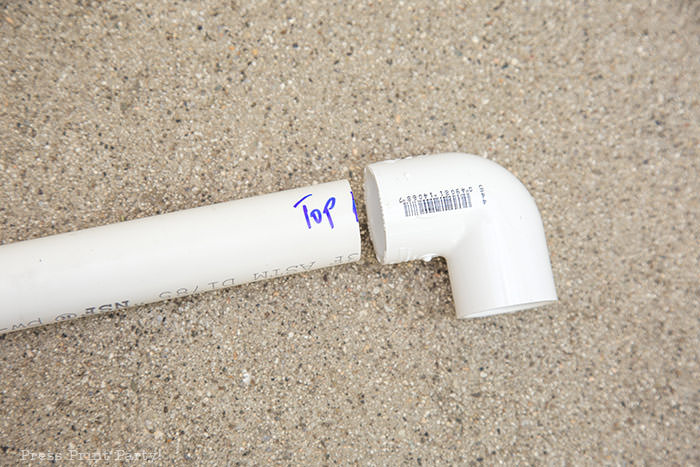
Assemble the top 6′ section with the 2 corner connectors:
And now put is all together like this:
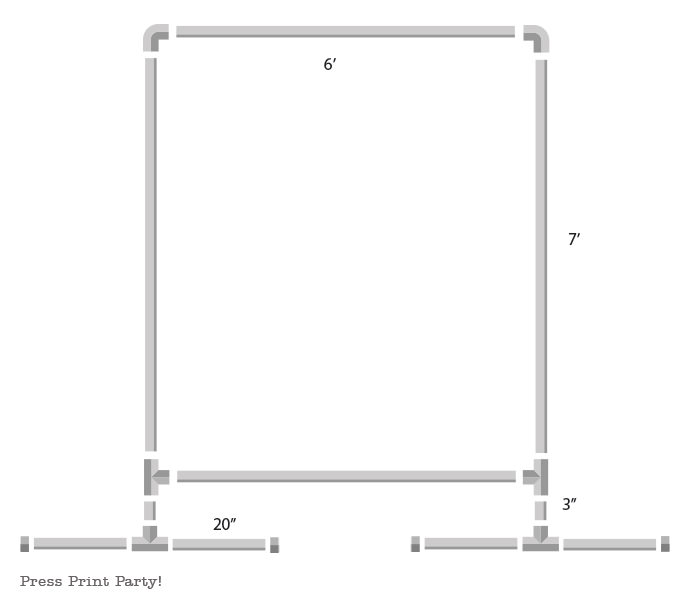
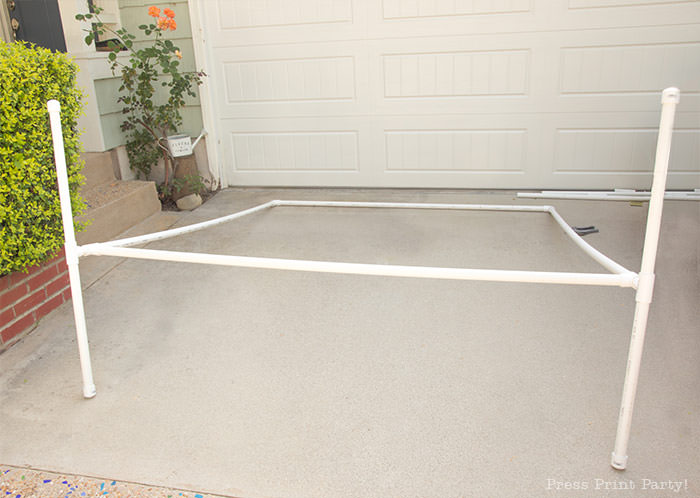
And naturally, the feet should be turned 90 degrees from the frame to stand upright.
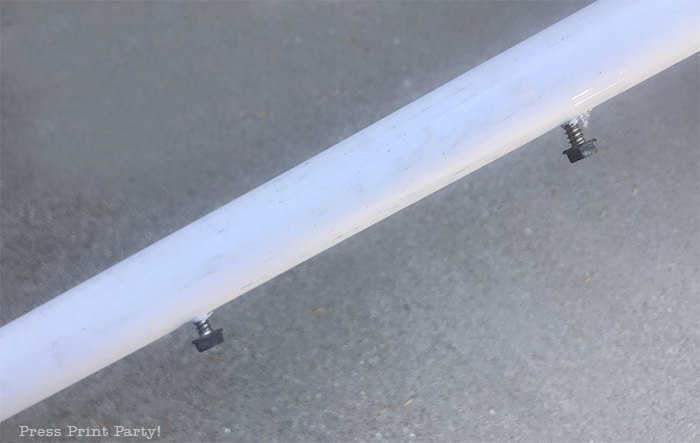
PRO TIP: You can also add a couple of screws in the back of the side bars to make it easy to string banners across your backdrop. The screws are also handy to tie an anchor line to when, after weeks of windless days the wind picks up 10 minutes before your party starts and the backdrop threatens to fly into the neighbor’s pool.
Now remember the 8′ wide frame that I mentioned?
If that’s the size you’d like, you can cut 2 of the 10’ PVC as follows: 8’ + 20” (you’ll have 2 pieces of 4” PCV left over).
And cut the 7’ + 20” + 3” pieces out of the other 2. (You’ll have 2 pieces left over that are just over a foot long).
Backdrop Options
You can use so many things as backdrops. A queen-size sheet will fit perfectly on this 6′ x 7’7″ frame. Just cut a slit in the hem at the head of the sheet and insert it through the top pipe.
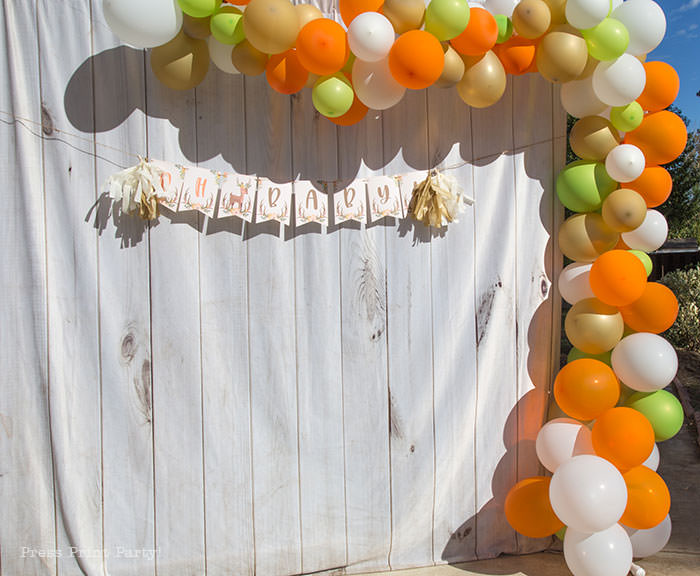
You can also use plastic tablecloths, foil curtains or any kind of photo backdrop. I have one of the backdrops from Kate Photography Backdrops that I use on my 8′ x 7’7″ photo booth frame and I LOVE it! The fabric just doesn’t wrinkle ever and it’s washing machine safe.
This is the style I have (I bought the 8′ x 8′):
And you can see how great it looks for a photo backdrop for my Woodland baby shower.
Don’t miss all my recommendations for backdrops in my Amazon recommendation list.
How to store your PVC Frame
I store mine in the garage in 6 pieces:
- The 2 assembled feet
- The 2 sides with the T connector and the 3” piece
- The bottom 6’ or 8′ piece
- The top 6’ or 8′ piece with the 2 corner connectors
It only takes me a minute or two to reassemble the whole frame. I really recommend that you write on your pieces which ones are the sides, top, and bottom. Not only will it make it easier for you to reassemble, but you can ask a friend to assemble it and even if they’ve never seen it before they’ll be able to figure it out.
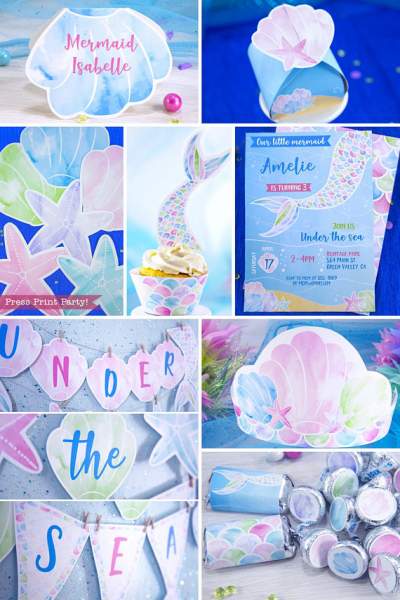
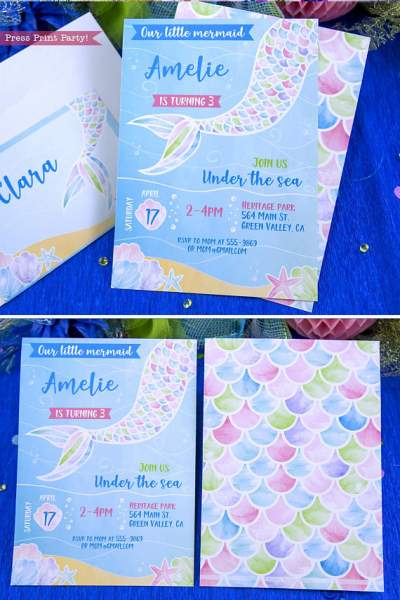
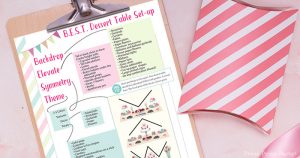
Now that you have your backdrop frame, you need to learn how to make your party really sparkle. For tons of tips, go check out my dessert table styling guide, my secrets on how to plan the perfect party, and how to make an easy balloon garland.
Don’t forget to pin it:
Get Your Freebie:
If you’ve already subscribed, you can get the password from the bottom of any email I send and go directly to the Free Downloads Library.
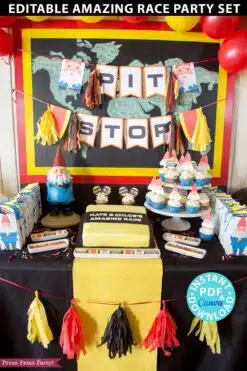
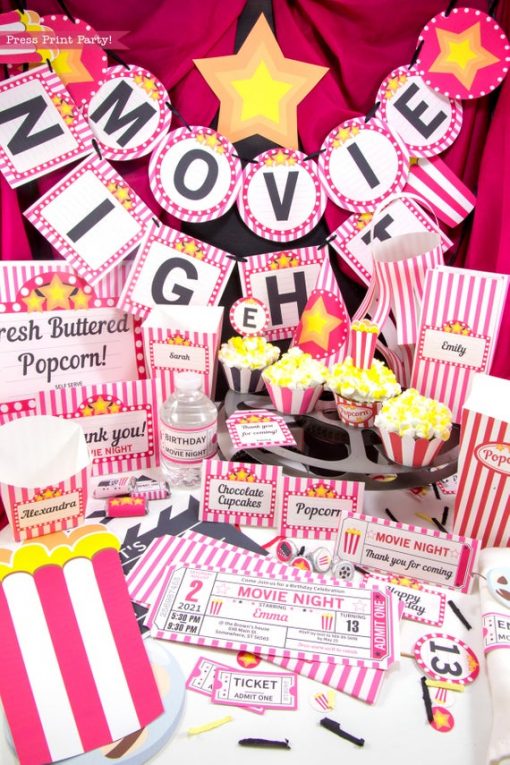
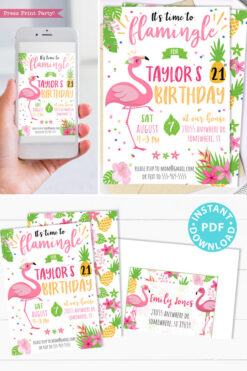
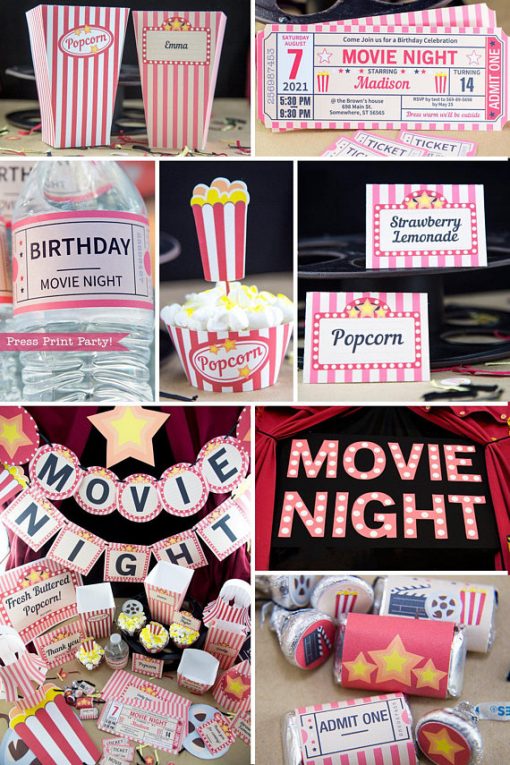
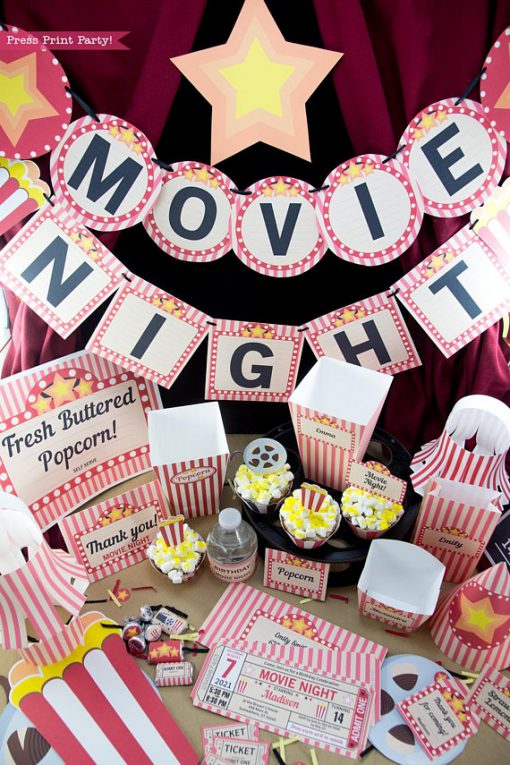
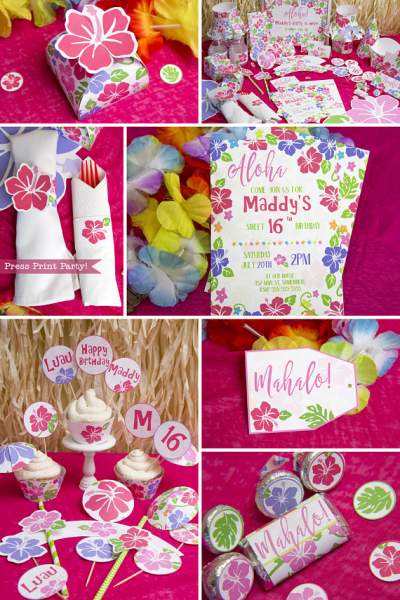
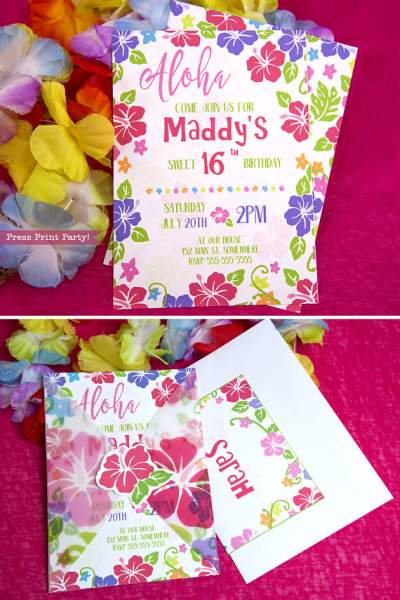
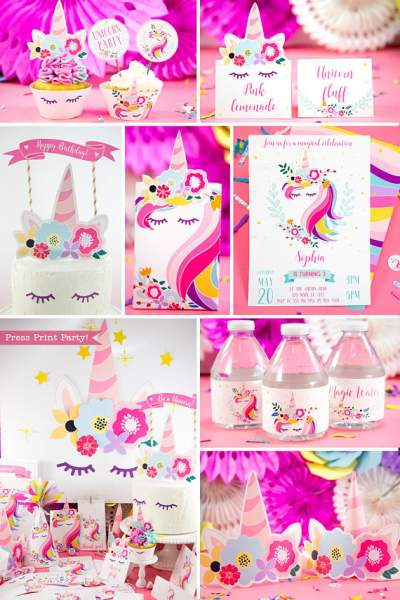
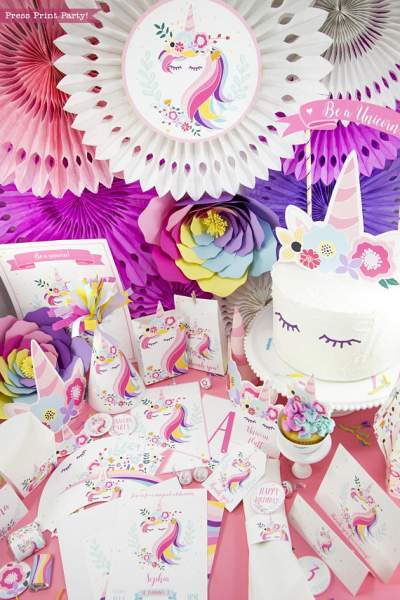
Check out our birthday printables

Birthday Party Packages
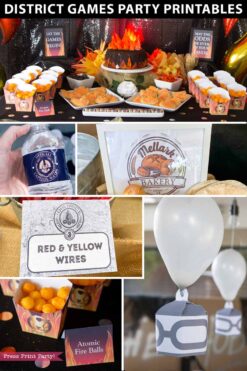
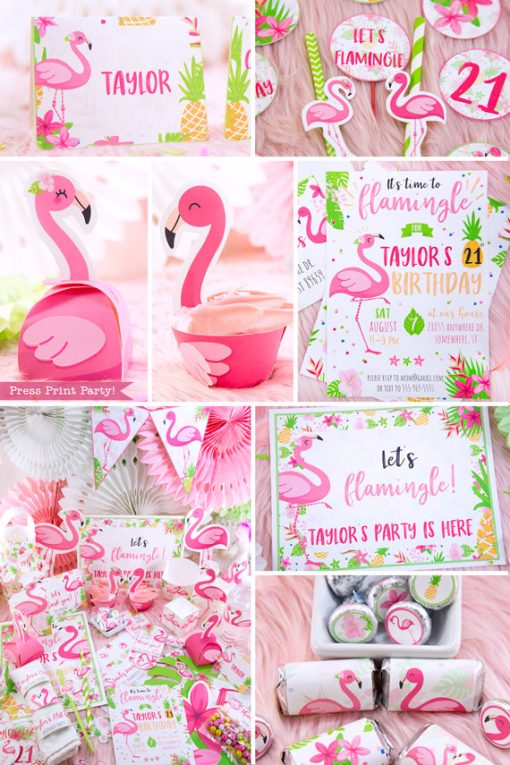
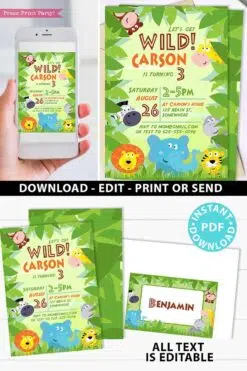
District Games Party Printables Set – Perfect for a Hunger Games Party


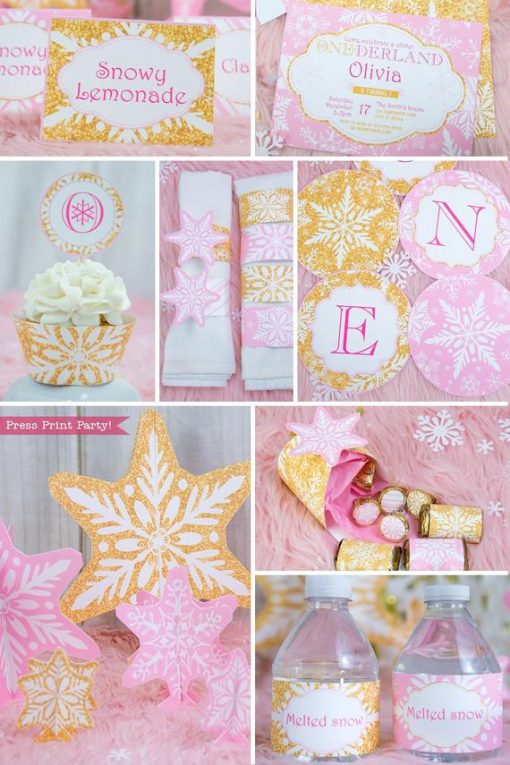
ONEderland Party Printables
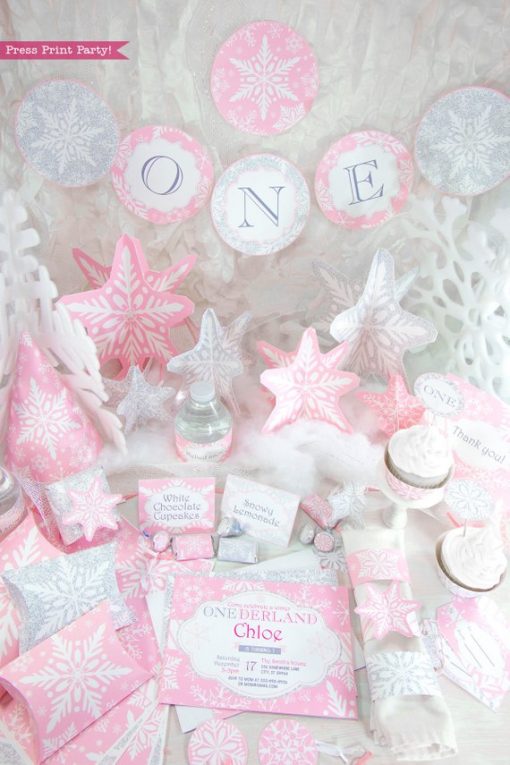
Winter ONEderland Birthday Printable Package, Pink & Gold Snowflakes
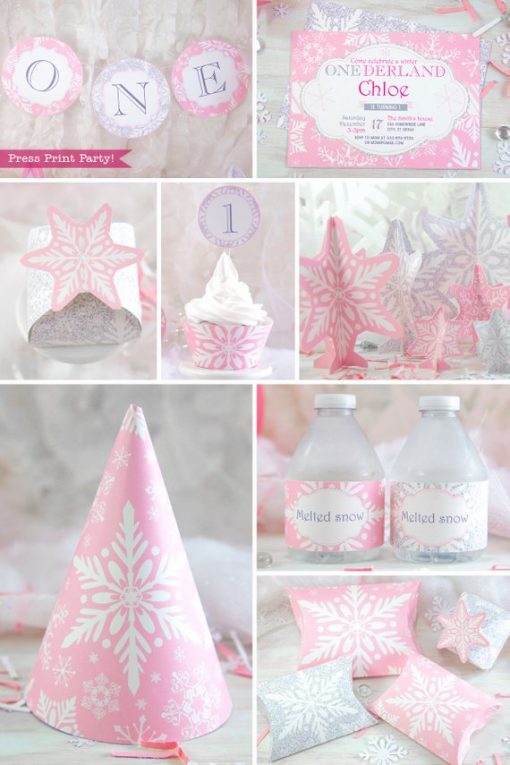
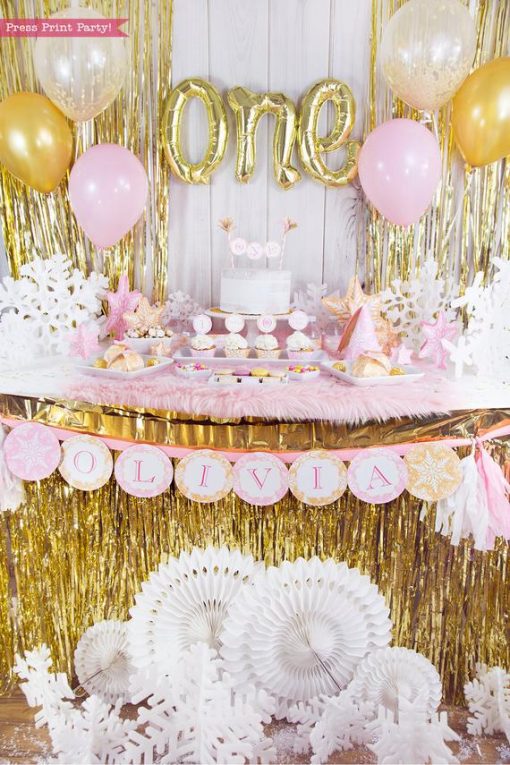
ONEderland Party Printables
Winter ONEderland Party Printable Set, Pink and Silver Snowflakes


Question. Do you do off site parties and if so, do you blow the balloons up on site or do you bring them already inflated? I just came across your page on Pinterest so I’m new to all that you do.
I always blow up the balloons onsite. If the site is indoors, I try to do it the day before.