DIY, Free Printables, Party Decorations, Party Tips
B.E.S.T. Dessert Table Ideas and Basic Set-Up
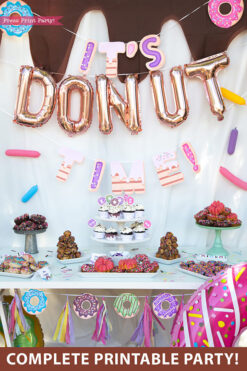
When planning a party, one of the first things we look for is dessert table ideas. Why? Because we realize that the dessert table is the most important decoration vignette of a party.
Whether you’re planning a birthday, a baby shower, or a wedding, the dessert display is a focal point of the theme of your party and if you’ve read my post on “How to Throw an Unforgettable Party” you know it’s one of the main stations I recommend doing.
It may seem simple to DIY a dessert table or buffet, but there are some basics to remember to go from ho-hum to spectacular.
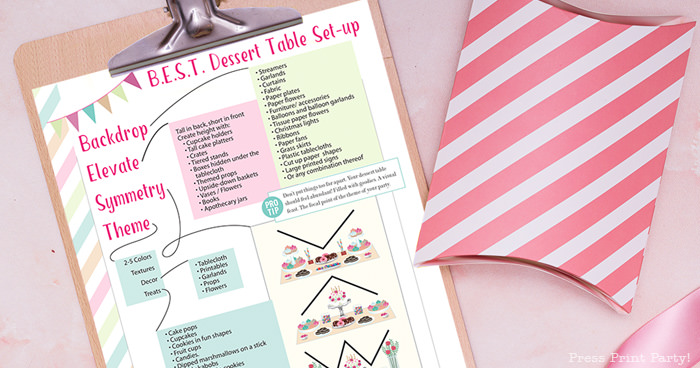
Fortunately, you’re in the right place. And I’ve even come up with a fun acronym and a cool free cheat sheet to help remember what’s important.
This post may contain affiliate links.
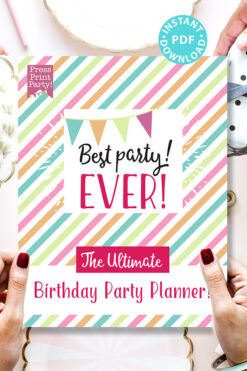
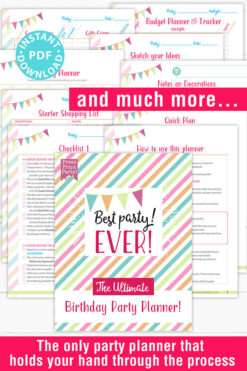
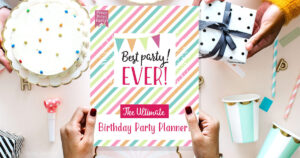
The acronym is B.E.S.T because you’re planning Your BEST Party Ever! And with the help of my Ultimate Birthday Party Planner, you’ll be able to put all your ideas in one place and calm the chaos that comes with a creative mind.
So here it is: B.E.S.T. stands for:
Backdrop
Elevate
Symmetry
Theme
Let’s take them one at a time.
| Contents |
|---|
B is for Backdrop
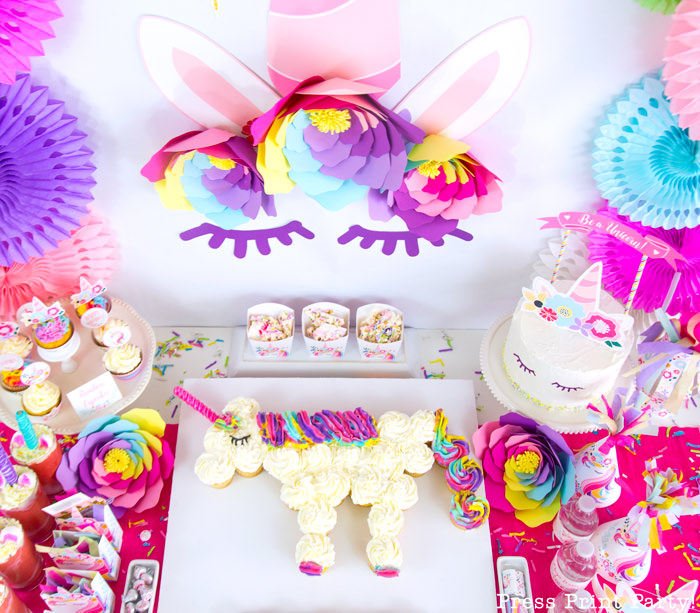
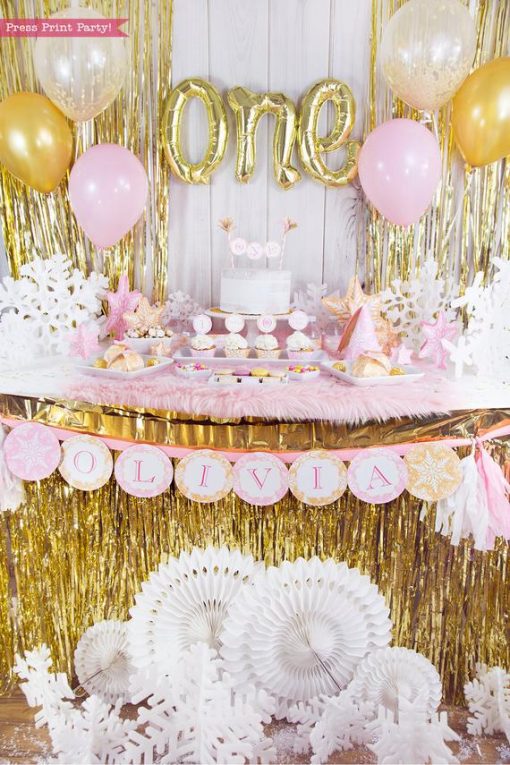
The backdrop is at eye level and probably the first thing your guests will see. You want it to be eye-catching.
Easy backdrop ideas for your dessert table
The backdrop to your dessert table, however, doesn’t have to be complicated. You can make a backdrop out of streamers and have the focal point you’re looking for.
Here are some ideas for fun and easy backdrops with links to some of the parties with the corresponding backdrops.
- Streamers
- Garlands
- Curtains
- Fabric
- Paper plates
- Paper flowers
- Furniture (windows, shelves, pallets, old doors, frames)
- Balloons and balloon garlands
- Tissue paper flowers
- Christmas lights
- Ribbons
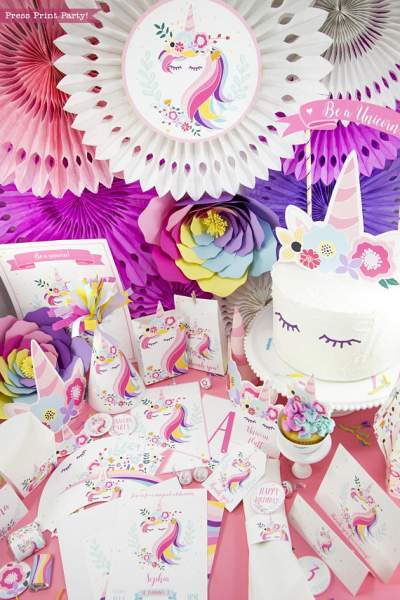
- Paper fans
- Grass skirts
- Plastic tablecloths
- Cut up paper in theme-appropriate shapes (like leaves, or fish)
- Large printed signs (can get expensive)
- Or any combination thereof
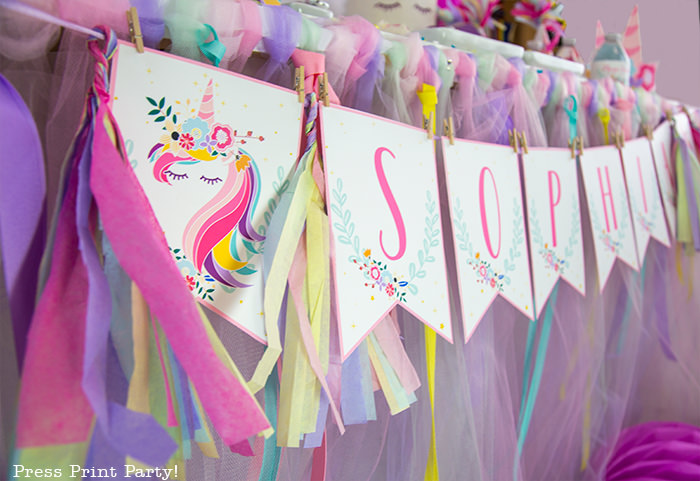
A backdrop is a great place to also hang a printable banner with the name of the guest of honor, or a catchphrase.
Keep in mind, the top of the backdrop could be unsightly. If so, hide the top of the backdrop with balloons, paper flowers, or fans.
How to hang your backdrop
There are many creative ways to hang a backdrop.
If you have a wall:
Using tape, glue dots or u-glue dashes to stick things to it works well for light items.
If you wanted to hang a rod you could use a couple of command hooks and set a thin rod on top of them or tie some string across.
I’ve also just used a big piece of wood or cardboard just leaning on the table.
For a free-standing backdrop:
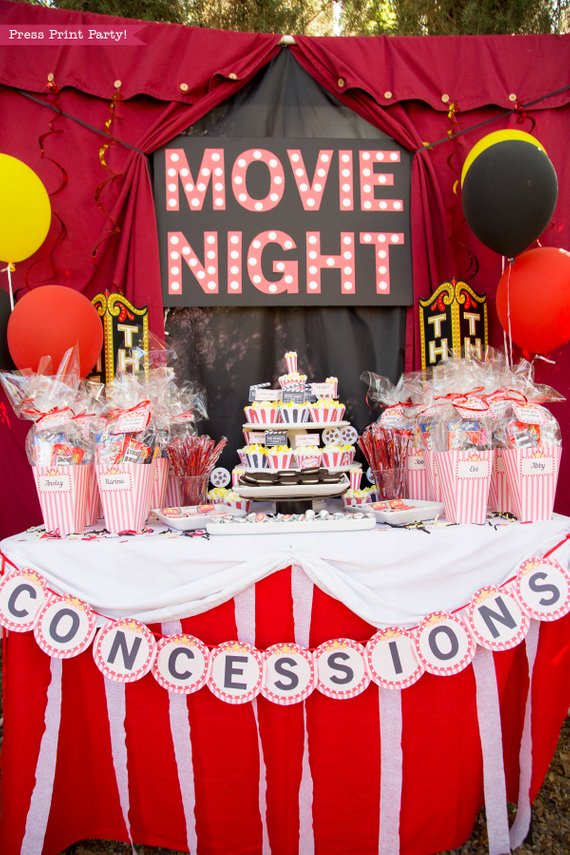
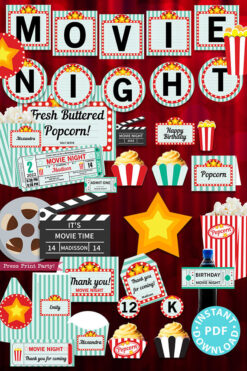
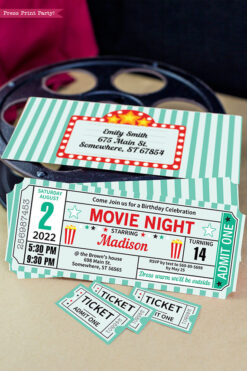
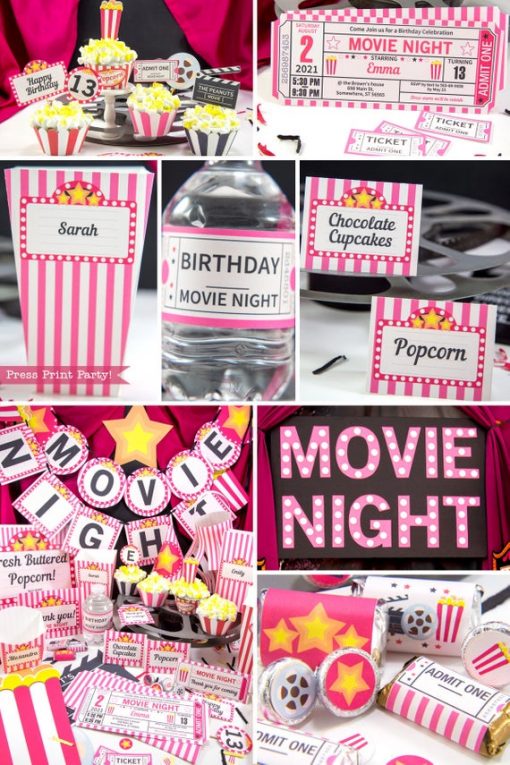
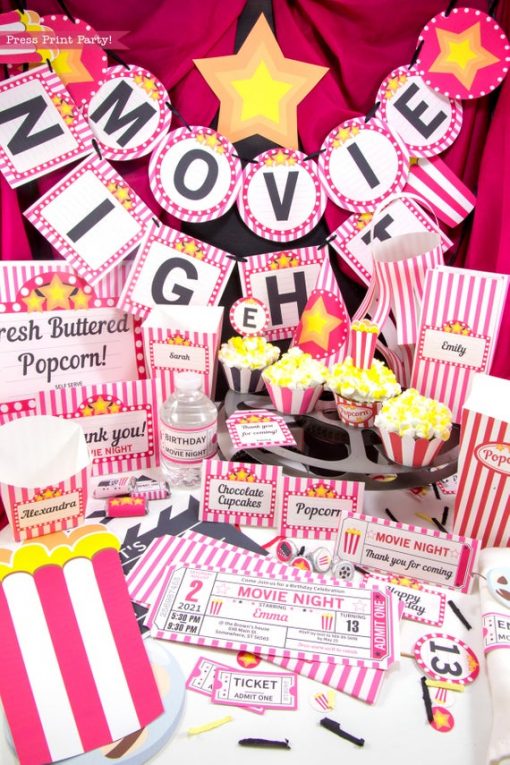
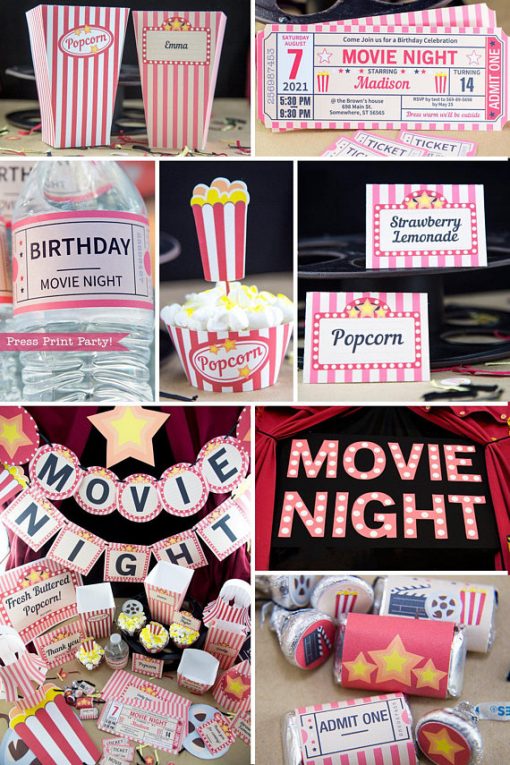
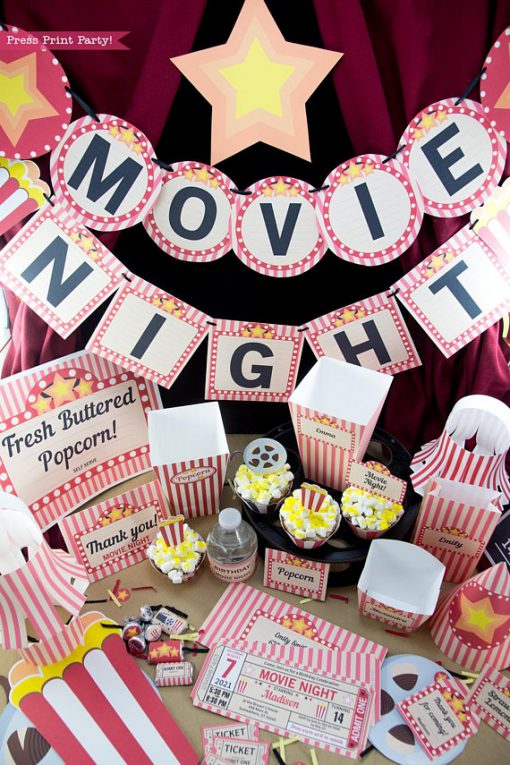
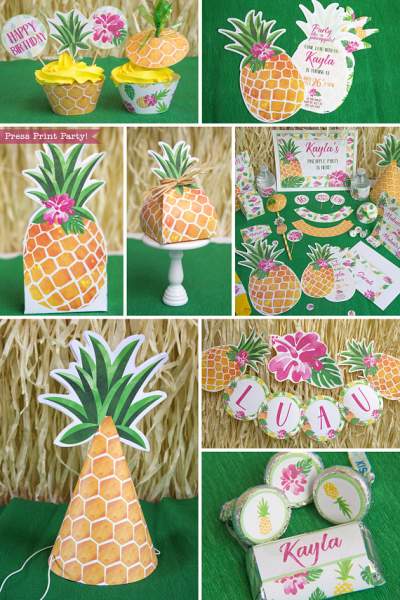
I’ve made a great backdrop frame out of PVC that I use for freestanding backdrops all the time. It’s what I used for my Movie Night party and my Pineapple Party. PVC is cheap and easy to cut with the right tool. It’s also tough, it’s inexpensive and it’s super easy to work with.
You could also use a hanging clothes rack on wheels.
Insulation foam boards from the home improvement store are a great choice too. They are light and easy to paint or cover with fabric.
E is for Elevate
A table full of platters flat on the table is so blah!
You need to create visual interest with heights.
There are 2 ways to create elevation:
Create height with different size tables
A big trend in the party world is to use several smaller tables to create the dessert station. These tables can be of different heights and create tons of interesting opportunities to add visual interest.
You can also use different kinds of furniture you have in your house, like an interesting desk, shelves, or smaller end tables with a regular table.
Elevate your serving ware
Most people at home will just use a table and that’s great. But you can’t just plop platters on a flat table. That’s just so plain. You need to make things look exciting.
The basic rule is that items in the back will be more elevated and items in the front will be flat on the table.
You can use all kinds of things to create height.
- Cupcake holders
- Tall cake platters
- Crates
- Tiered stands
- Hide boxes under the tablecloth
- Use themed props
- Upside-down baskets
- Vases / Flowers
- Books
- Apothecary jars
Keep in mind some of the treats you choose will already have height. Cake pops, tiered cakes, and rock candy will all add vertical interest.
S is for Symmetry
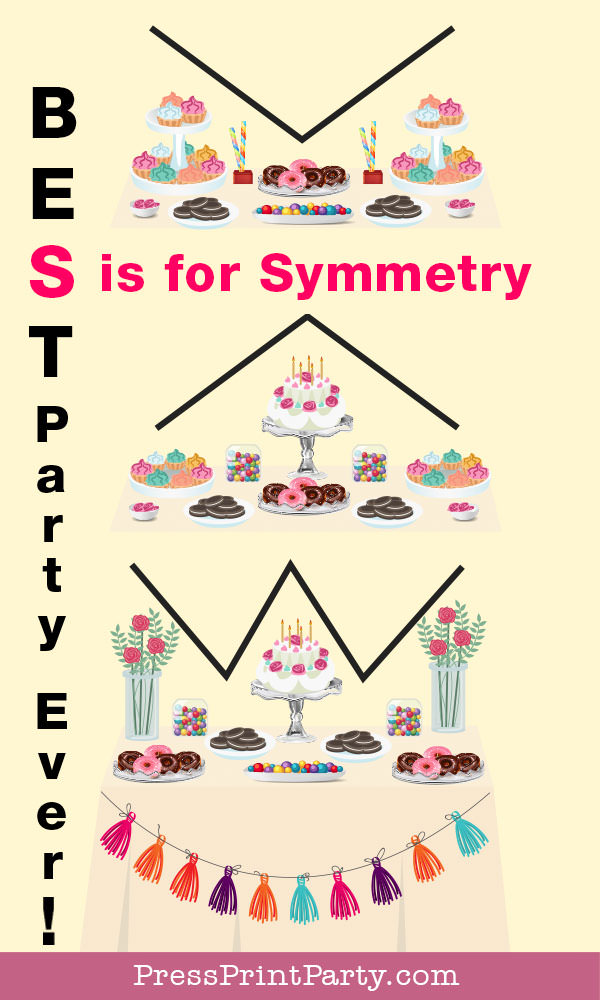
The human eye recognizes symmetry as beauty. It’s the easiest way to set up a visually pleasing table. It’s like instant magic.
You don’t need to have 2 of the exact same thing on opposite sides of the table but you should play with elevation and symmetry in tandem.
When you look at your dessert table you should either see a V an upside-down V or a W while placing tall items in the back and shorter items in front.
Don’t put things too far apart. If your layout looks sparse, your table is too big. Switch to a smaller table or use fillers like bowls of candies in the theme colors. Confetti is also a great filler.
Your dessert table should feel abundant! Filled with goodies. A visual feast. The focal point of the theme of your party.
T is for Theme
OK, your theme will be the first thing you’ll need to nail down. I just couldn’t come up with an acronym that started with a T.
Here are the main points you need to carry your theme to your dessert table.
Choose a color scheme
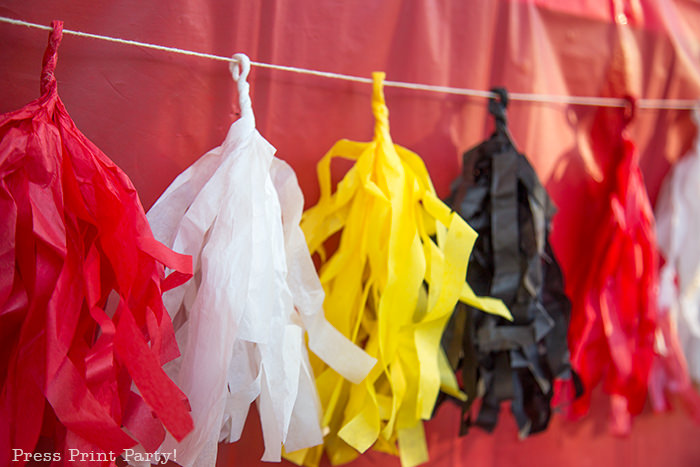
Once you have your theme (it could be anything but let’s play with movie night) come up with 2-5 colors to use within that theme. So with movie night, I’ll choose black and red as my main 2 colors and white and a little bit of yellow as accents.
If you need help choosing a color scheme I’d recommend just going to Pinterest and searching: “color palette”. You can also use color palette generators like Canva ‘s color generator that will take any picture and give you a color palette or lets you explore tons of color combinations.
Combine textures to add interest
Think of the dessert table as a combination of Colors, Textures, and Heights.
You’ll want to add visual interest by combining different textures and creating layers.
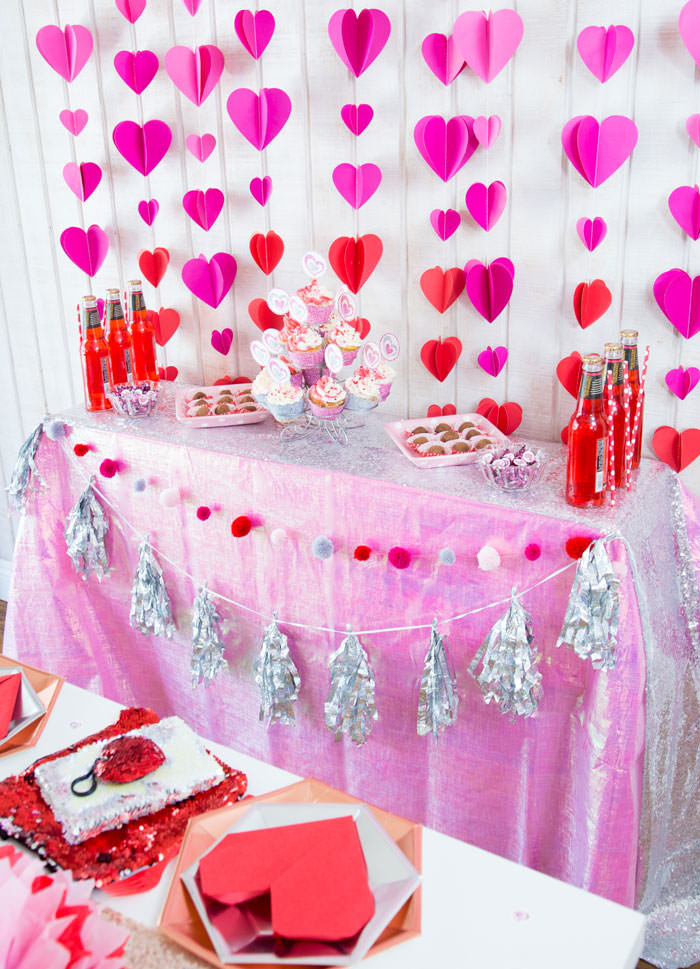
Like adding a sequined runner to the fabric tablecloth, tissue paper garlands, and yarn pompoms garlands on the front. Mixing rough galvanized buckets and slick white platters, wood and greenery, flowers and glass beads, burlap and pearls, matte and glossy, etc…
Find the perfect decorations for your dessert table
Tablecloths & skirts
When you think of setting a table, you think of tablecloths. Keep in mind, if you’re using pretty or interesting furniture that you’re not afraid will be messed up then you may not need a tablecloth.
If you use one, it’s always prettier if it goes all the way to the floor and if it’s wrinkle-free. I have a handy handheld steamer that I use all the time to get those unsightly creases out without having to use an ironing board. I understand the paper and plastic ones are impossible to get flat. So I’d recommend you use fabric, but if not, you may want to style your table with garlands or banners in the front to minimize the creased effect.
A table skirt made with tulle or raffia is also a great alternative to floor-length tablecloths.
I have a full tutorial on how to make a tulle table skirt fast you may want to check out. My favorite place to buy fun tablecloths is Aliexpress. It takes a while to ship but the prices are so worth it!
If you’re not using a tablecloth, you may want to decorate the underside of the table with props or balloons so as to not leave a big empty and unsightly hole.
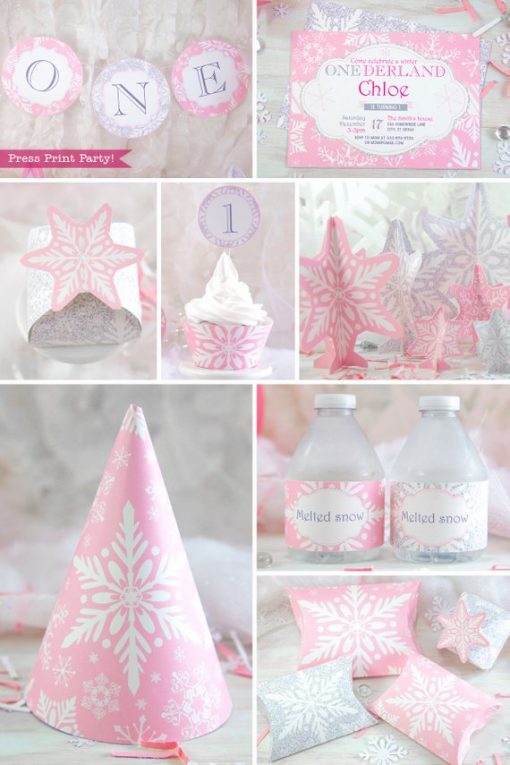
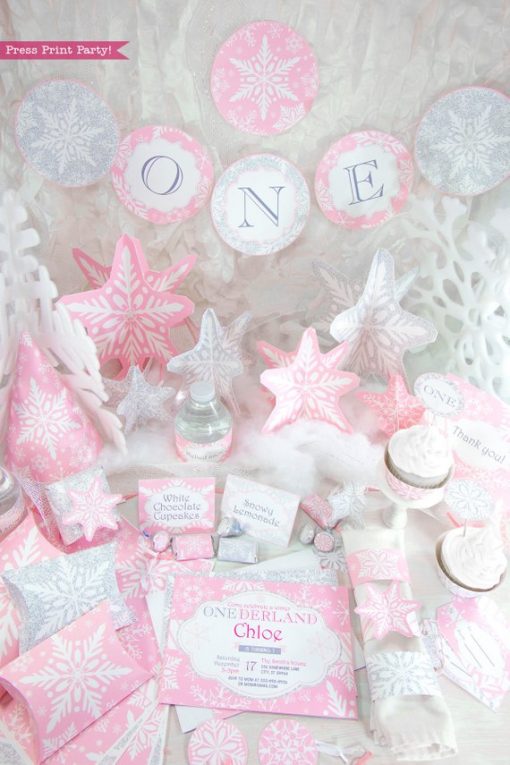
Printables
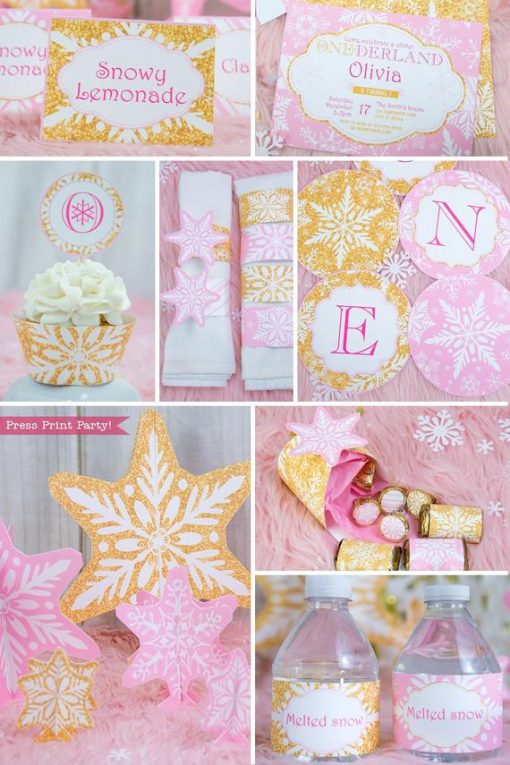
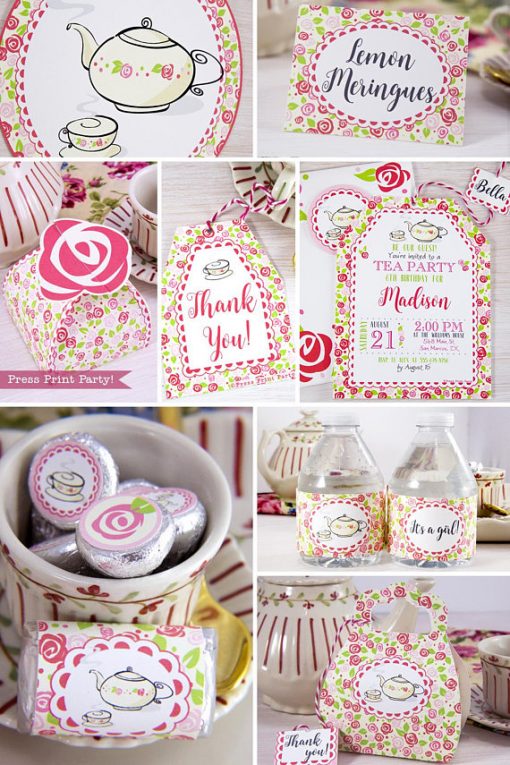
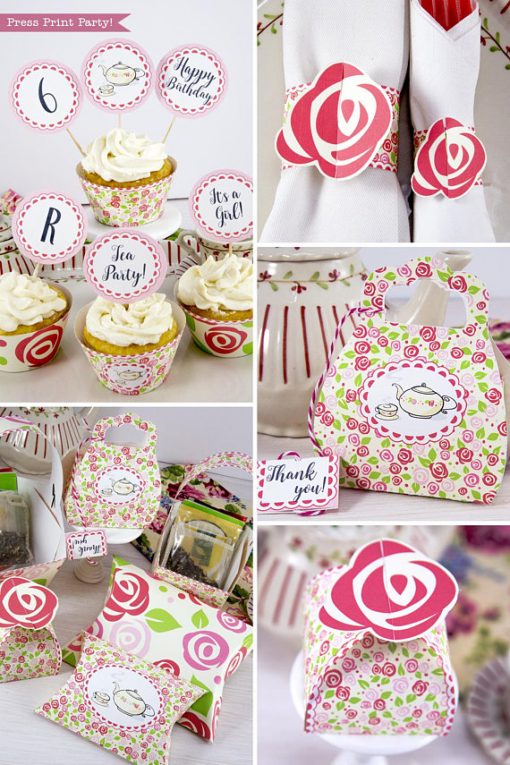
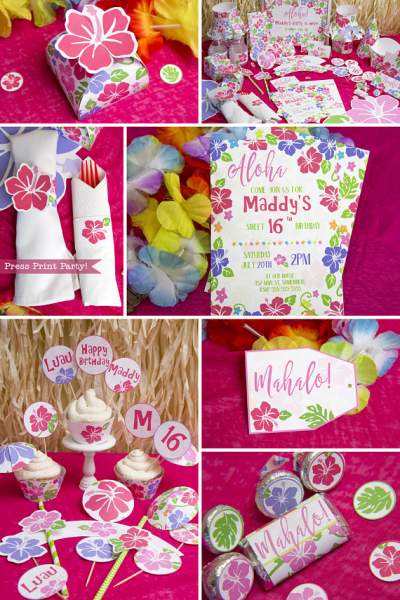
Adding party printables to your table is, of course, a great way to carry the theme. You can use:
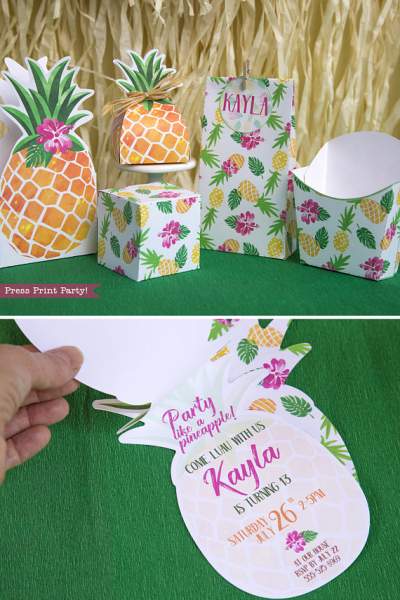
- Food labels
- A sign in a frame
- Favor boxes
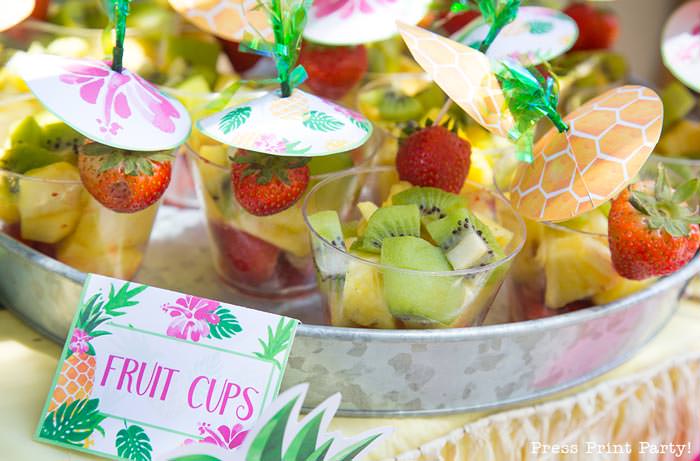
- Party favors with cute toppers
- Confetti
- Bottle wrappers
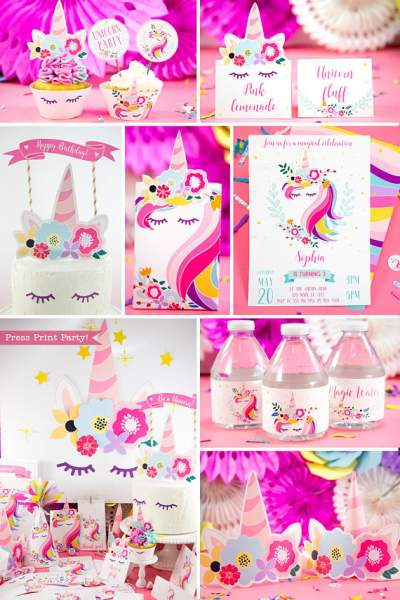
- Cupcake wrappers and toppers, etc..
Garlands
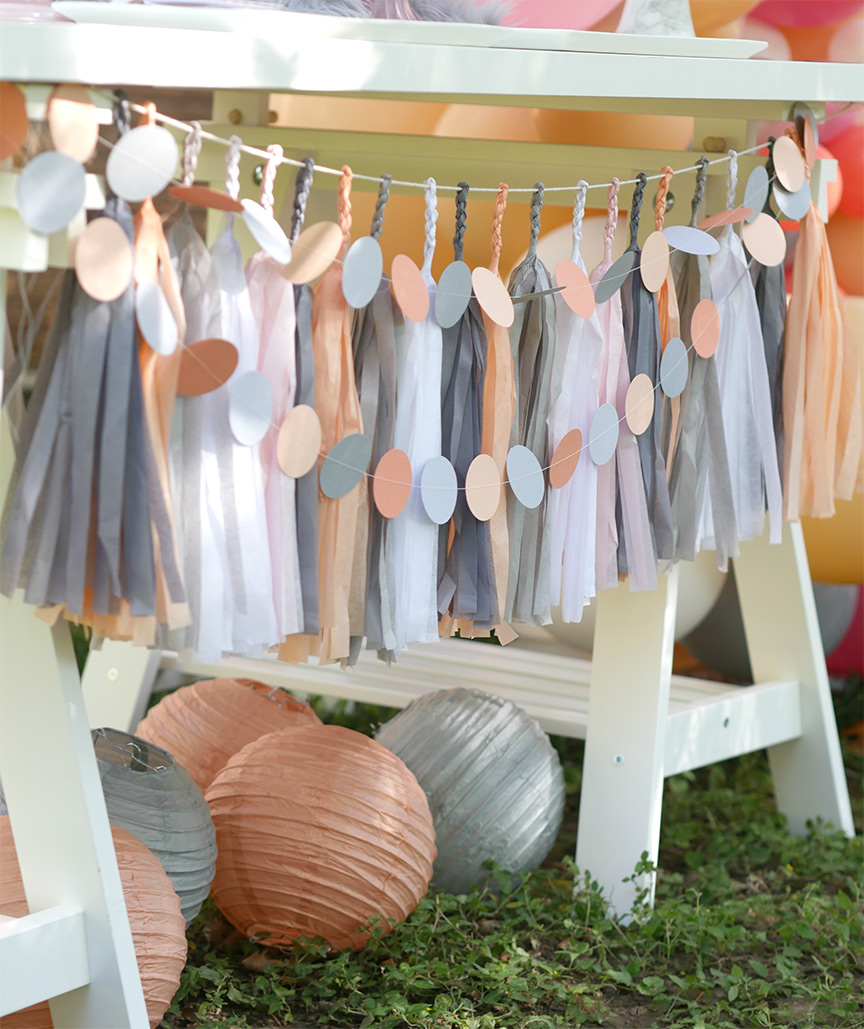
Garlands are always fun and add some more dimension to the front of your table. You can use:
- Printable banners
- Tissue paper garlands
- Pompom garlands
- Fabric bunting
- Streamers
Props
Props are also a fantastic way to solidify the theme of your event.
Be sure to find items that stay in the color scheme of your party. Props are especially great on the dessert table.
There are basically 4 ways to find great props:
The first thing to do is to shop your house and your yard. Find objects that match the theme and can be displayed as decorations. I’ve used anything from shells, wood rounds, flower pots, baskets, stuffed animals, toys, bowls, plates, pillows, blankets, towels, hats, and much more.
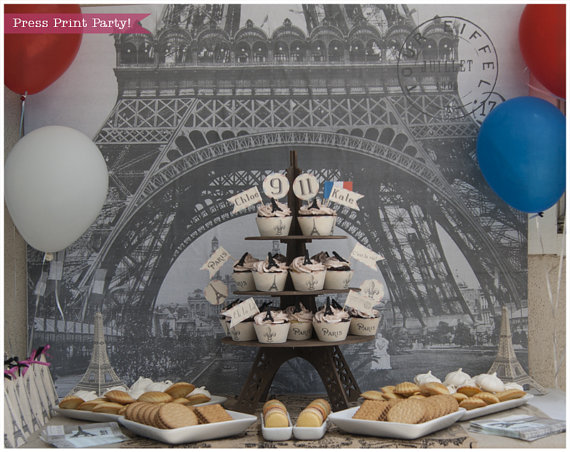
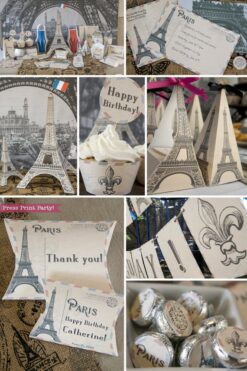
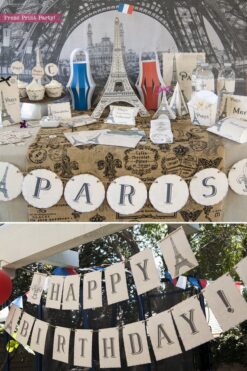
Shop your friend’s houses…It never hurts to ask. When we did our Paris party, I had several friends loan me their Eiffel tower decorations. You wouldn’t believe how many people have one in their home.
Make your own: This is where Pinterest and your DIY creativity comes into play. But you can make your own props like my tabletop coral reef decorations.
Buy them: You can find some great inexpensive props in your theme at your local dollar store, party supply store or online at shops like amazon or oriental tradings
Rent them: Party rental companies will have anything from linens to chairs. But they’ll also carry a bunch of props like columns and such. Check your local rental house for a tour of their facilities.
If you’re lucky enough to live in a town with a prop house for movies, they’ll be happy to rent anything to you for your party too. They’ll definitely have some weird things, but depending on what you’re looking for, a movie prop house may be the answer.
Flowers or “live” element
Fake or real flowers can add a fresh touch to any table. But it doesn’t have to be flowers, think cacti, succulent, fresh herbs, leaves, moss, fruits or even veggies.
Coordinate the treats to your party theme
The food is part of your theme. The cake, or the cupcakes will need to stand proudly in the middle.
Aside from the cake, plan for at least 4-5 different bite-sized treats: 1-2 theme-related treats and 2-3 store-bought or homemade treats dolled up to match your theme. Most of the treats should stay within the color scheme of your theme.
- Cake pops
- Cupcakes
- Cookies in fun shapes
- Fruit cups
- Candies.
- Dipped marshmallows on a stick (S’mores on a stick)
- Candy kabobs
- Homemade cookies
- Store-bought cookies
- Macarons
- Popcorn (a favorite of ours)
- Snack mix with cups
- Jello or pudding cups
- Meringues
- Chocolate dipped pretzels
- Rice Krispies treats
- Brownie bites
- Donuts or donut holes
- Madeleines
- Lemon bars
- Chocolate bark
- Molded chocolate
- Petit fours
How much should you buy? You can find a great cheat sheet in my “Party on a budget food ideas” post, but if you’re having a kid’s party, I find that most kids will want at least one of everything.
Putting it all together
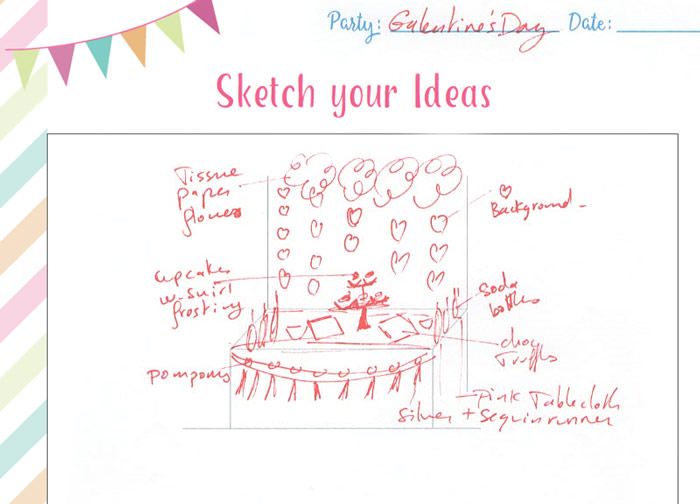
Now that you understand how to decorate an eye-catching dessert table, I recommend you sketch it before you make it.
Putting a rough sketch down on paper will help you figure out what you need and give you the confidence to get it accomplished.
Here’s one of my sketches for our Galentine’s day party on the “Sketch your Party” page of my Ultimate Birthday Party Planner. You’ll see that the sketch and the actual table is a bit different, but all in all, I was able to achieve the look I was looking for.
I truly hope that you feel empowered with the tools you need to rock that dessert table display! Don’t forget to get your FREE dessert table set-up cheat sheet below.
Get your Freebie:
If you’ve already subscribed, you can get the password from the bottom of any email I send and go directly to the Free Downloads Library.










Love this! It has everything you need to set up a great dessert table, no matter how experienced you are at throwing parties!
Do you put plates or napkins on a dessert table?
Of course, you can. The plates and napkins should be easy to get to and since they’re flat I like to put them towards the front on the side. I sometimes add them to the dessert table and sometimes they go on the snack table. It all depends on how your food is set up. Hope that helps.
So easy to remember BEST, I had not heard of that before!
Love this! It has everything you need to set up a great dessert table, no matter how experienced you are at throwing parties!
This is an awesome post! I love how you included diagrams of the dessert tables!
This is awesome to have it all laid out like this! Love the visuals. All of it is totally spot on.
You nailed it ! You hit such great pointers when setting up for a dessert table. Thank you for sharing this all.
Thank you for your kind comment. It’s not always easy to put in words what comes naturally. I hope it helps people.
This is by far the best post I’ve seen in a long time! Thanks for the B.E.S.T. tip!
Thank you so much for your kind words.
This is a great way of spelling it all out!
I love acronyms, they help me so much.
This is seriously one of the best posts! So much good info! Great reference and resource to read over before every party!
Thank you so much Lori. I worked hard on this post. I think anyone can achieve a great looking table with some simple tricks.