DIY, Free Printables, Movie Night, Party Decorations, Party Games, Pinatas
How to Make a Popcorn Box Pinata
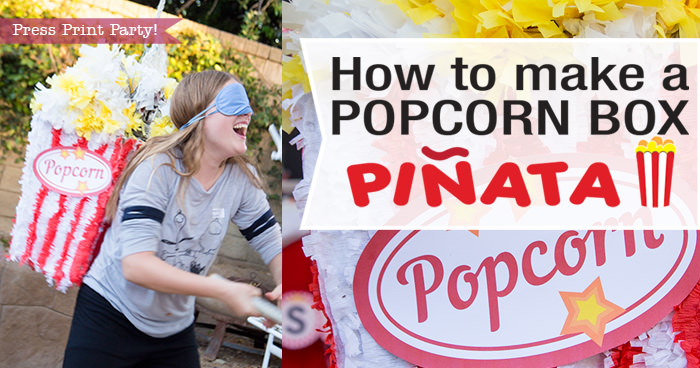
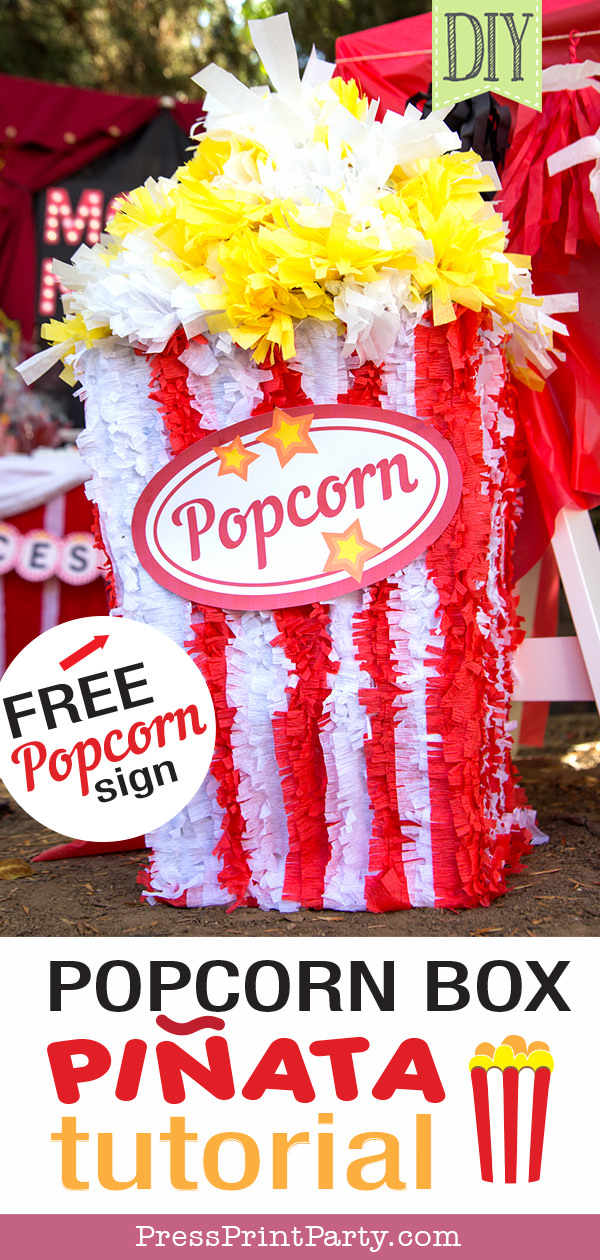
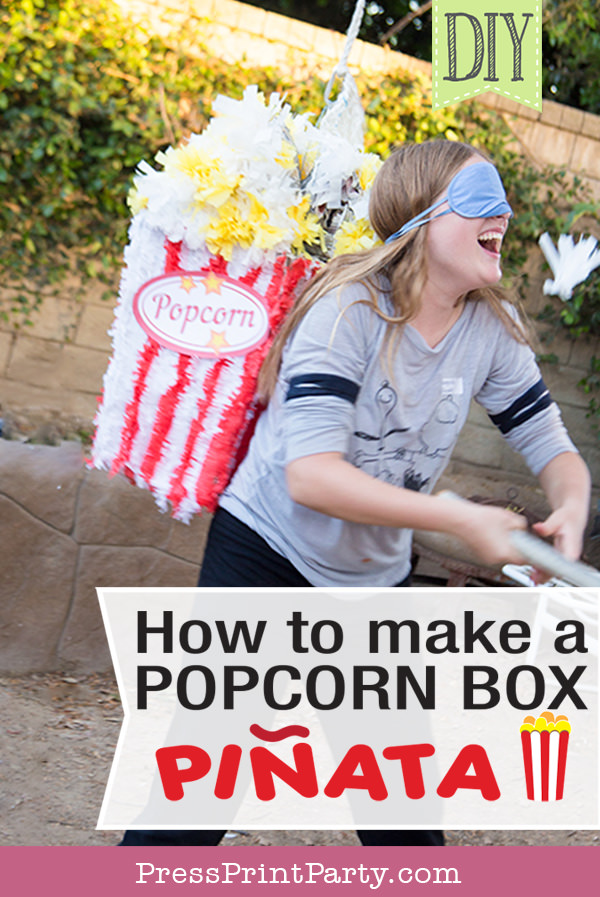
This popcorn box pinata was a huge success at our backyard movie night birthday party! Both in its construction and in its appearance.
We’ve learned so much about pinata making over the years with our teapot pinata, Eiffel tower pinata, and our famously indestructible pineapple pinata. This pinata was the maybe the best we’ve ever made and I’ll explain exactly what we did to make it so cool.
This post may contain affiliate links.
Popcorn Box Pinata Materials:
- 2 cardboard boxes about 20 inches by 12 inches
- 1 big balloon
- 1 wire hanger
- Fishing line
- Red and white streamers
- White and yellow tissue paper
- Craft glue
- Newspapers
- Flour
- Popcorn sign (Free download at the bottom of the post)
Popcorn Box Pinata Tutorial
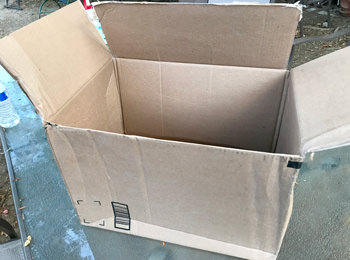
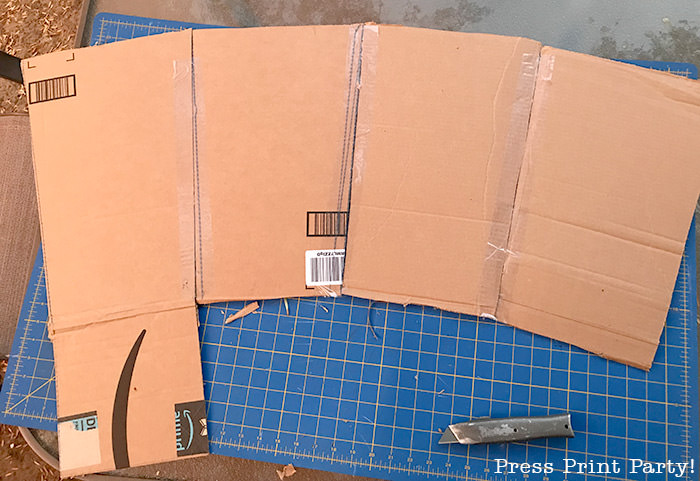
I started with a couple of beat-up Amazon boxes we had laying around. I wanted to make the Box tapered a bit so I decided to cut each side separately and leave the bottom of the box attached to one of the sides.
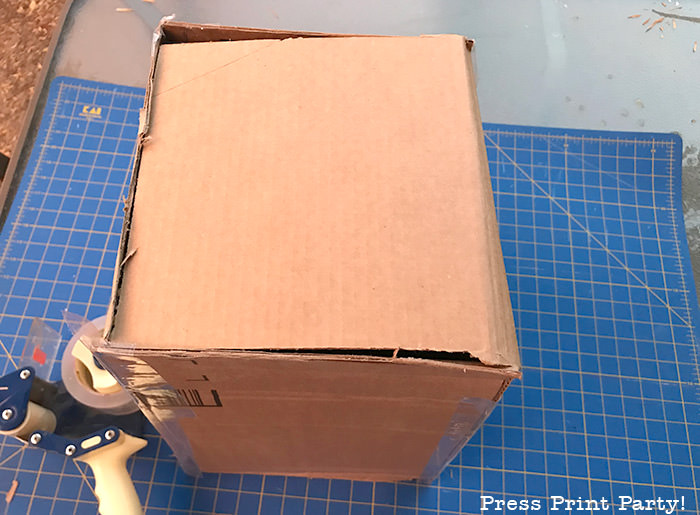
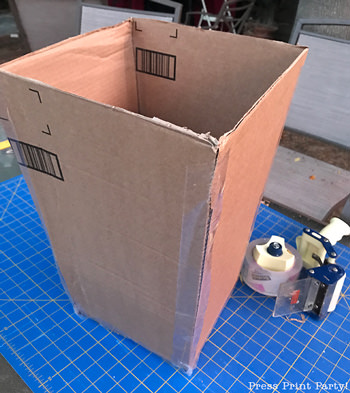
The top edge of the popcorn box was about 12 inches and it tapered down to 8 inches. So the bottom of the box was an 8-inch square. It was about 20 inches tall at this point.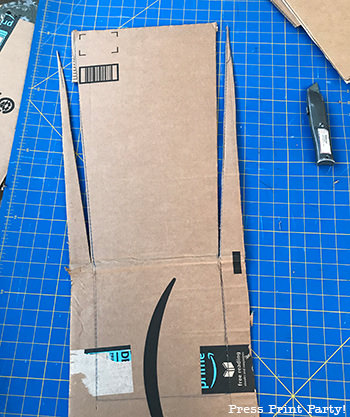
Now I had a good base. Here’s where things got serious. The year before we had committed the nearly inexcusable pinata error by creating a pinata that was impervious to the kid’s bashing but that came loose from the attachment that held it to the rope. It had fallen to the ground never to be re-attached.
We vowed that that would never happen again.
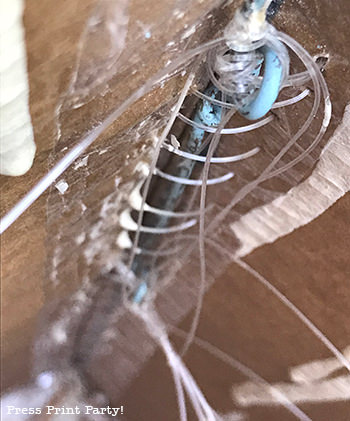
So my husband opened up a wire hanger and bent it into an arch shape. About halfway down each side, he used a pair of pliers to twist a small circle into the wire and near each end, he did that again. Now the coat hanger looked something like this.
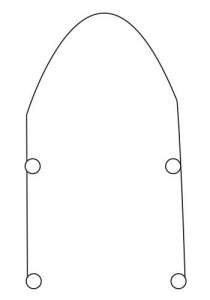
The piñata might break but now it would not detach from the coat hanger!!
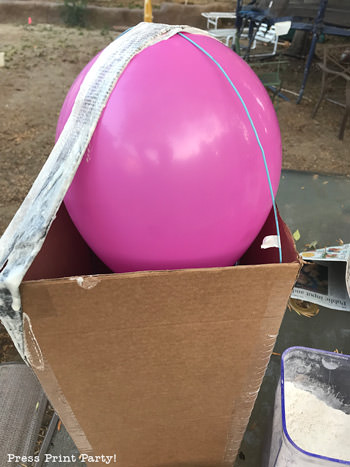
Confident that we now had a sleeper, a pinata that wouldn’t easily break or come loose from its hanger, we began the decoration. We inflated a big balloon and taped it to the underside of the wire hanger. We made a simple glue paste with flour and water and used strips of newspapers to paper maché the box and balloon from top to bottom.
If you’ve never done it before, the idea is to put the strips of newspaper in the paste and layer them all over your piñata.
I forgot to take a picture of the box covered in newspaper strips before we started adding the streamers. But I have good instructions on this process from my pineapple piñata.
We had to let it dry overnight and the top collapsed a little bit due to the balloon deflating. But I didn’t worry about it because I knew we were going to add lots of decorations and I could fill in the divots.
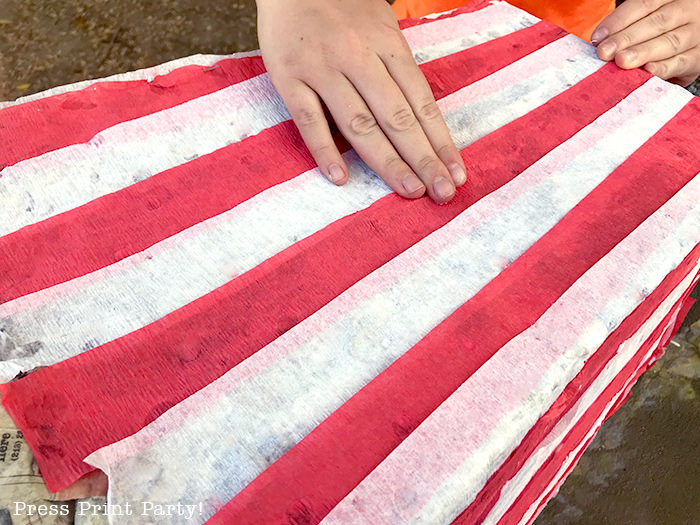
Once dry, we glued red and white crepe paper in an alternating pattern around the box with craft glue. It looked nice but I wanted a little more pizzazz.
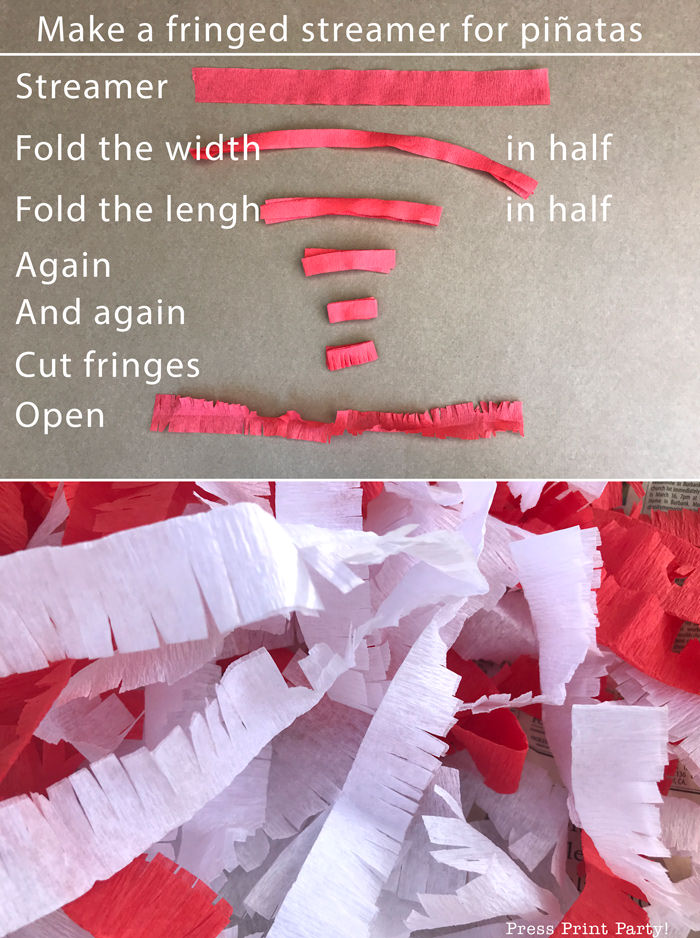
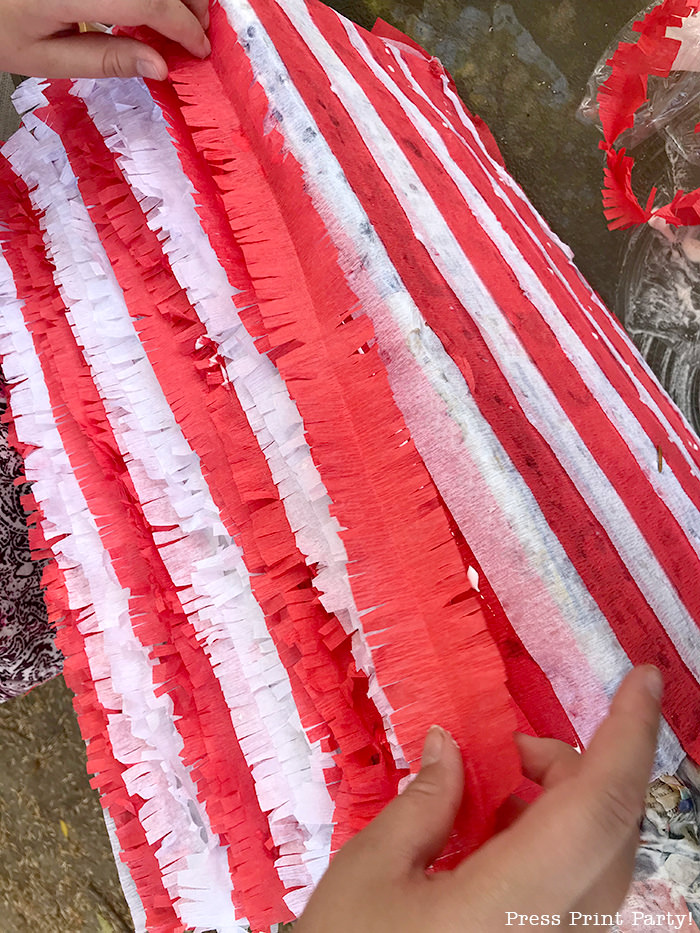
So we made fringes for the sides. I used crepe paper again and cut them to the length of the box. Then I folded its width in half and pressed the fold. Then I folded its length in half three more times.
Then, and only then, did I cut little fringes.
This picture shows the process and the results pretty well.
You don’t want to spend your time cutting fringes. This method is efficient and you’ll have many pinata worthy fringes in no time.
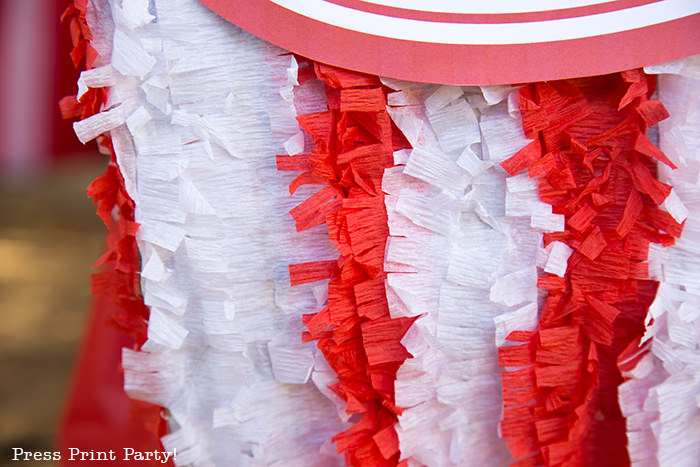
We glued the fringes to the box on top of the same colored streamers. We used two lengths of fringes per colored streamer.
It gave the popcorn box piñata a really full and festive look.
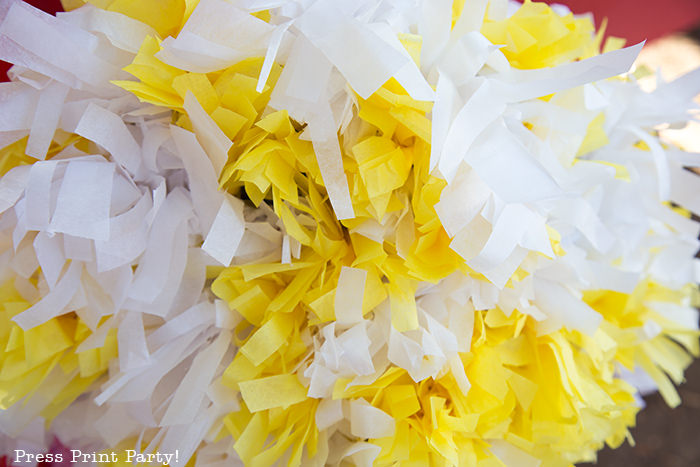
For the popcorn at the top, we made lots and lots of mini tassels with white and yellow tissue paper. We had an assembly line set-up where one would fold the tassels, another would cut them, and the third would glue them on the top.
You can follow my tassels DIY post. The process is exactly the same, just reduce the size. Ours were anywhere from 3 to 5 inches tall.
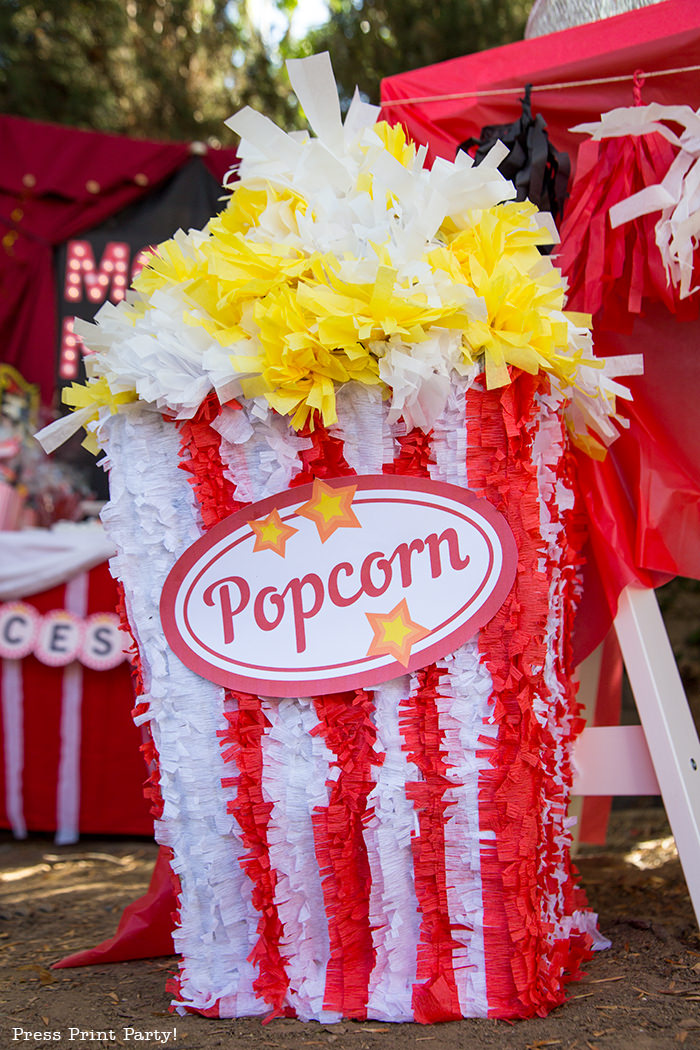
Next, I attached the popcorn sign to one of the sides. And because I love you, the popcorn sign is available for download for free at the bottom of the post.
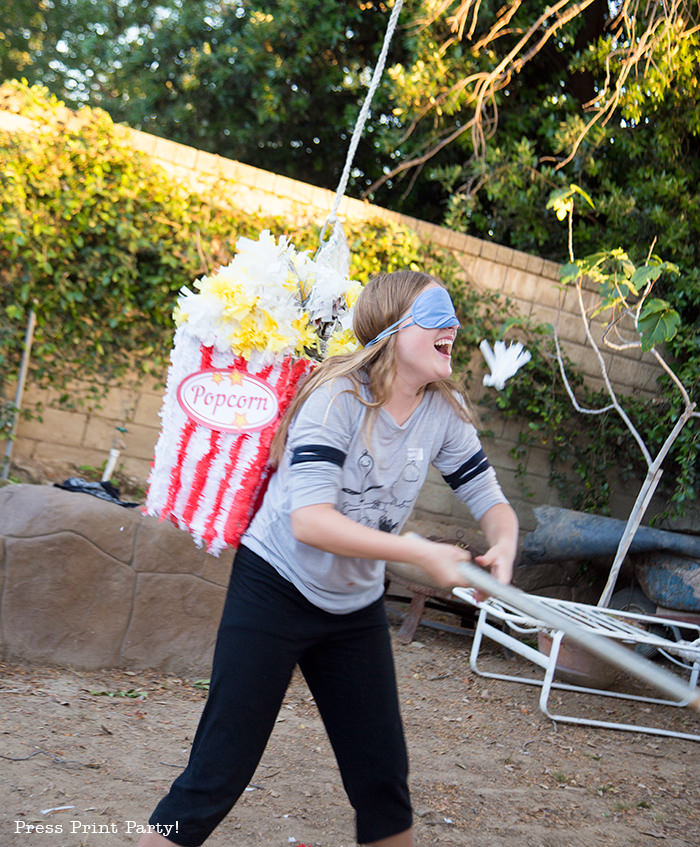
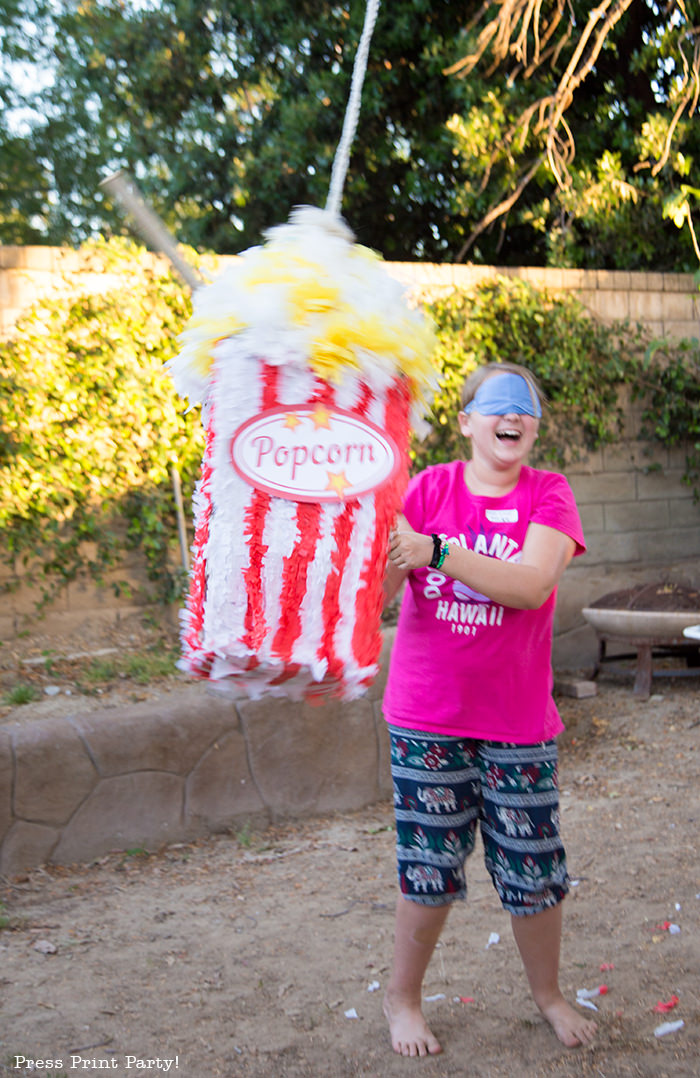
We attached a carabiner and a good rope and the kids started swinging.
This piñata was one of the best we’ve ever constructed. Our Eiffel Tower piñata was super awesome, but our pineapple piñata, although beautiful, ended up being indestructible. So we learned a lot. And this piñata was a perfect combination of beauty and strength. All 14 kids were able to take a turn and all got a few good wallops in. It did finally break but only at the very end and the wire hanger hung on until my girls deposited the pinata into their pinata graveyard (a little vacant spot in their bedroom). I was so pleased with the sewing that I told my husband he might have a future as a tailor.
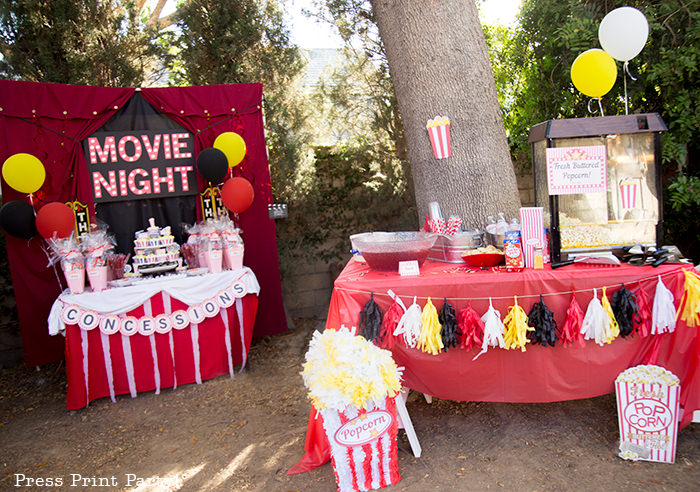
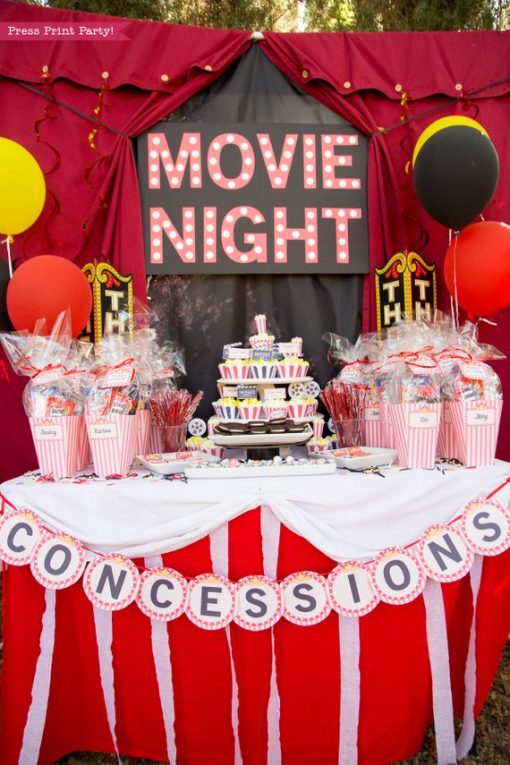
The popcorn piñata was so pretty that we used it as decoration for the outdoor movie night party before we had to send it to its doom.
If you make a popcorn box piñata I’d love to see it! I’ll even add a picture of it to this post.
Don’t forget to check out all the other movie night party posts:
- Perfect Backyard Movie Night Birthday Ideas
- How to Make a Movie Marquee Sign That Lights Up
- How to Make Easy Popcorn Cupcakes
Make sure you pin it for later.
Get Your Freebie:
If you’ve already subscribed, you can get the password from the bottom of any email I send and go directly to the Free Downloads Library.




Pingback: 26 Ways to Reuse Amazon Boxes Instead of Recycling Them – The Wealth Pulse
Love this! It makes me want to make a piñata I swear. I just signed up to get the popcorn sign and your other printables.
You did a great job! I’m always so bad at the DIY party elements, you make it look easy! thank so much for sharing this with us.
Thank you so much!
Hello! Thank you for this amazing tutorial! Could you tell me when you filled the pinata?
I guess I left that part out!! I made a flap in the top part before adding the white pompoms. That way it’s easy to fill when you’re done. The white pompoms hide it so well I forgot about it…
Perfect. Thank you!
Hi how do I get the free popcorn sign? I subscribed To your newsletter and I can’t seam to find the sign on your sight. Thanks!
I can’t find it either even after subscribing!
The link is now in a green box. It appears right under the signup box. Sorry for the confusion.
Have already purchased your movie theme package through a friend that’s helping me create the theme I’ve only just noticed that the “movie night” sign has instructors on how to light it up -just fabulous!!!
Can you tell me what size the black foam board should be to accomodate the letters and lights. Much appreciated oh also I’m attempting to make the popcorn piñata again ty!! Although I can’t seem to find how I make the popcorn tassels – this is my first EVER DIY project so I do need step by step in my mind to be able to pull off lol x ty x
That’s fantastic. The foam board is 20″x30″. You can find my instructions on how to make tassels here: https://www.pressprintparty.com/diy/party-decorations/tissue-paper-tassels-garlands/
I’d love to see pics when you have it done! Have fun!
this is the BEST! I will make it this week and post a pic.
Awesome! I can’t wait to see it!
I am so impressed with this DIY! It turned out amazing and looks so fun!
Love this idea!
Your directions are wonderfulExclamation point
I really try to be thorough. Thank you!
This is so cute and so creative. It looks like they had lots of fun!
This is an adorable piñata!!! I love this idea so much!!
Thank you Holly!
wow!! It turned out super cute!!! Thanks for sharing the DIY!!
This pinata is just the cutest thing ever! What a fun DIY AND a fun party activity! Kids of all ages love pinatas!!
Pinatas are a must! Thank you!
Love this ! It makes me want to make a piñata I swear. I just signed up to get the popcorn sign and your other printables.
You did a great job! I’m always so bad at the DIY party elements, you make it look easy!
Awww, thank you so much.
I love this DIY! Amazing party! I’m also excited that I learned how to make fringe garland, so thank you! That can be used in so many ways!
I’m so glad to learn that my garland tutorial was helpful! I love fringes!