Free Printables, Paris Party, Party Games, Pinatas
Eiffel Tower Pinata Tutorial for a Paris Party
I do love a good piñata. Don’t you?
Kids love them and it’s an exciting end to any party. I’ve made my own before with a balloon (see the tea pot piñata or pineapple piñata) but when the shape is not round like for this Eiffel Tower piñata, I usually give the job to the experts.
But not this time.
This year my piñata guy disappointed me with an Eiffel Tower that looked more like an Aztec pyramid than the real thing. I do wish I had taken a picture of it. Trust me, it was awful.
So what did we do?
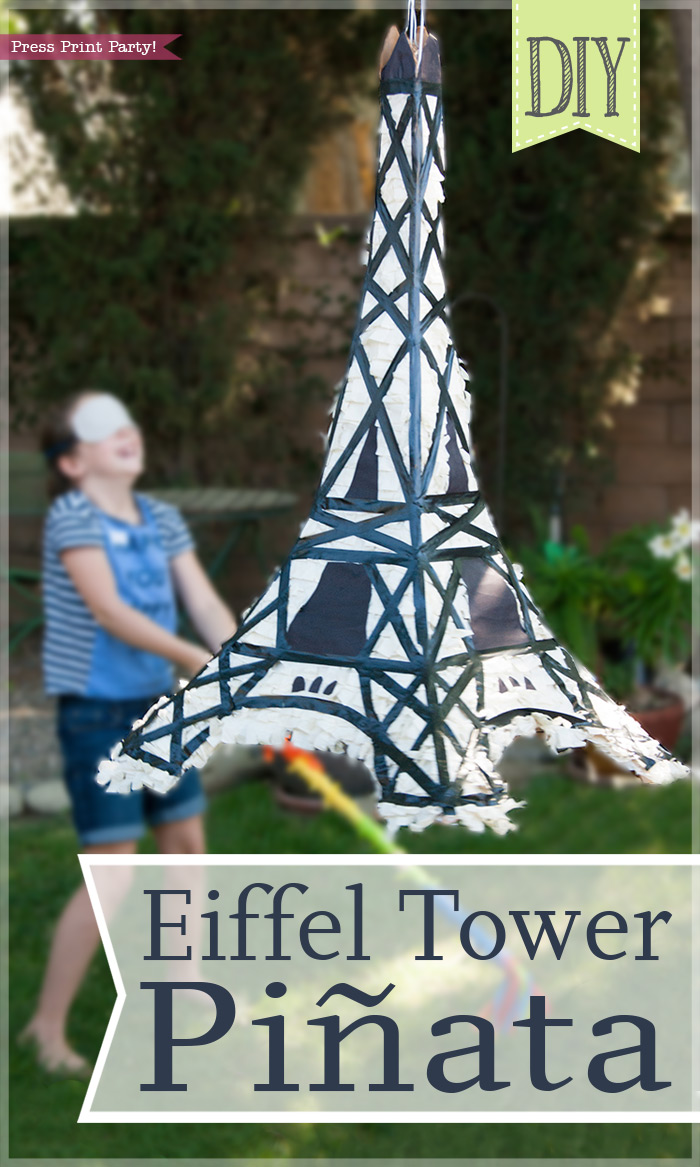
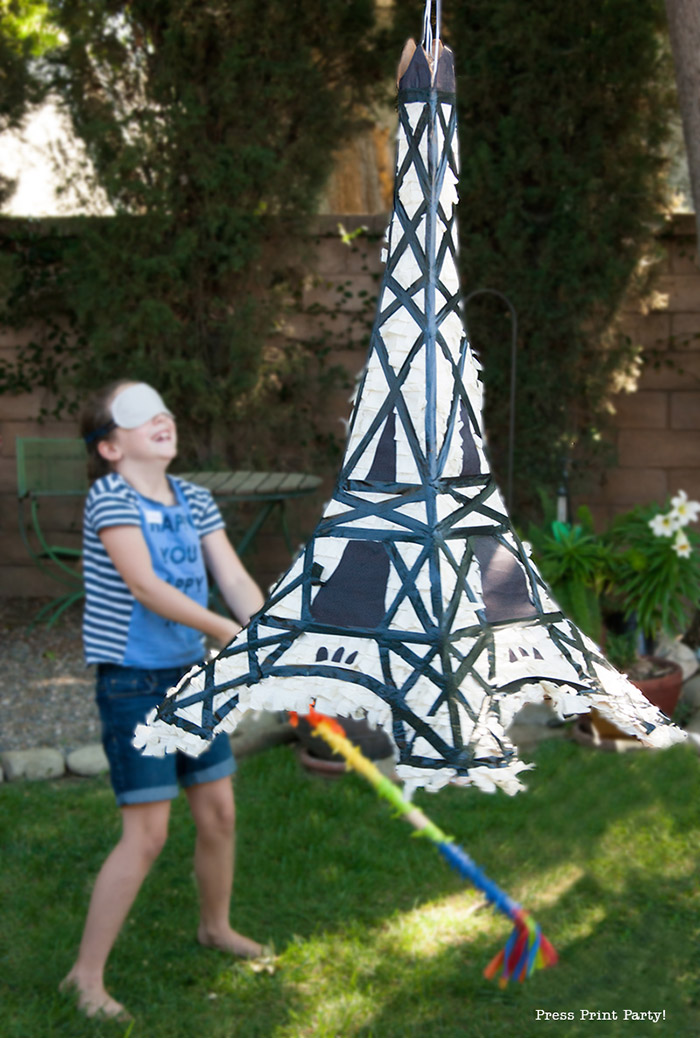
My husband proudly declared the “Aztek” piñata “would not do” and that “we could do better.” So we put our talents together and created a fantastic Eiffel Tower piñata for our Paris themed party.
I mostly took pictures with my phone as we completed the project. I hope you’ll find these instructions useful and that you’ll add a picture in the comments of your own Eiffel Tower piñata…. You can do it!
In this post, I’ll show you how to make the Eiffel Tower out of cardboard step by step. Follow the instructions and the free pattern to make an awesome Eiffel Tower Piñata worthy of Ooh La Las!
Eiffel Tower Piñata Materials:
- Card stock or paper to print the pattern
- Cardboard (we used old boxes opened flat)
- Tissue paper (we used an off white but you could do pink if you wanted)
- Electrical tape (It’s cheap and black)
- Black paper
- A coat hanger or strong wire
- Packaging tape (Warning, packaging tape will make a sturdy piñata, great for older kids, if you want it much weaker, you could use painter’s tape)
- White glue
Get the Eiffel Tower template
If you’ve already subscribed, you can get the password from the bottom of any email I send and go directly to the Free Downloads Library.
Cut and assemble the Eiffel Tower cardboard template
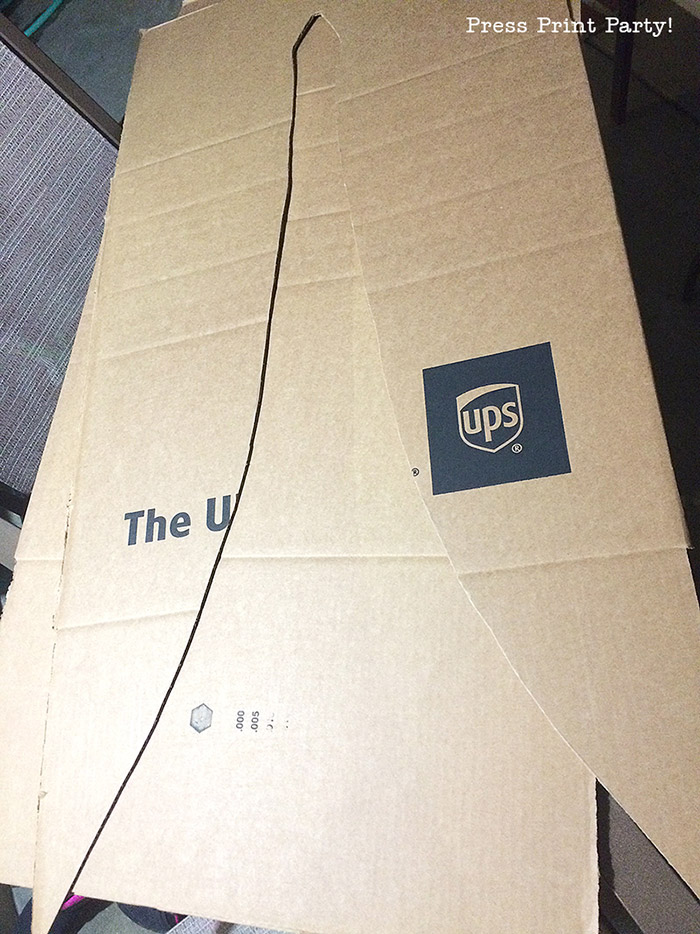
Place the template on the cardboard and cut with a carpet knife.
IMPORTANT!! You will need to cut 2 sides with tabs and 2 without. You may want to draw the tabs first. The tabs really help keep the tower together. The template does not have tabs!!
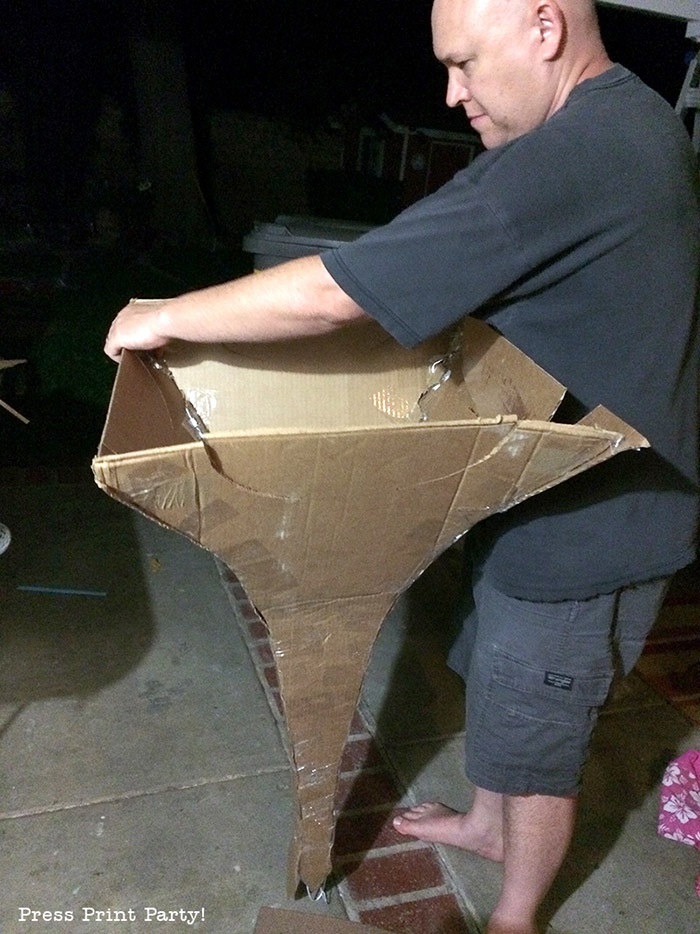
Make sure you score the length of the Eiffel Tower on the sides with tabs and fold the tabs.
This is one of the cut without tabs.
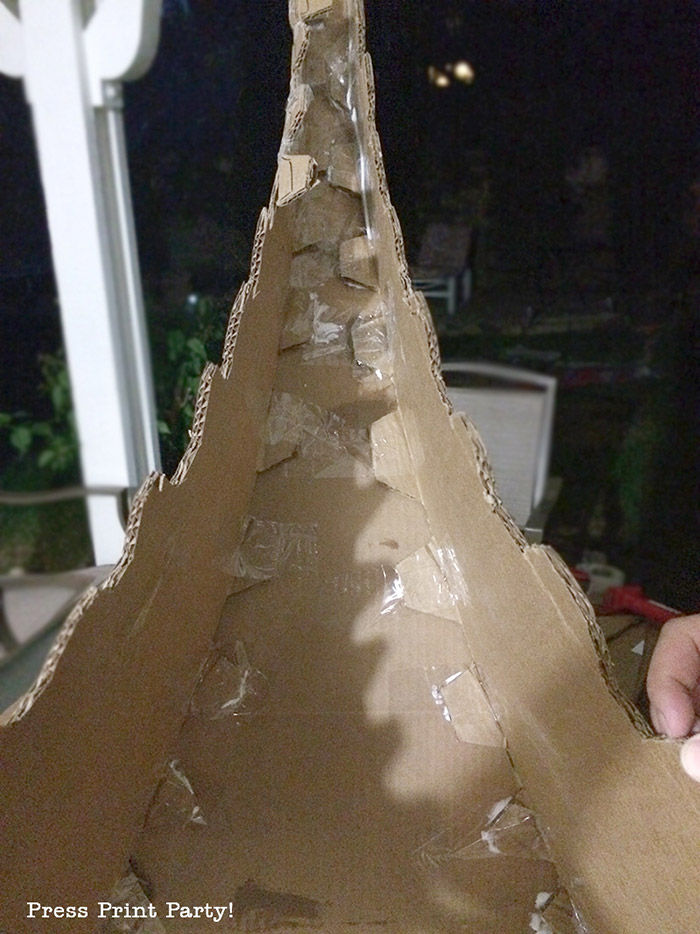
Tape/glue the tabs on one of the cut-outs without tabs.
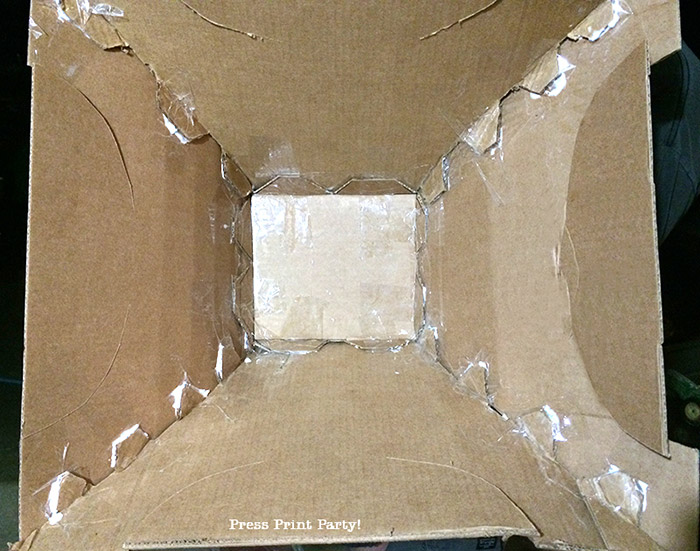
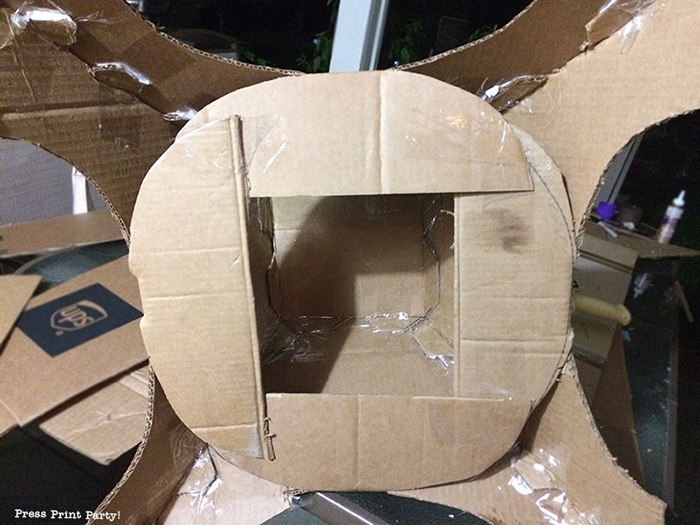
Fold and glue/tape the remaining tabs on the inside of the remaining cut out, then make a bottom. that’s where the candy will stop when you add it from the top. The higher you put it the longer it will take to break. Just cut out a square with tabs and glue/tape it to the inside. The smaller the square, the higher it will be.
Now fold the curved sections in to secure the form and tape them together.
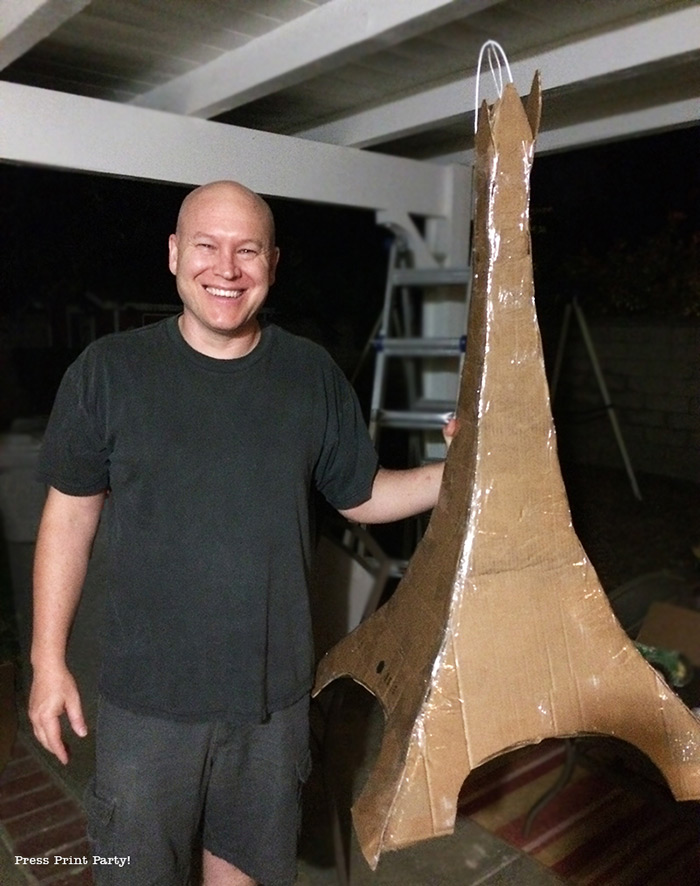
Voila, perfect Eiffel tower shape with a hole at the top and a happy hubby. In this pic, he had secured the coat hanger with tape from the inside but it came off after a couple of swings. We ended up having to pierce the sides of the tower towards the top and secure the wire to itself. Not as pretty but it worked better.
You can go check out how we perfected our hanger attachment for our Popcorn Box Piñata.
Now, the fun part!
Decorate your Eiffel Tower Pinata
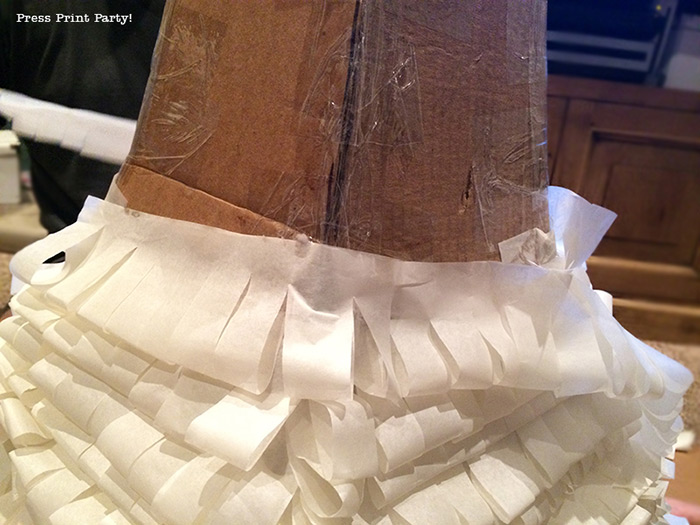
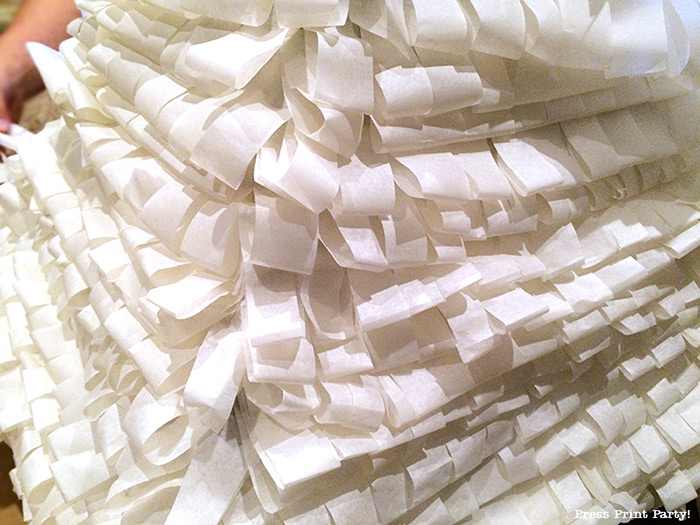
Fold long strips of tissue paper in half and cut fringes. Glue the fringes all around the tower starting at the bottom.
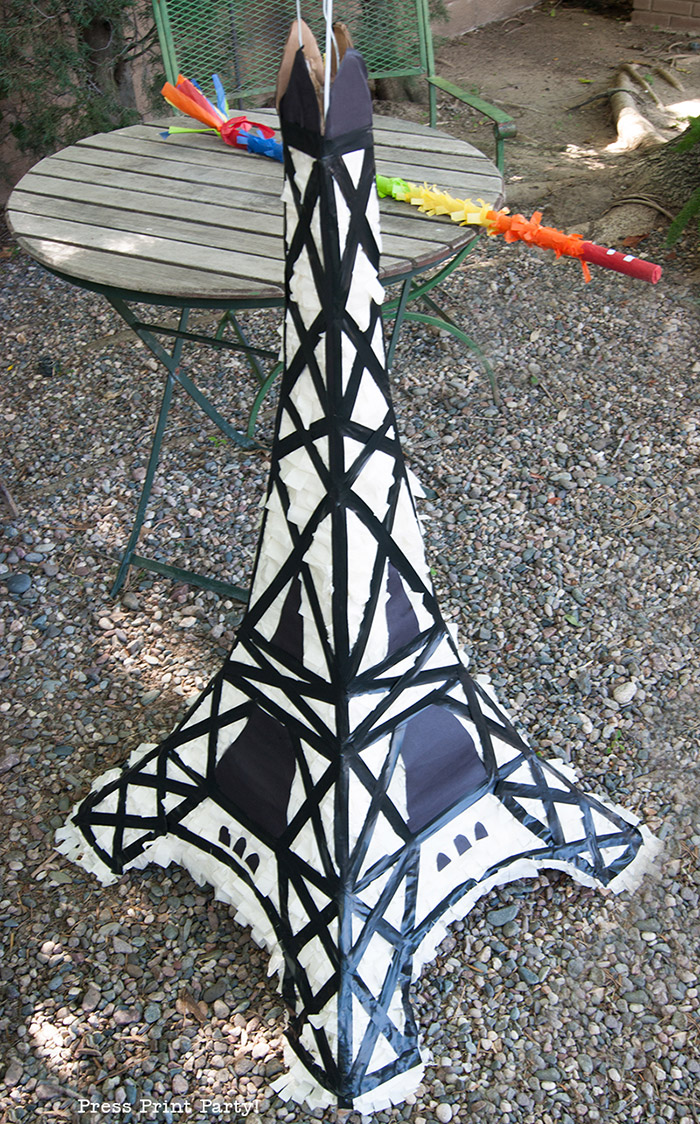
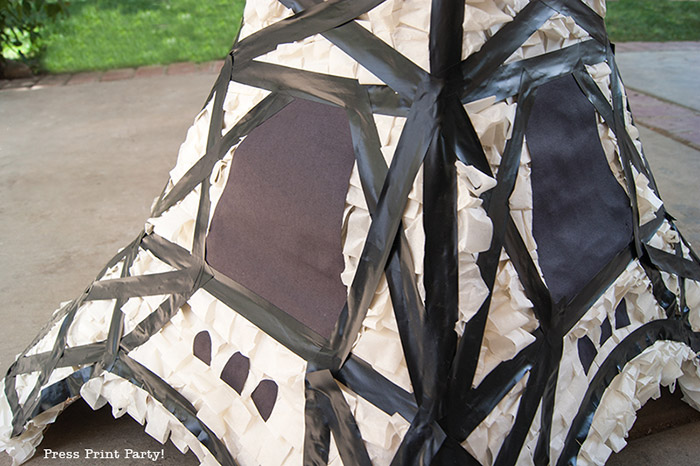
Now, use the pictures below to cut black paper and glue it to the top and the sides to simulate the levels.
Then use the black electrical tape to make the X shapes on the tower.
Secure the coat hanger by piercing it through the top or in any manner you like and add candy from the top of your finished Eiffel tower pinata.
Give the kids a stick and have fun!



That is maybe the best pinata ever!
Nice work.
Your husband may have a future as a professional pinatero.
I’m not sure there’s a lot of money in it for him as it takes him all day to make one… But he sure does love it. 🙂
The #7 piece is printing with an angle on the bottom where there should be a curve. I just printed 9 twice and traced it backwards, but you might want to check it.
Thanks for letting me know, I’ll check it out. I’d love to get a picture of your finished pinata if you don’t mind me sharing it!
Very nice my granddaughter loves the Eiffle tower.
If you make the pinata I’d love to see it. Thanks for stopping by!
Pingback: Pineapple Piñata Tutorial, the Good, the Bad and the Funny! - by Press Print Party!
Pingback: Paris Party with a French Vintage Flair - Press Print Party