Party Decorations, Beach/ Luau, Mermaid Party, Under the Sea
How to Make a Stunning Coral Reef Decoration for an Under the Sea Party
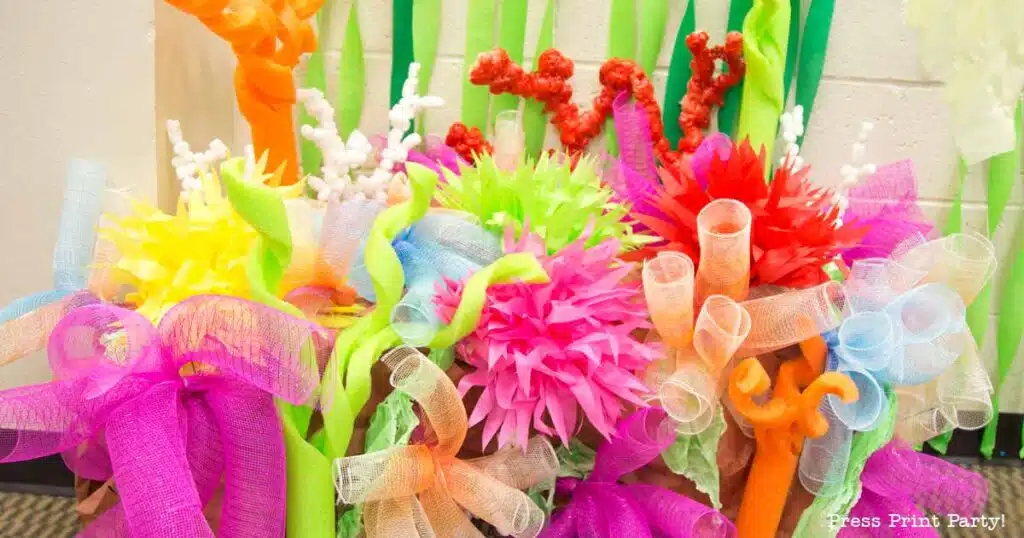
Decorating for Vacation Bible School is always a daunting task and this year’s theme, Ocean Commotion had us all scrambling for ideas and exercising our Pinterest muscles.
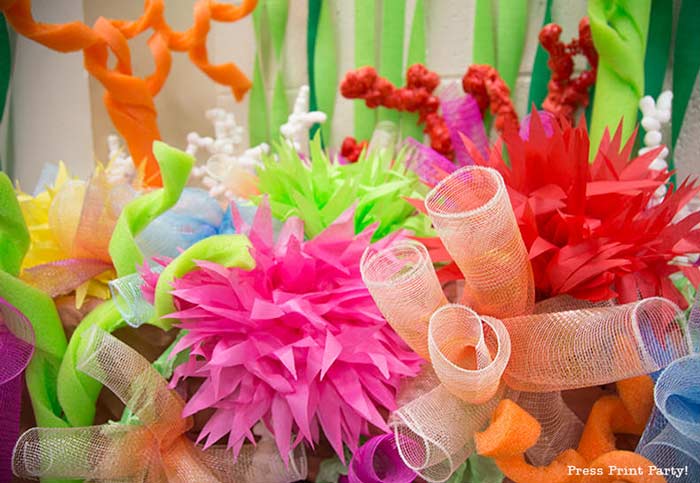
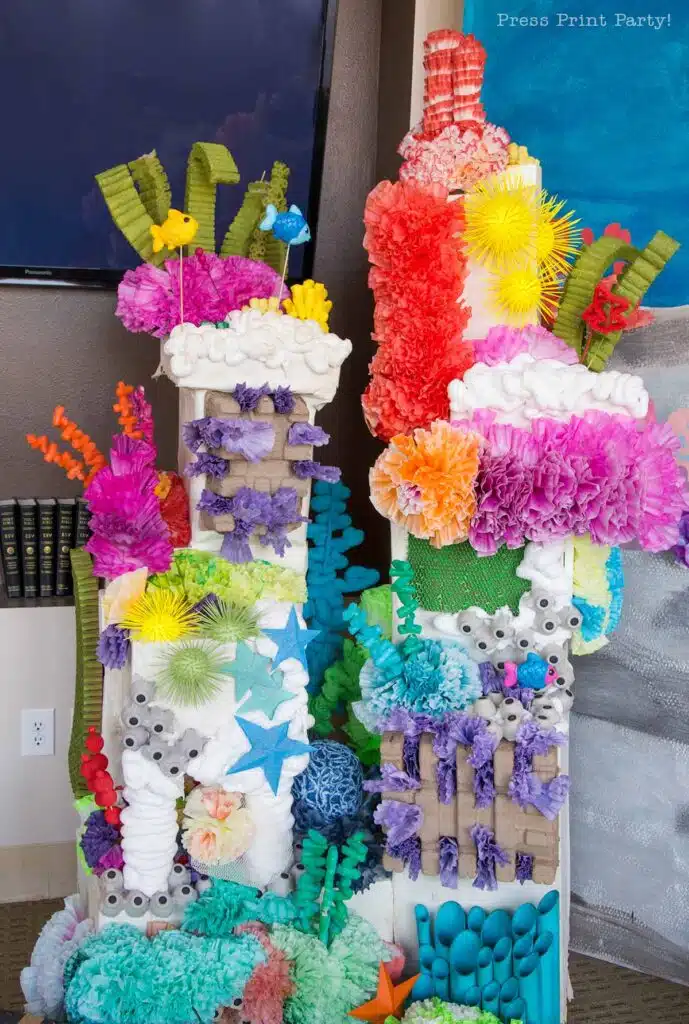
I ended up combining several techniques on 2 faux coral reefs and they became the spotlight of our craft room. This coral reef decoration would be a colorful and beautiful addition to any under the sea or mermaid party decorations.
This post may have affiliate links.
The nice this about these techniques is that you can achieve a large stunning coral reef decoration very easily.
Look at this new one I made 5 years later for a different VBS:
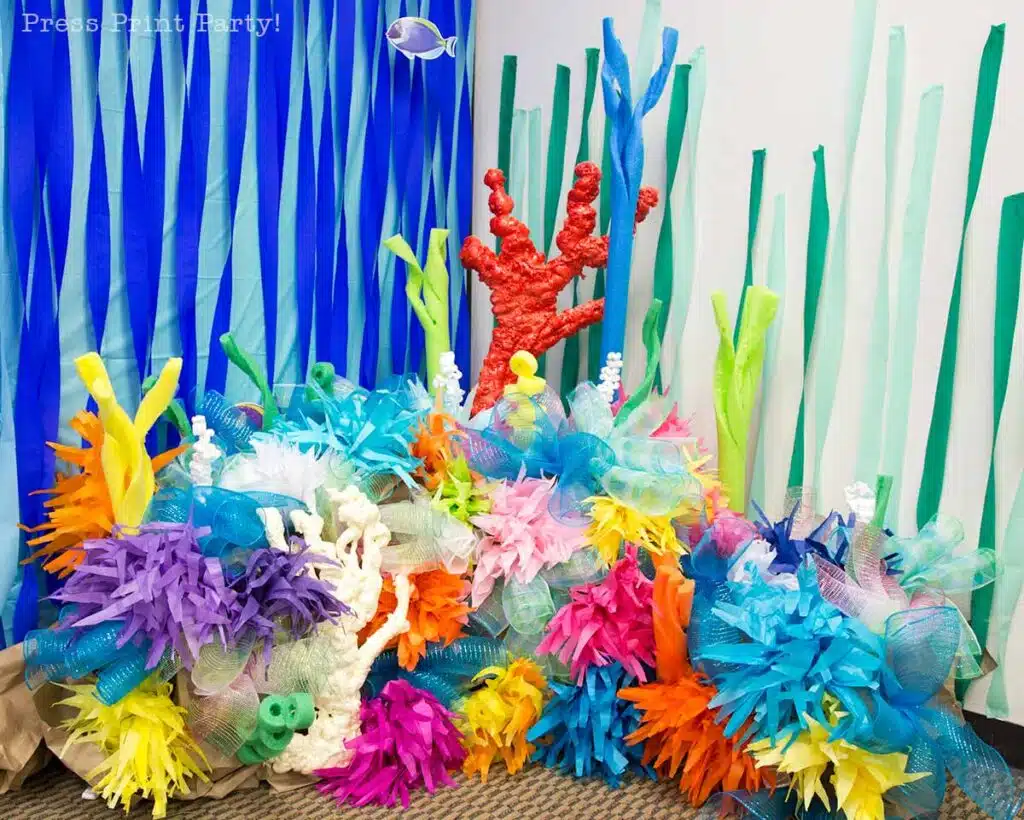
Keep on reading for all the tutorials to make you a coral reef pro. You can use all or just some of the techniques outlined below.
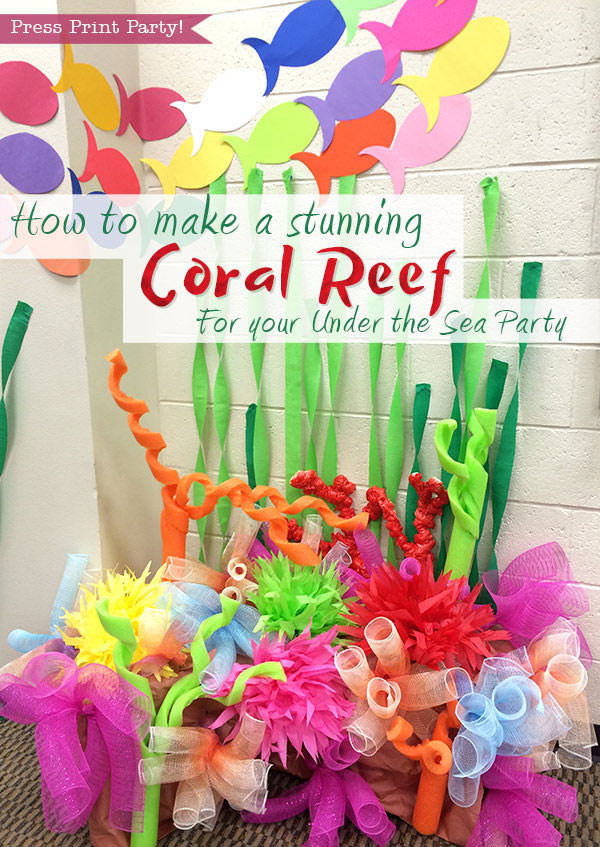
Coral Reef Construction Materials
Here’s what I used:
- Boxes
- Brown kraft paper
- Pool Noodles
- Floral Mesh in several colors (Available at any craft store or fake floral department of big retailers)
- Tissue Paper in several colors
- Packaging Peanuts
- Spray Foam (“Great Stuff” from the hardware store)
- Spray paint
- Fishing line
- Floral Wire
- Thick Wire
- Wooden BBQ sticks
- Toothpicks
Faux Coral Reef Video Tutorial
As I was constructing a new coral reef, I put together this video for you showing all the techniques I used to make this colorful coral reef.
You can scroll below for the picture instructions.
And please sign up to my YouTube channel by clicking here:Make the Coral Reef Base
First, arrange the cardboard boxes in a reef-like fashion.
If your cardboard boxes still contain blocks of packing foam, keep them in. They will help secure the coral you’re going to stick into the boxes.
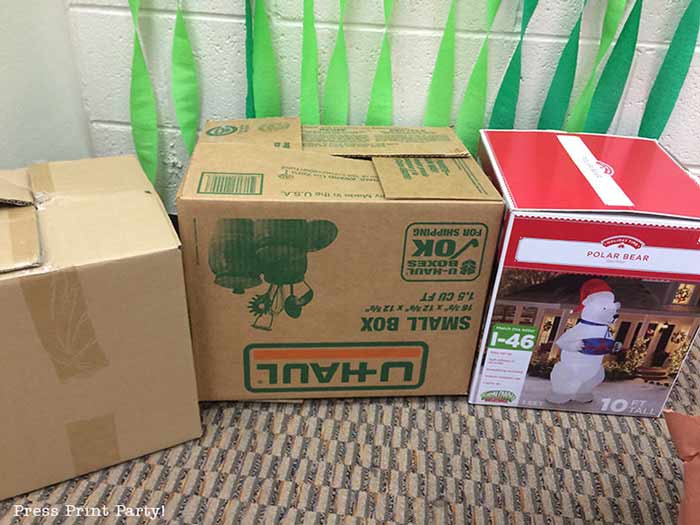
Crumble the brown kraft paper and drape it on the boxes.
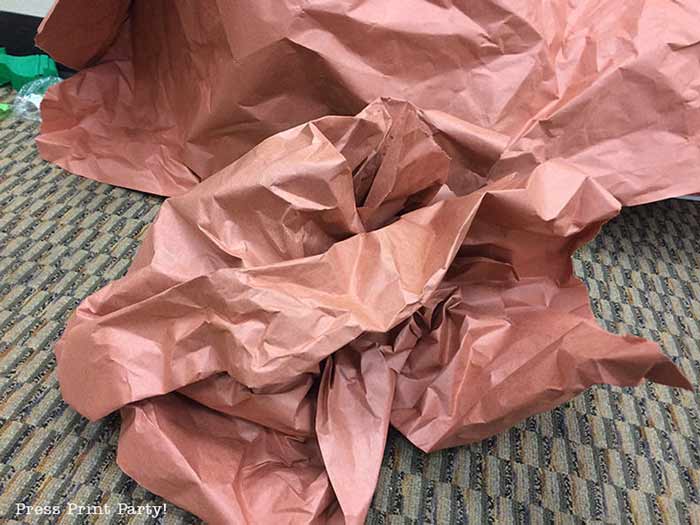
I know. Looks suspiciously like a couple of boxes covered with brown paper. We will make magic with that.
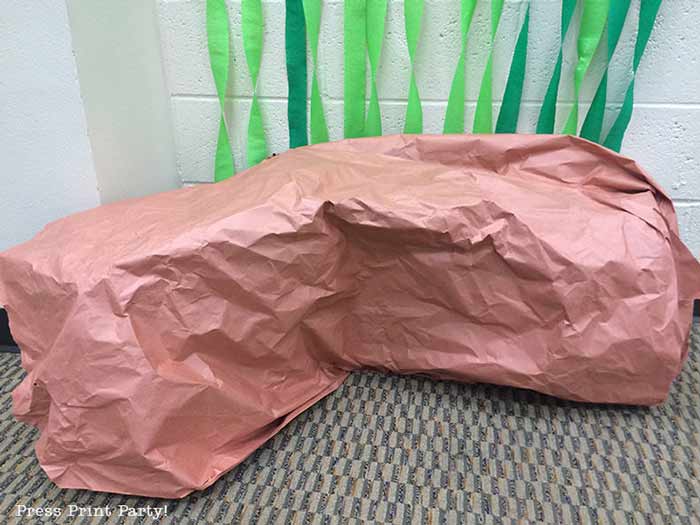
Make Tube Coral
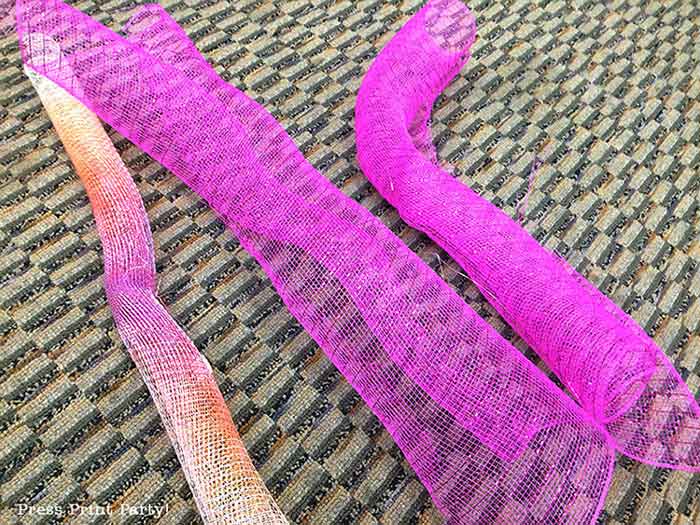
Cut the floral mesh into 1-foot strips, roll them, fold them in half, and attach 3 to 4 pieces together with some fishing line. Then attach a wire hook.
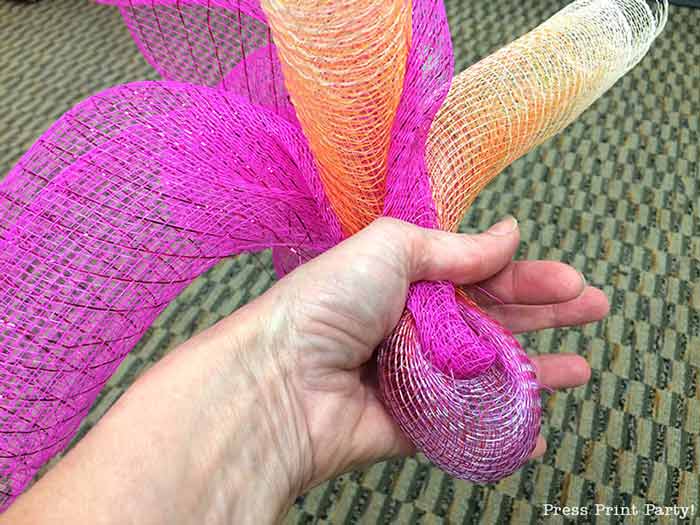
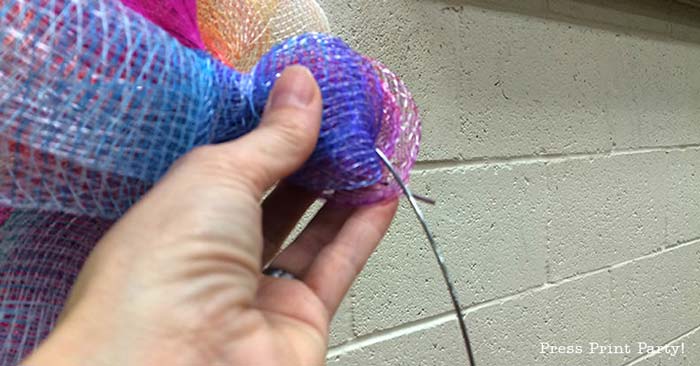
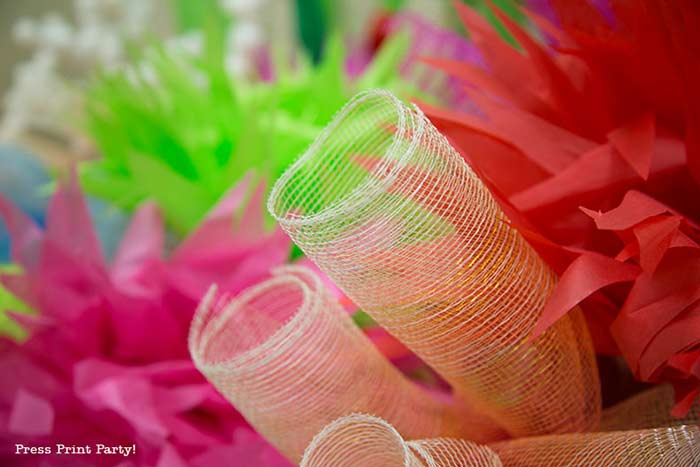
Make Paper Sea Anemones
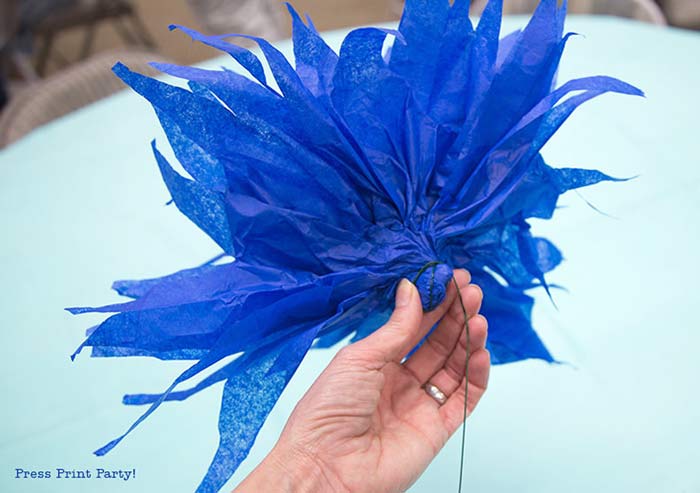
You’re basically making a tissue paper flower with very pointy petals. Here’s how I did it:
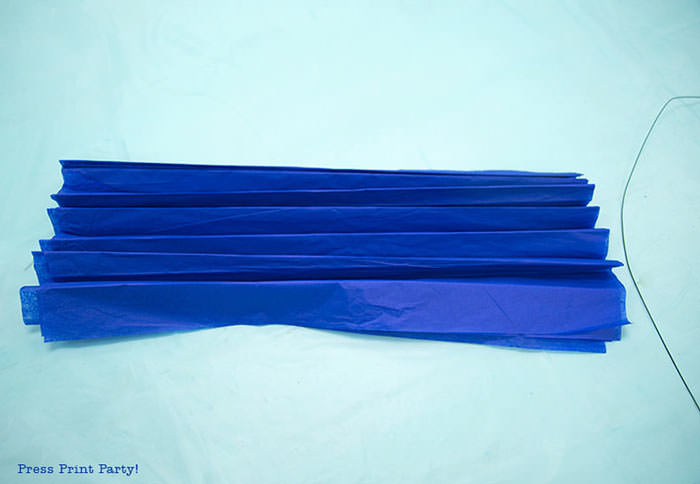
Stack 4 square paper tissue sheets of the same color.
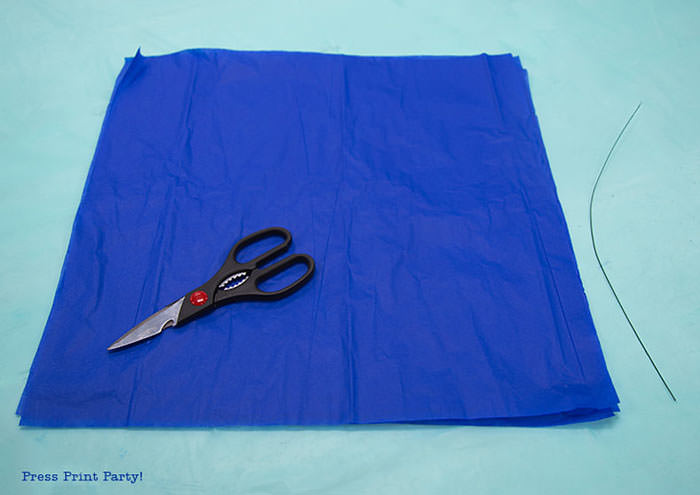
Fold accordion style in about 1″ folds.
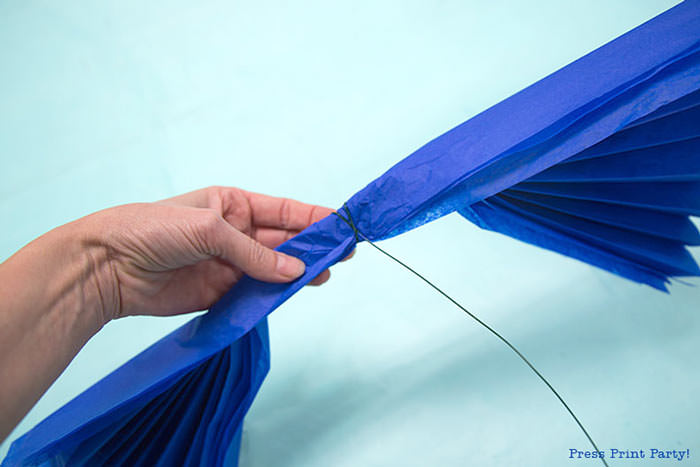
Wrap some floral wire around the middle.
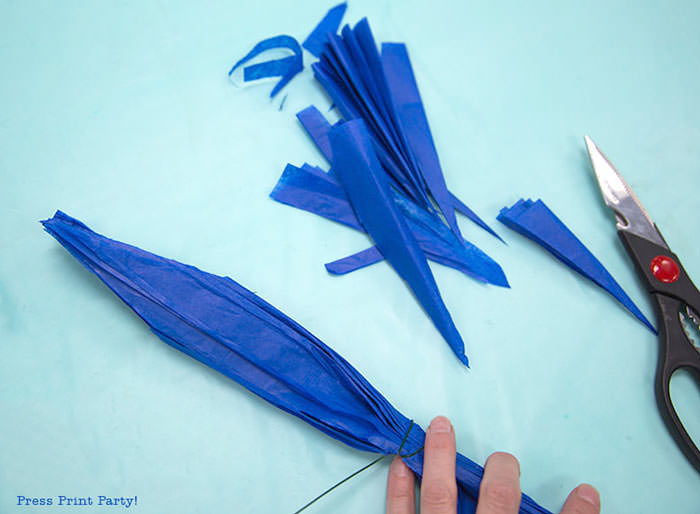
Cut the ends very pointy.
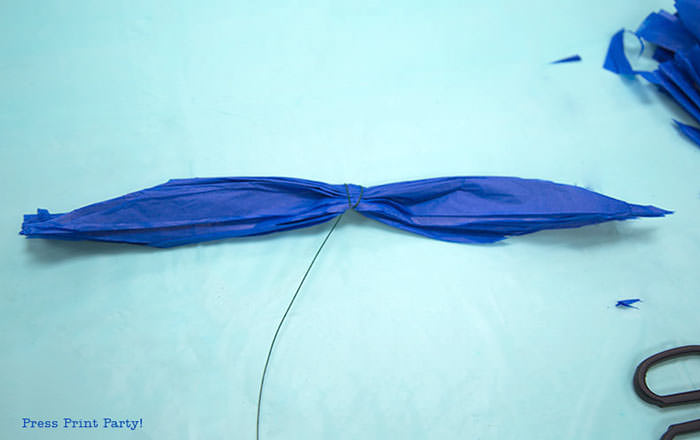
Carefully separate the sheets of tissue paper on both sides.
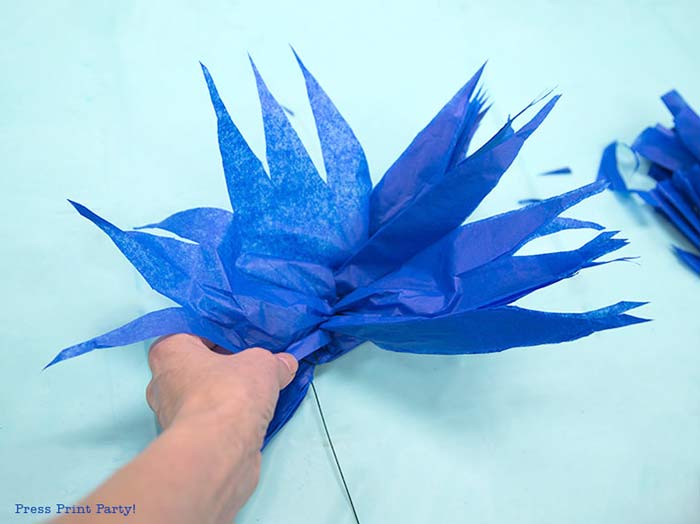
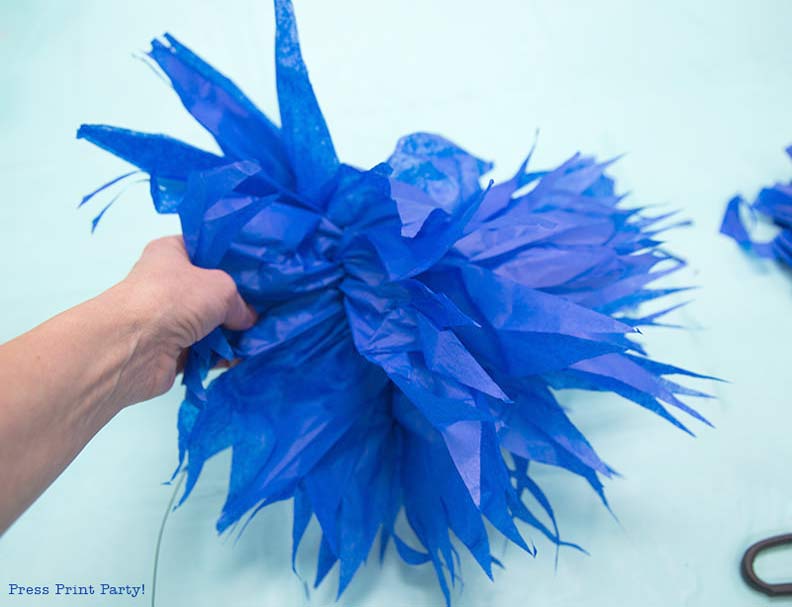
Wrap the wire around the bottom to bunch the sea anemone to one side. You can just use the floral wire to stick the anemone into the cardboard box but I found it better to attach a piece of thick wire for that purpose.
Make Pool Noodle Coral
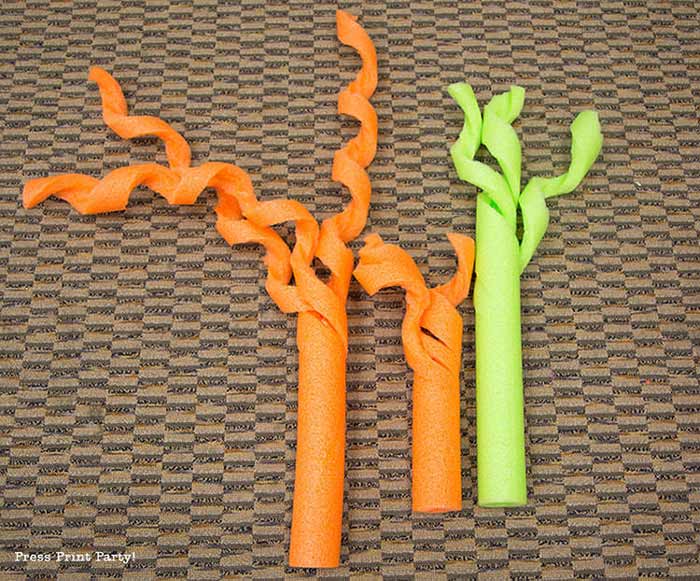
Cut a pool noodle in half and another in 2 uneven pieces. Cut in a big swirl pattern around the noodle, starting at the top and stopping about 6 inches to 1 foot from the bottom. Cut inside the swirl at least one or two more times.
For my new fake coral reef, I also cut some slices of pool noodles and pierced the pieces with a wooden skewer.
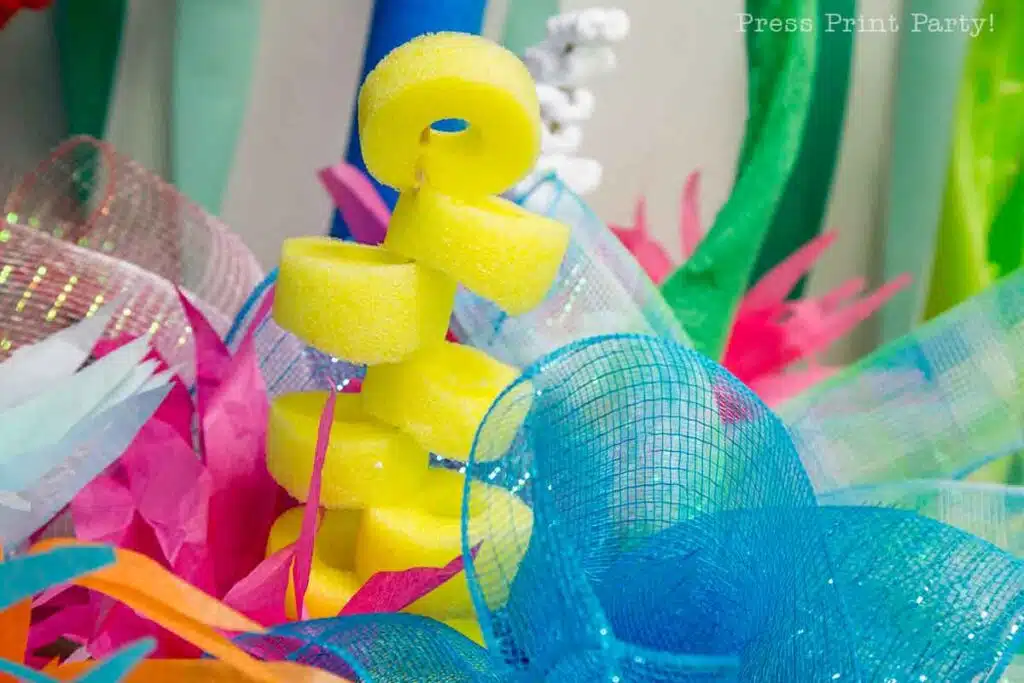
You could also make them like this:
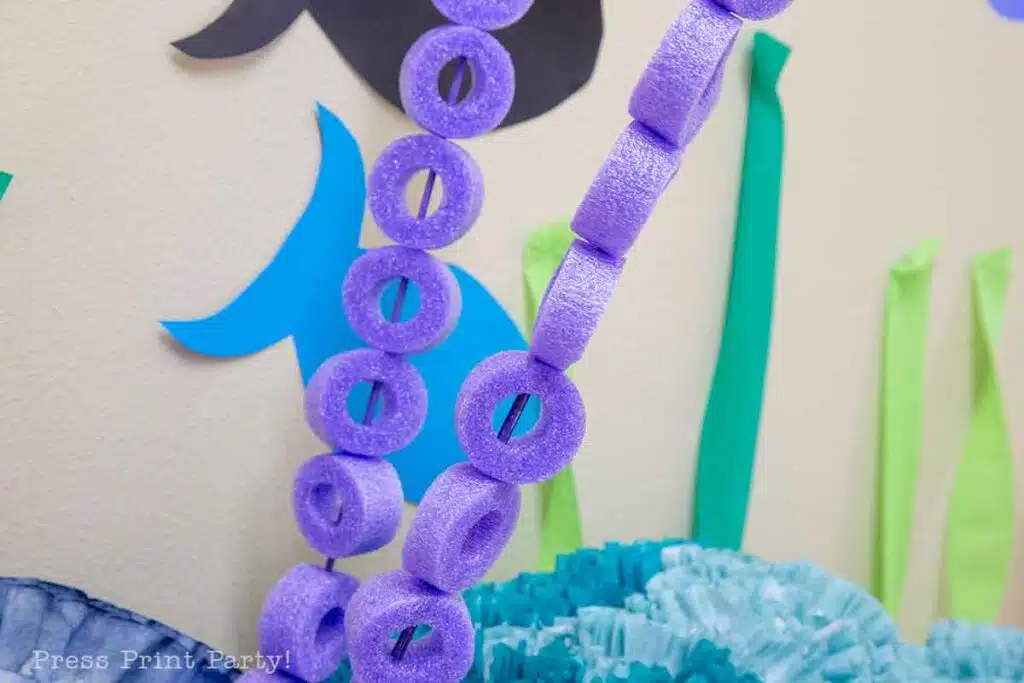
There are many more ways to cut pool noodles to make a coral reef.
I have some more ideas below and in the amazing under-the-sea decorations post where you’ll find several pool noodles coral reef pictures.
Make Coral with Spray Foam
I found this good tutorial on Pinterest so I’m re-posting here:
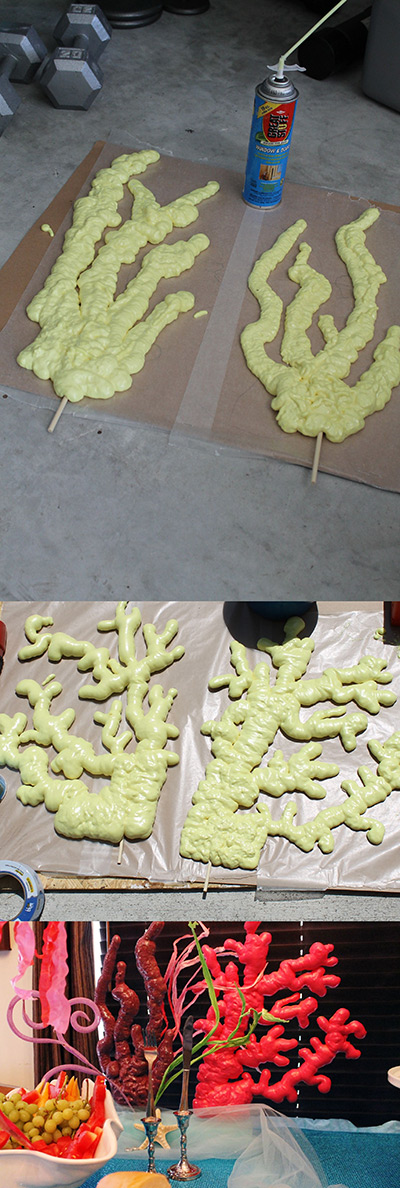
“Things you’ll need: Large cardboard/wood surface – lined with wax paper Wood dowels Can of spray foam Spray paint
What you do: Place wood dowel on wax paper and secure with tape. Spray the foam over the dowel in an organic free flowing motions to create something that resembles coral. Note: Foam will expand so don’t spray too much in one area. Let dry overnight. Carefully peel off wax paper. Then spray paint.”
I found that inserting the wooden skewers after making the spray foam coral works great too.
Here are some of the spray foam corals I made:
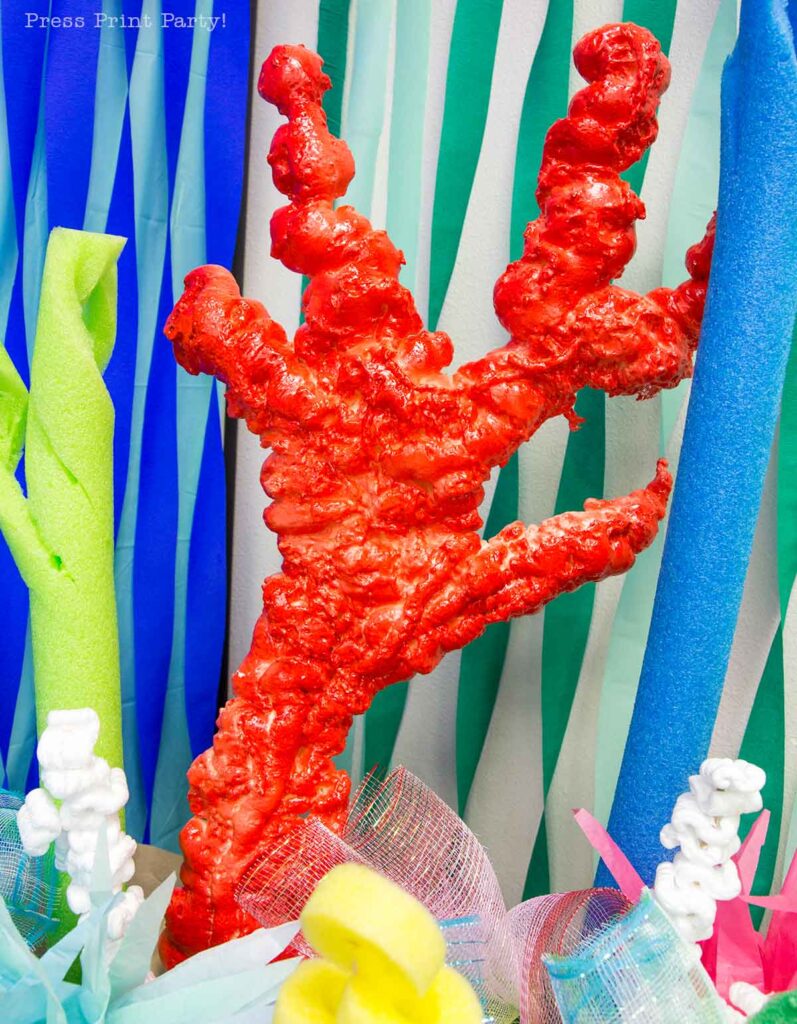
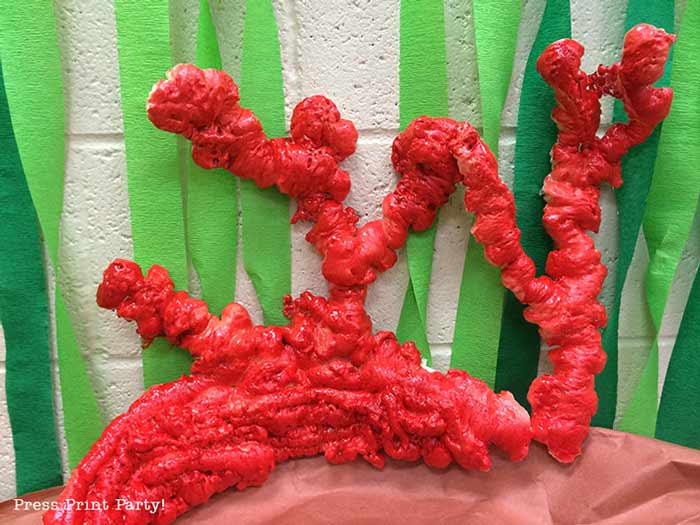
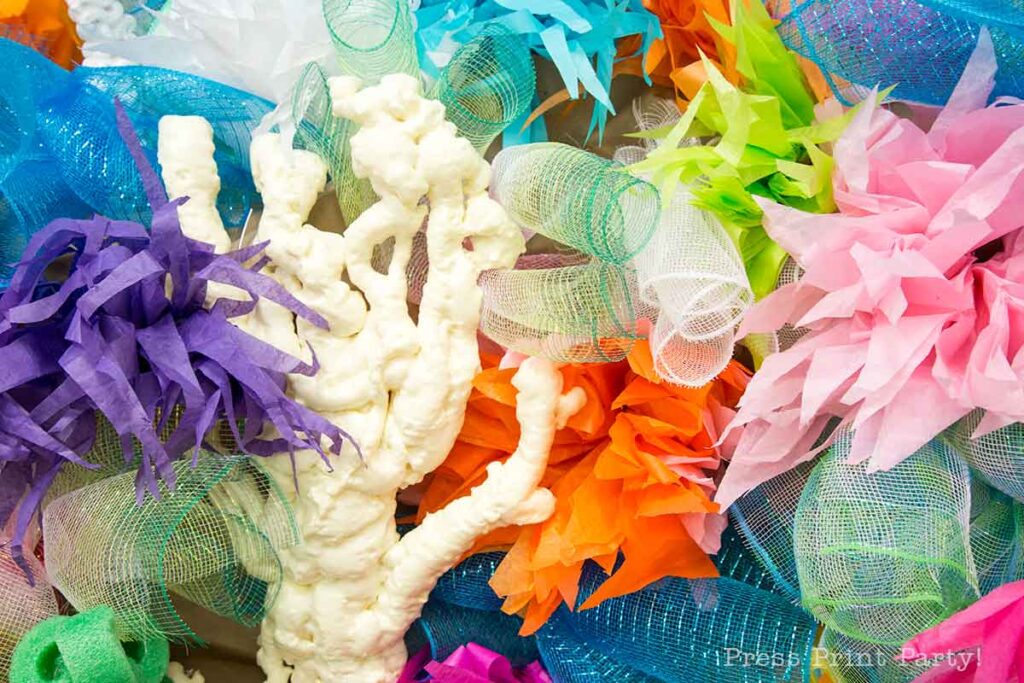
I didn’t paint this one below. It looks like bleached coral.
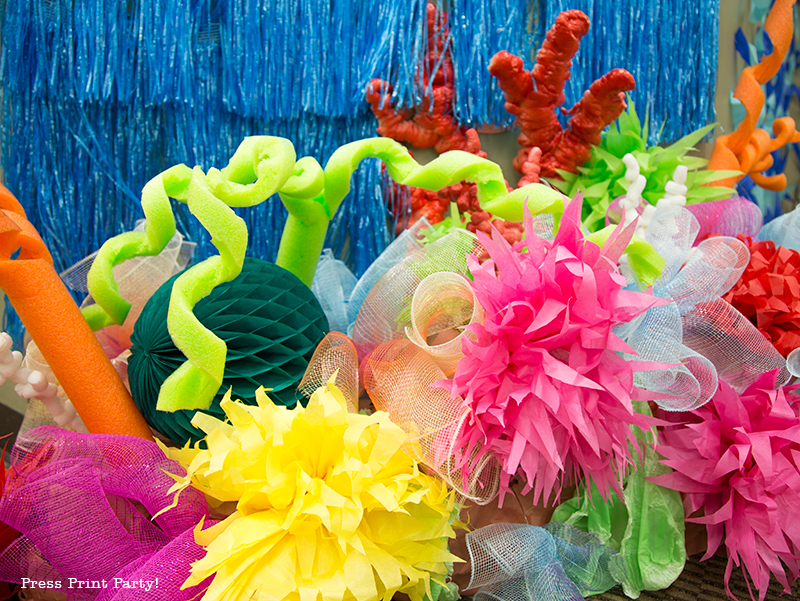
I made a bigger one on this reef. You can see it in the back. You can also see a honeycomb lantern peeking out that makes an easy brain coral.
Make Bleached Coral out of Packing Peanuts
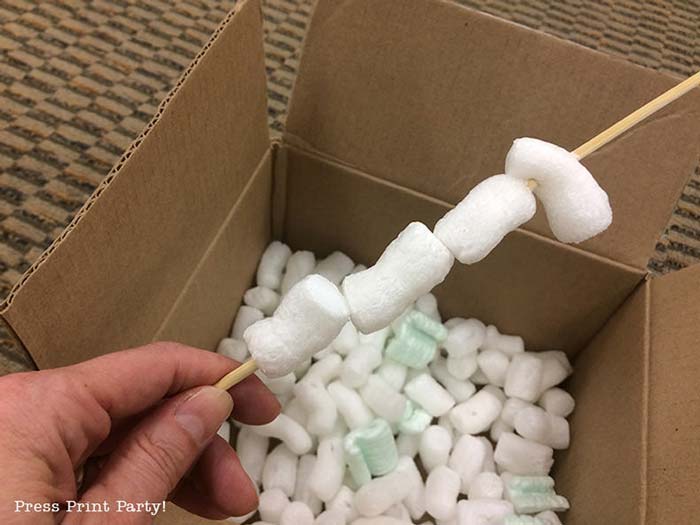
Just string white packing peanuts on a wooden BBQ stick. Use toothpicks to make the arms. You can stick or glue a couple together and spray paint it if you wish or buy the colored peanuts for crafting. I left most of them white (like dead coral).
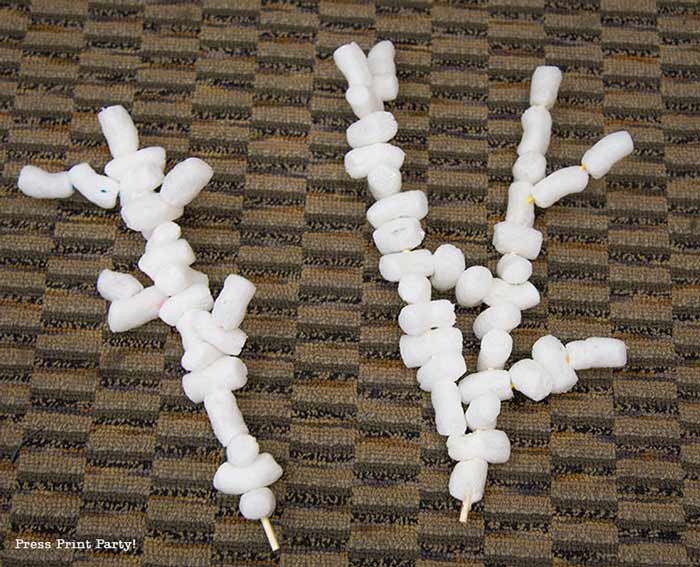
They look great in the back!
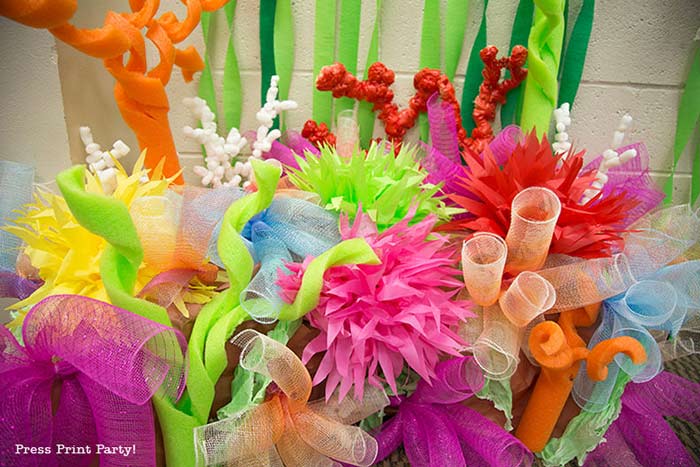
Put the Coral Reef all Together
Now you’re ready to use the wire ends to stick all these wonderful items in your cardboard boxes in an organic coral reef fashion. Stab BBQ sticks where you want the pool noodles to stand.
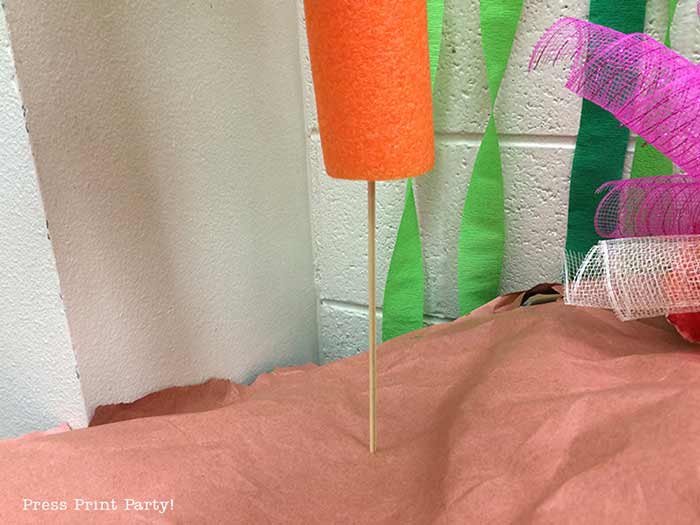
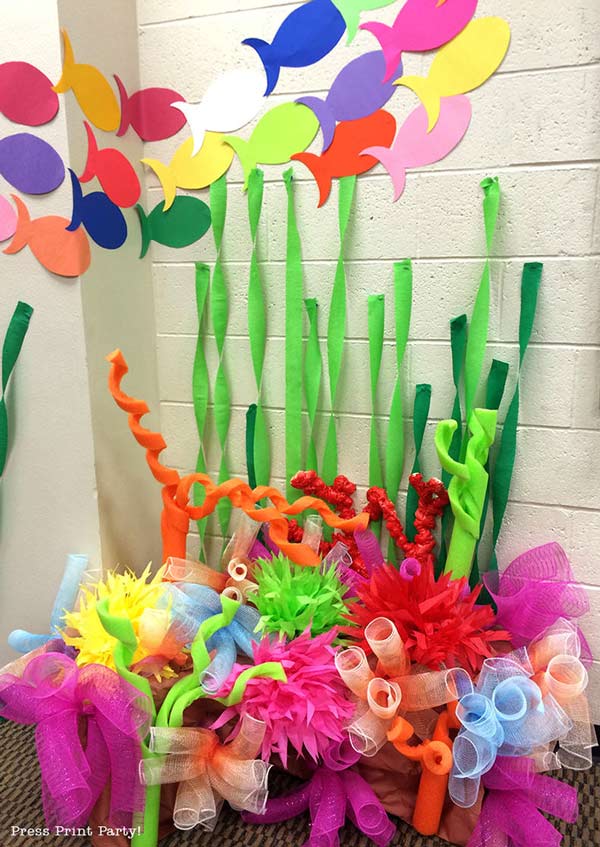
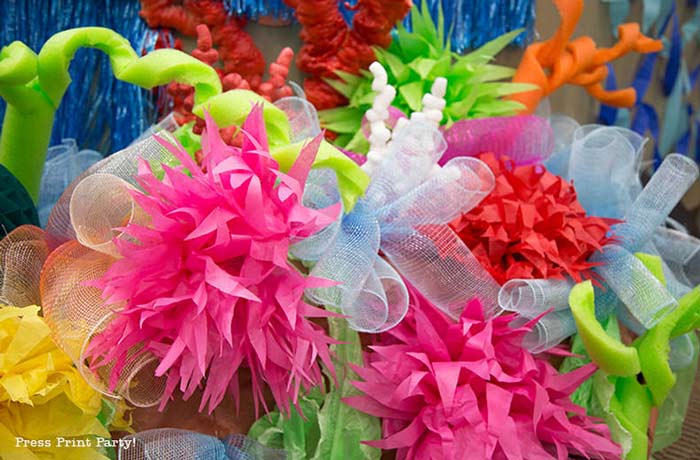
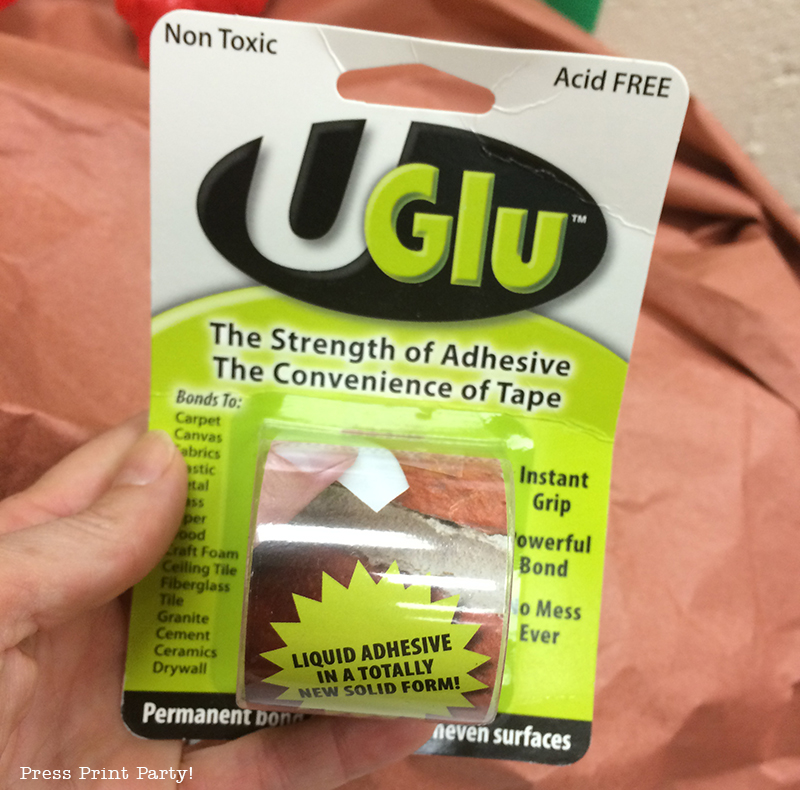
If things keep on falling you can use some of this fantastic product.
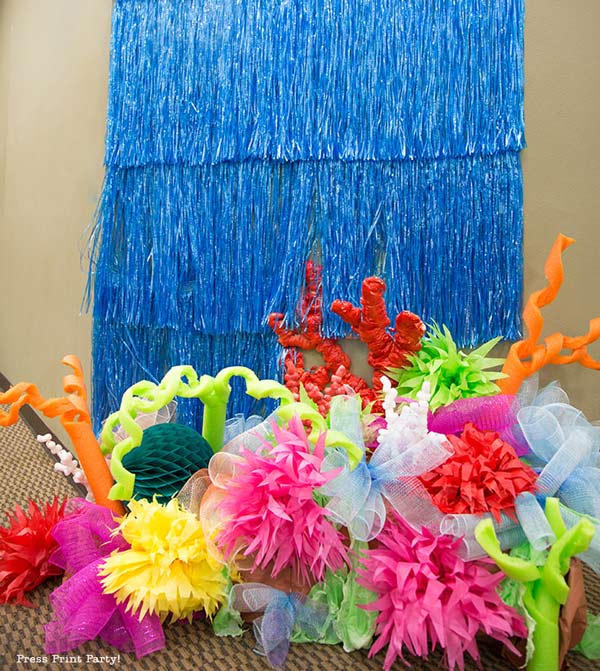
The burst of color on the coral reef will amaze your guests.
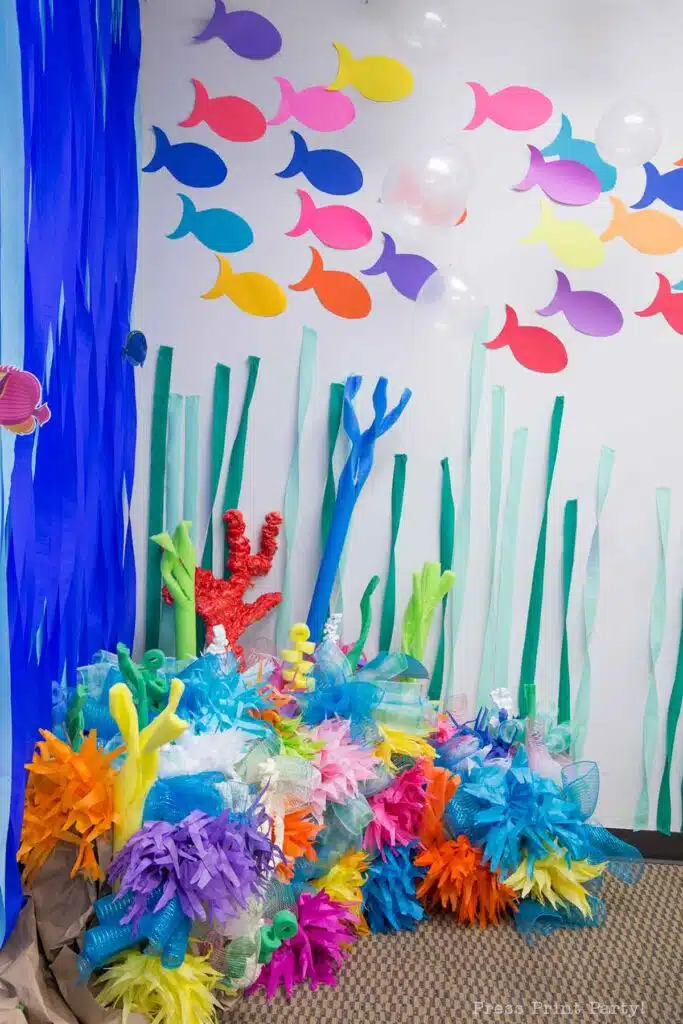
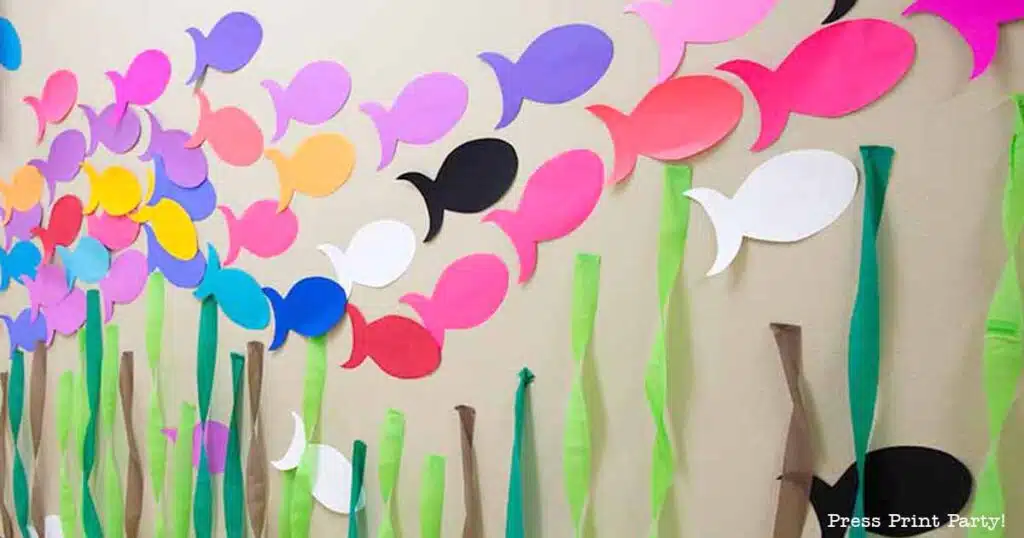
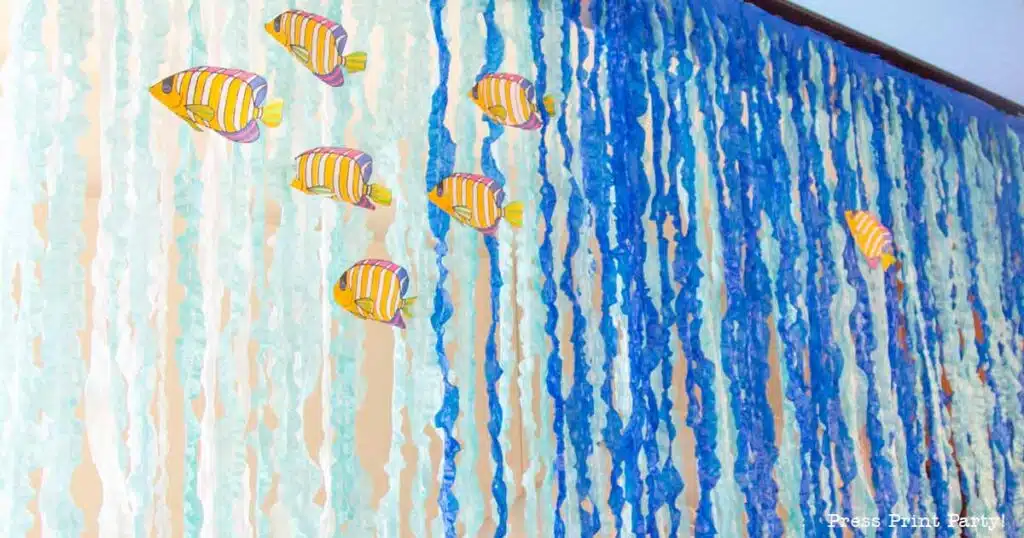
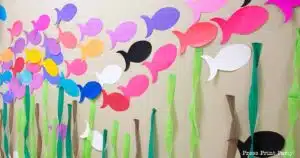
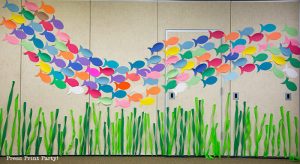
And if you like the school of fish on the wall, I have the template available as a free printable too.
You’ll also love:
More DIY Coral Reef Decoration Ideas
At our Ocean-themed VBS we used other coral reefs that were made by another church. I found them a little boxy but some of the items they used and the type of coral they made I thought were very clever.
In this section, I will go over those reefs and some of the fun ideas you can incorporate into your own DIY coral reef decorations.
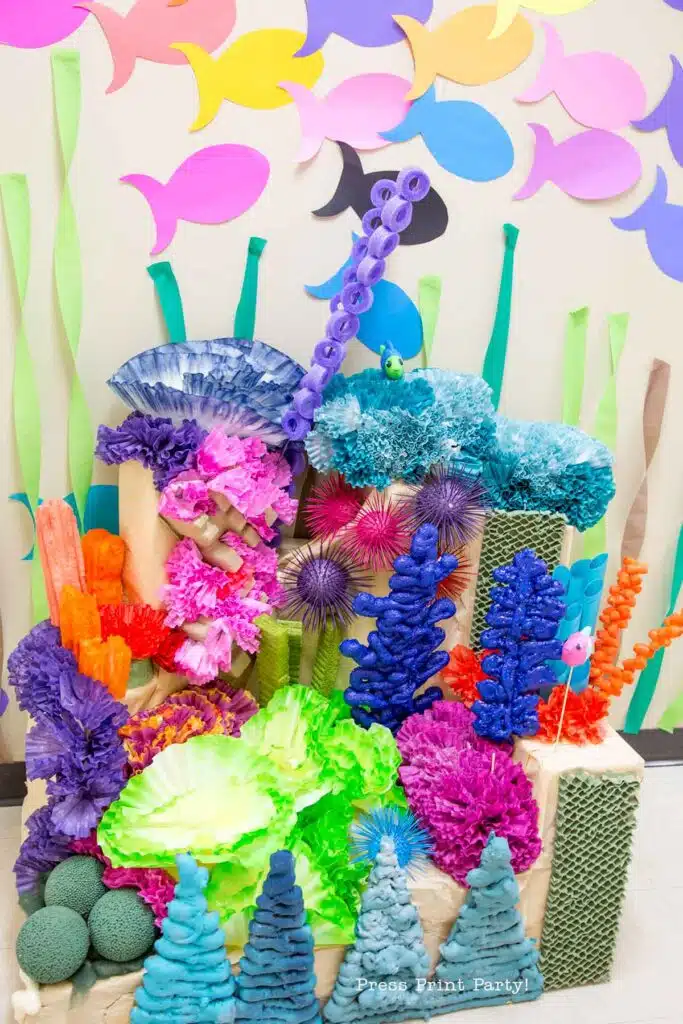
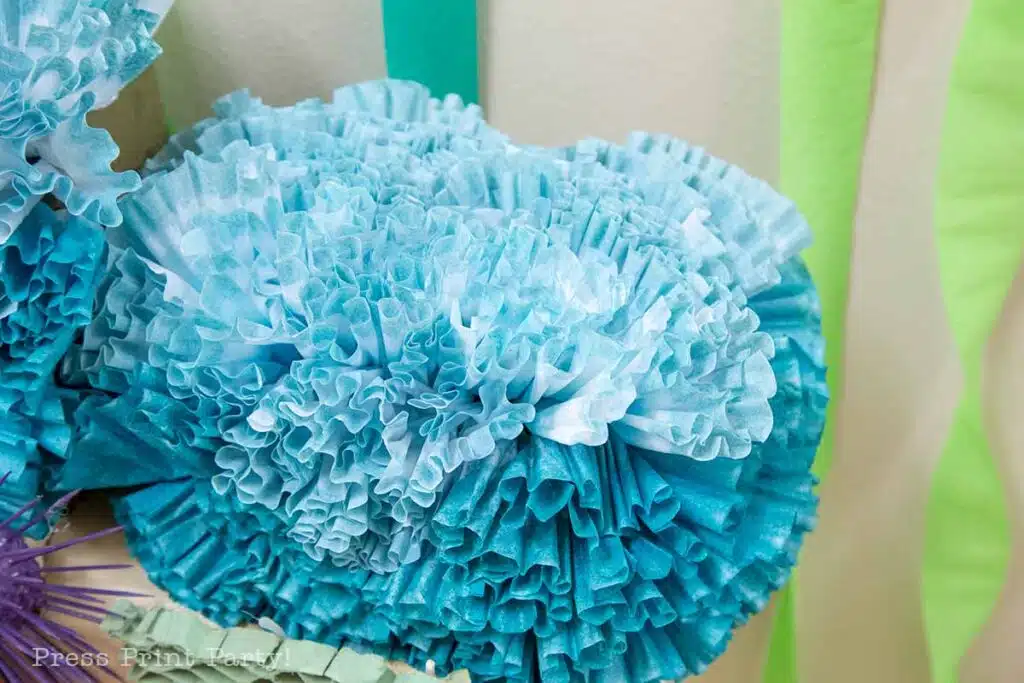
In addition to using the spray foam corals, most of the coral was made with coffee filters dyed in all kinds of different colors and pocked or glued into floral foam blocks.
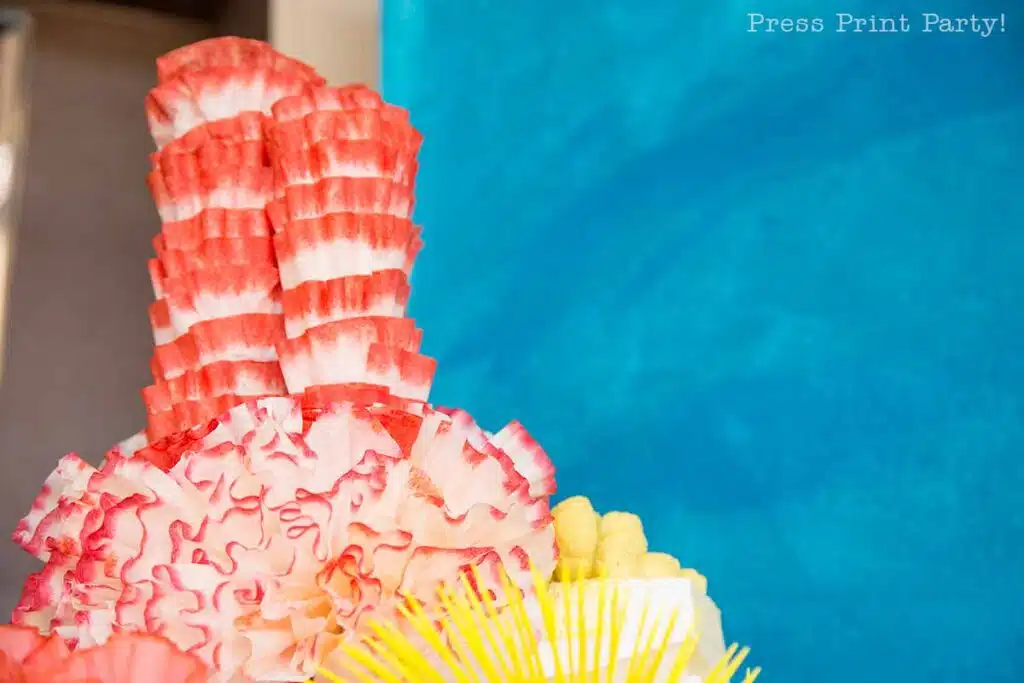
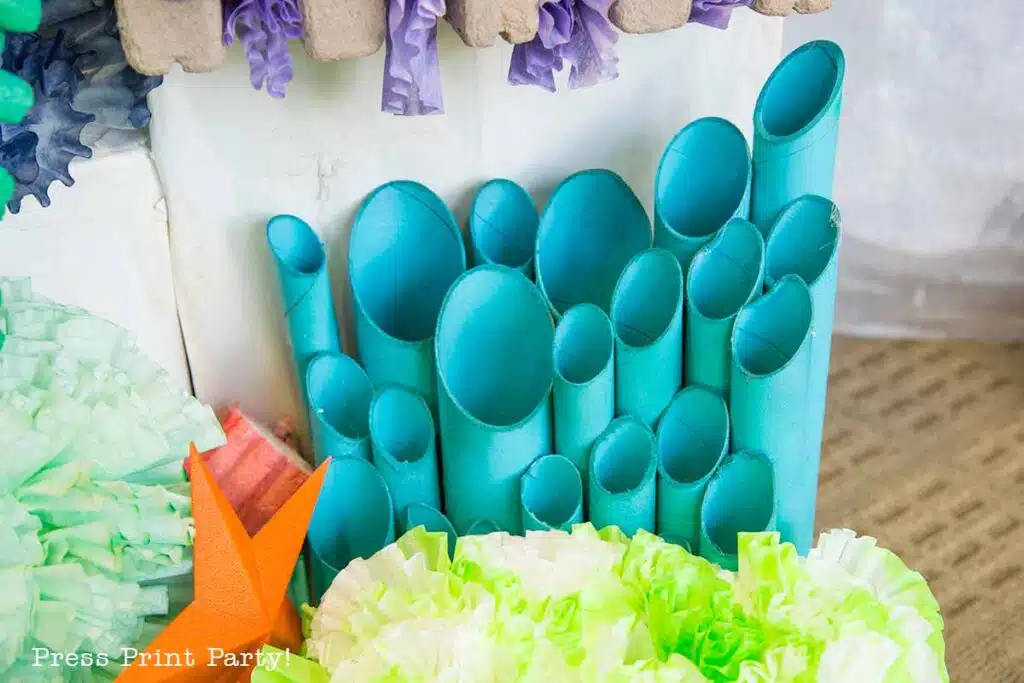
Several paper tubes were cut at an angle, painted blue, and glued together to create tube corals.
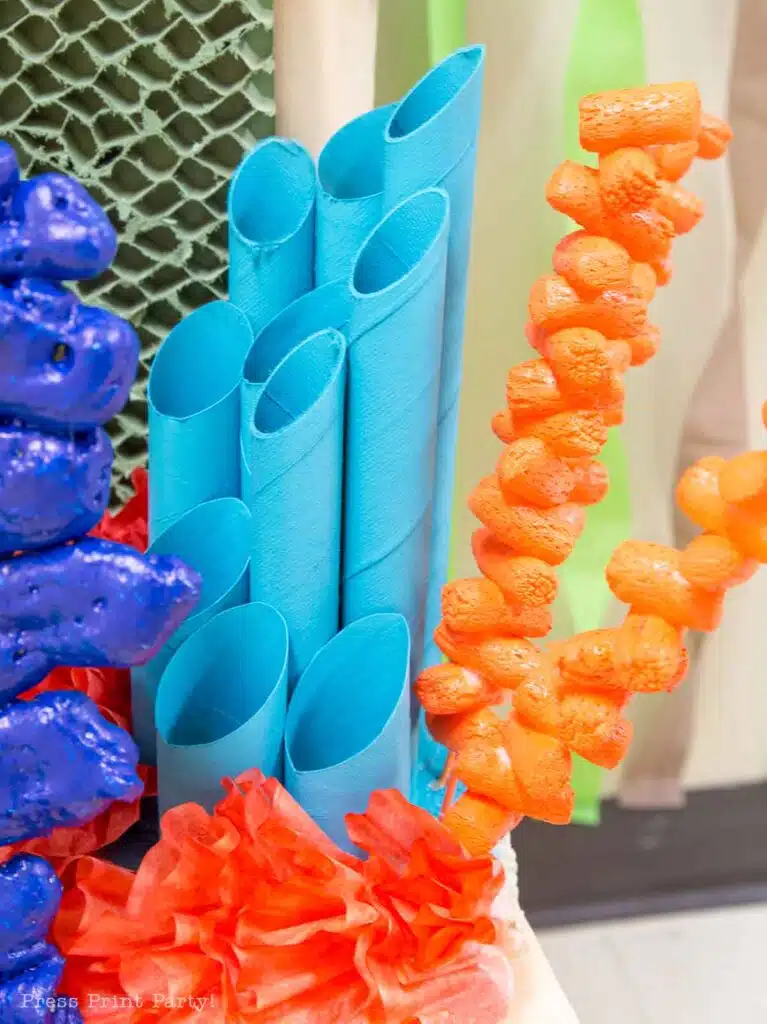
They also used my packaging peanuts technique but used the colored kind.
Here they either scraped pool noodles to give them a used coral look or used some very old ones ready for the trash.
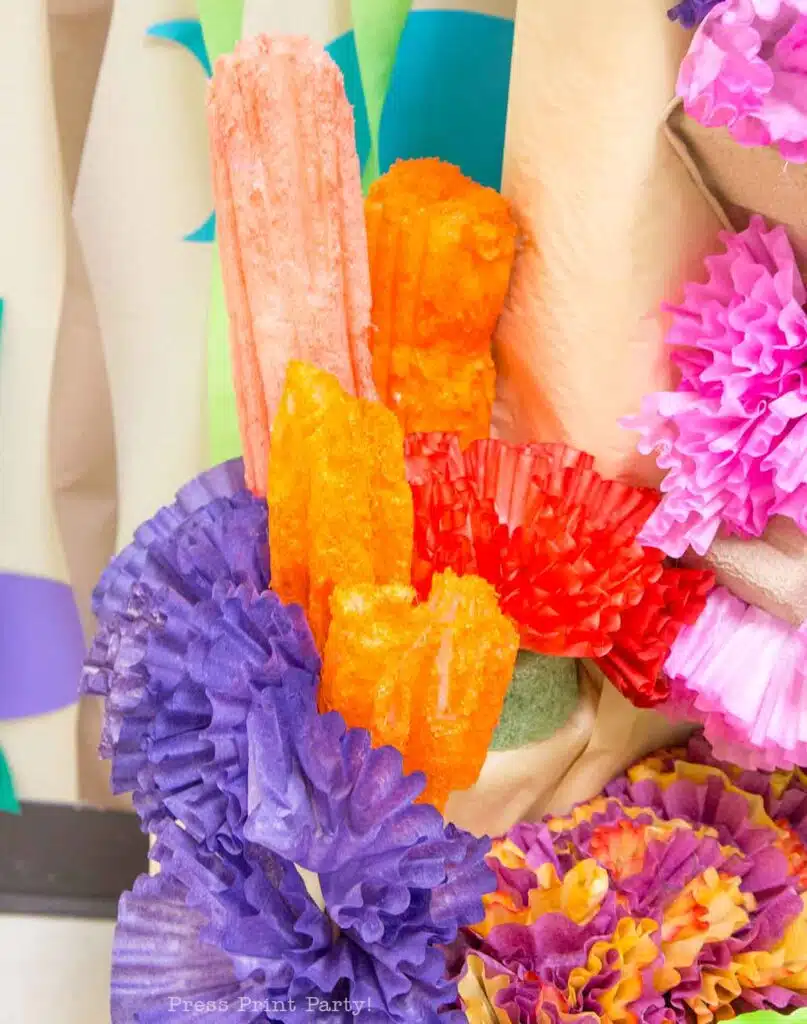
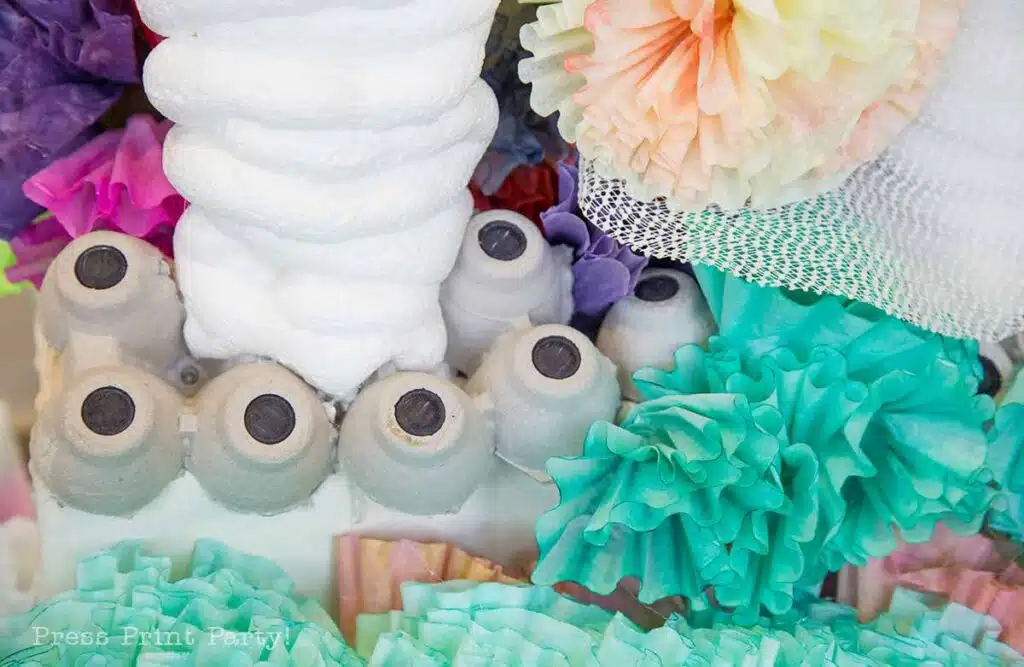
They used egg cartons and all kinds of packaging trash to create more interesting coral formations.
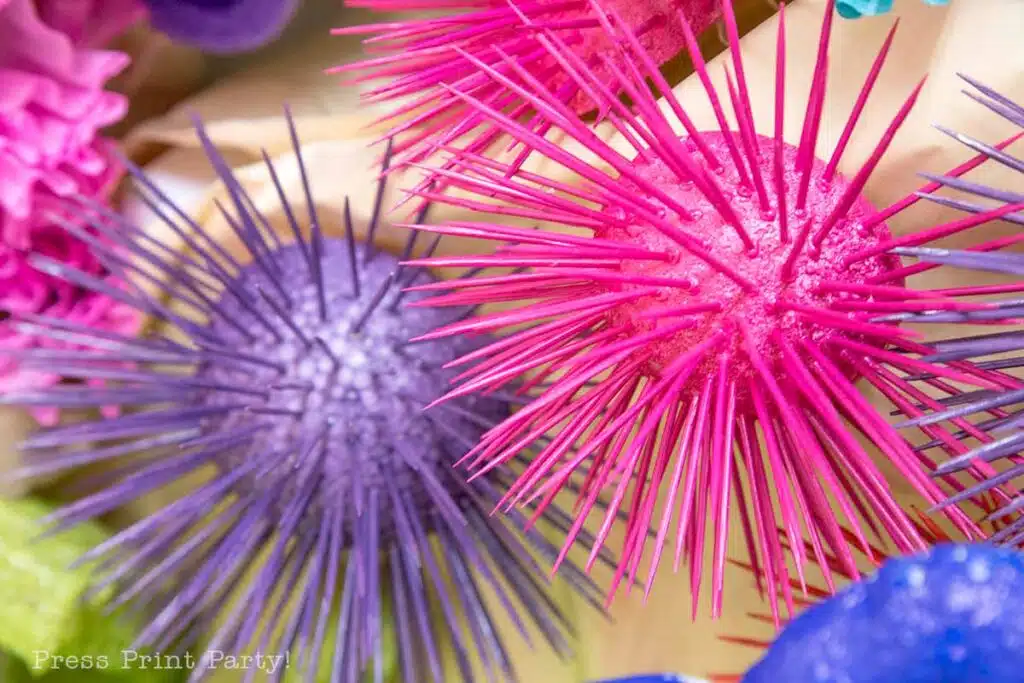
Foam balls cut in half, stuck with toothpicks, and painted became a family of bright-colored sea urchins.
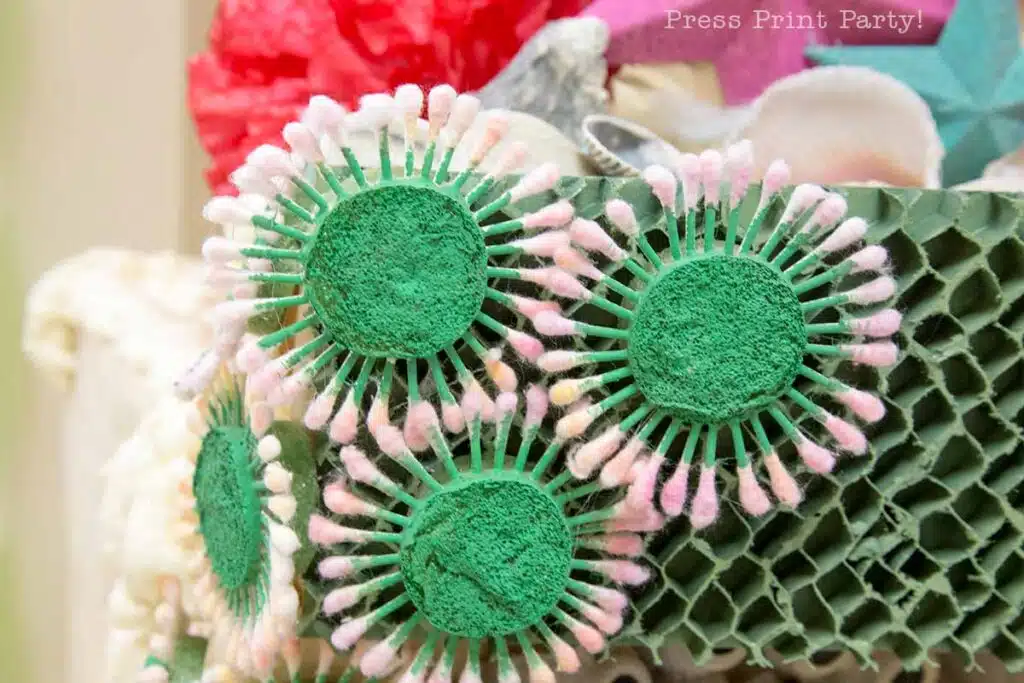
This unique soft coral is made with q-tips inserted in green floral foam. Pretty clever!
I’m excited for you to create a beautiful coral reef decoration with these techniques for your next under the sea party or VBS.
I even made miniature coral reef decorations to use as table centerpieces or decorations on the dessert table.
I have much more content to spark your creativity and lots of party advice (Do you know the 3 secrets to a great party?) as well as a great party planner to keep you on track.
Go visit the amazing under the sea decorations post for more ideas and get the free fish template to elevate your party decor!
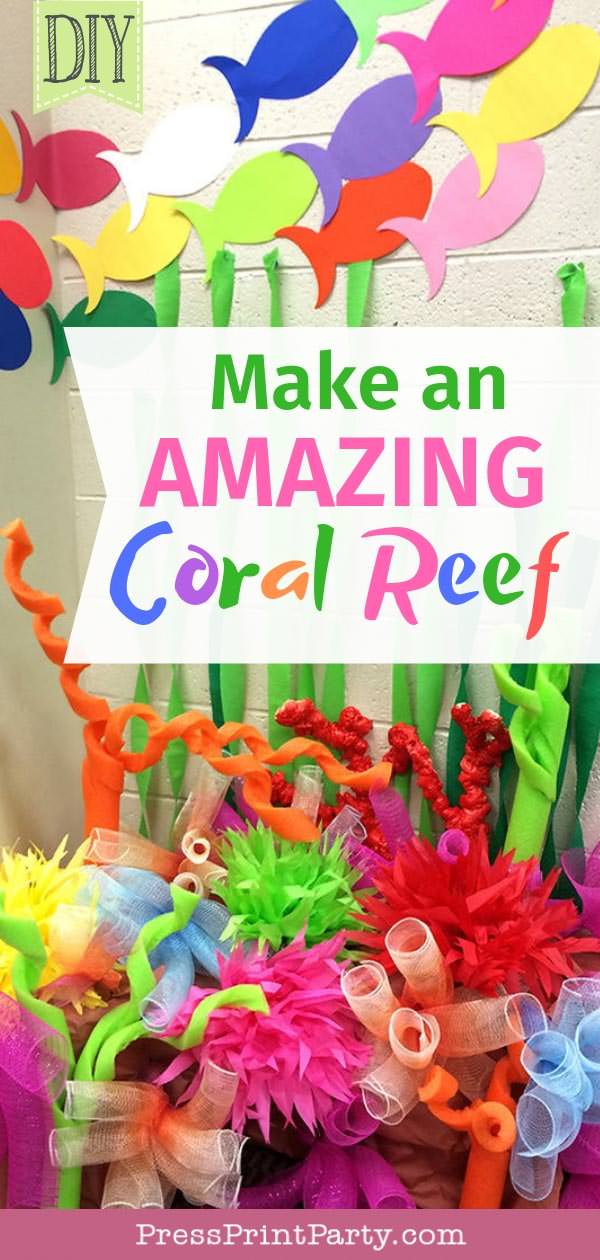
Don’t forget to pin this coral reef decoration DIY:



Thank you so much for what you have done, and the pictures and descriptions in the steps. I am going to be using this in combination with another idea for VBS this year and can’t wait to get started!
I’m using your wonderful inspiration as space plants for our VBS.
How fantastic. I’d love to see the final result.
Thanks for sharing! I can tell you really took a lot of time to create this post. The coral reef display is fantastic! I recreated it with my niece last night and apparently it went over very well at show and tell.
This was awesome! We had under the sea theme for our “special needs prom” they loved looking at all the cute corral. I wish there was a way you could attach a picture.
I’m so glad my coral reef tutorial helped you. If you needed to attach pictures to it you could get them printed or glue them on thick foam board and tape a bbq stick to the back of it. That way you could stick it in the cardboard box.
Do you remember what the total cost was? I want to make a few but someone else is selling the ones they made for a bday so I don’t know which way to go. A part of me thinks I’ll do a better job than she did and have fun too.. another part of me. Is like “you’re a full time remote employee and stay at home mom during COVID!! Just buy it”
I don’t but it wasn’t much. I got the tissue paper at the dollar store and the mesh on sale.
Wow. Those are stunningly homemade good coral reef decorations! So pretty.
Thank you! It was fun to make too.
Your ideas saved me!!! I have been cutting a million images using my cricut to do an ‘under the sea’ trunk or treat for my sons school and i just wasnt satisfied with it. I wanted it more realistic and fun and 3D and i stumbled across your blog and im so glad I did! You are amazing. Forever grateful.
Thank you so very much. That’s very kind.