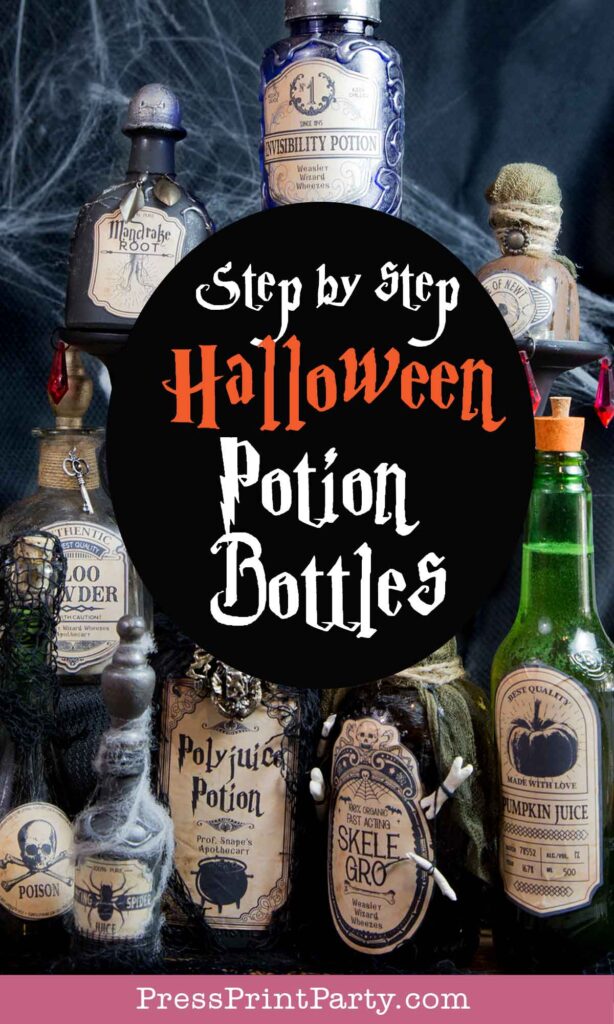
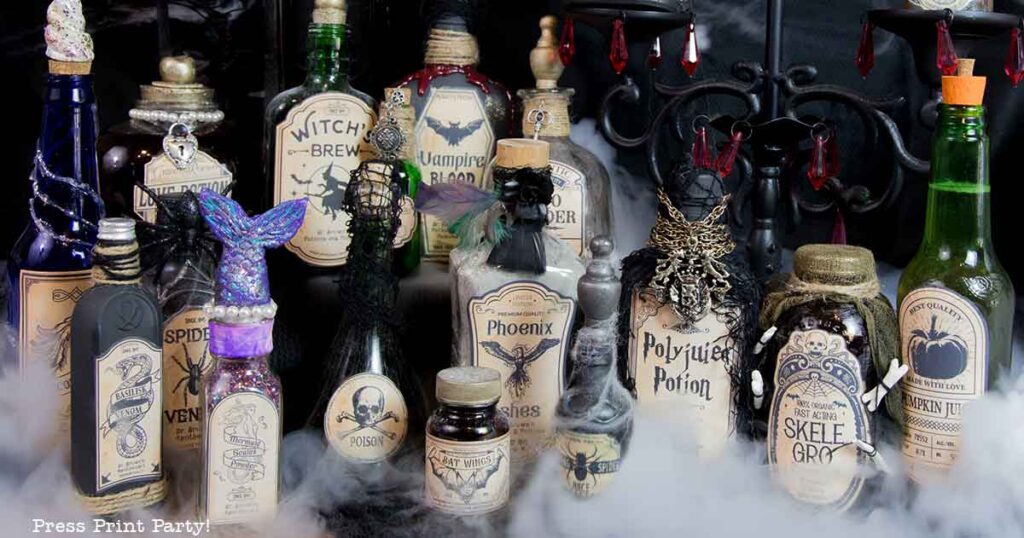
I finally, finally made my Halloween potion bottles DIY!
Ever since I saw Harry Potter I’ve imagined that I could create an assortment of custom Halloween apothecary bottles.
They’re fun and a little spooky and a decorative excuse to get crafty. So this year I finally made ’em.
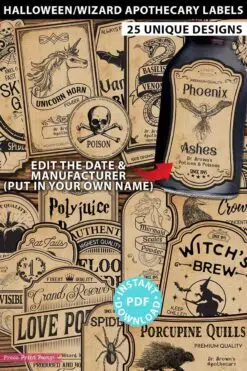
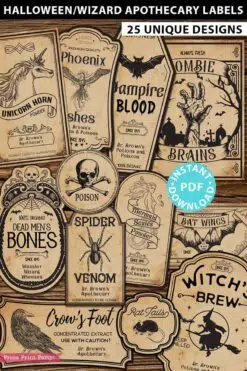
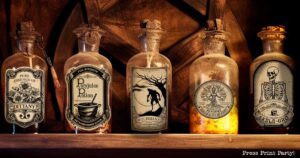
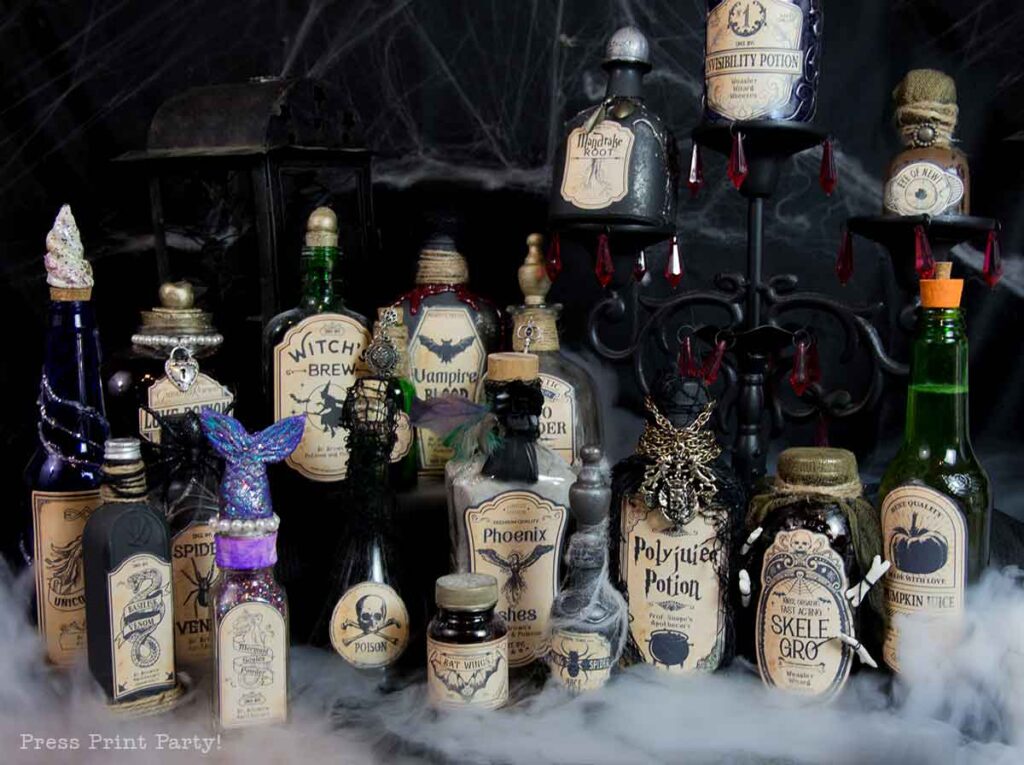
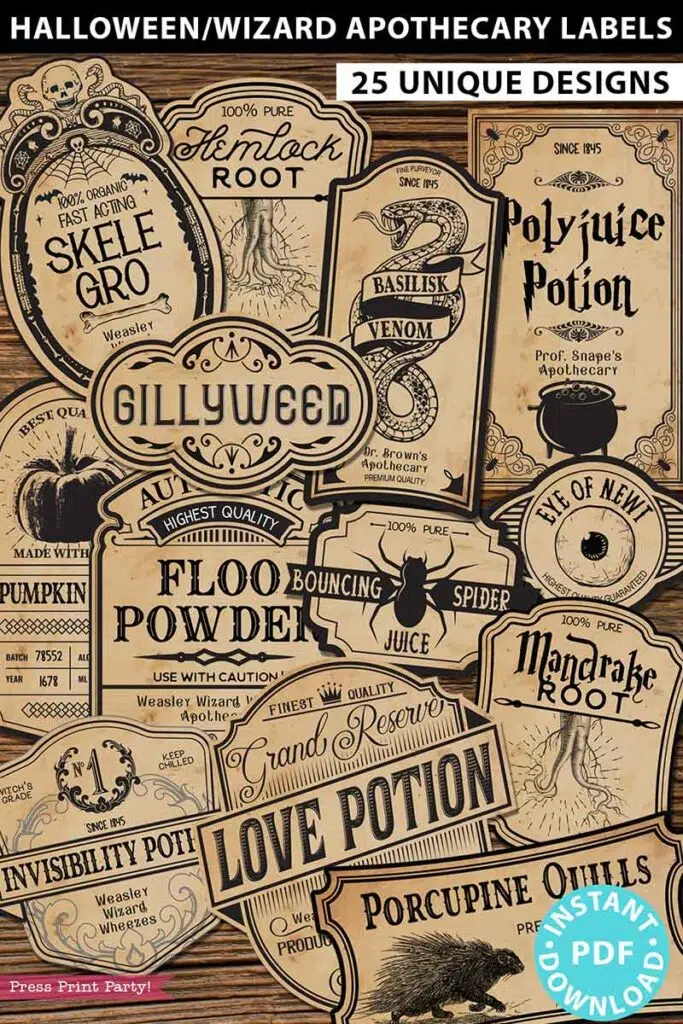
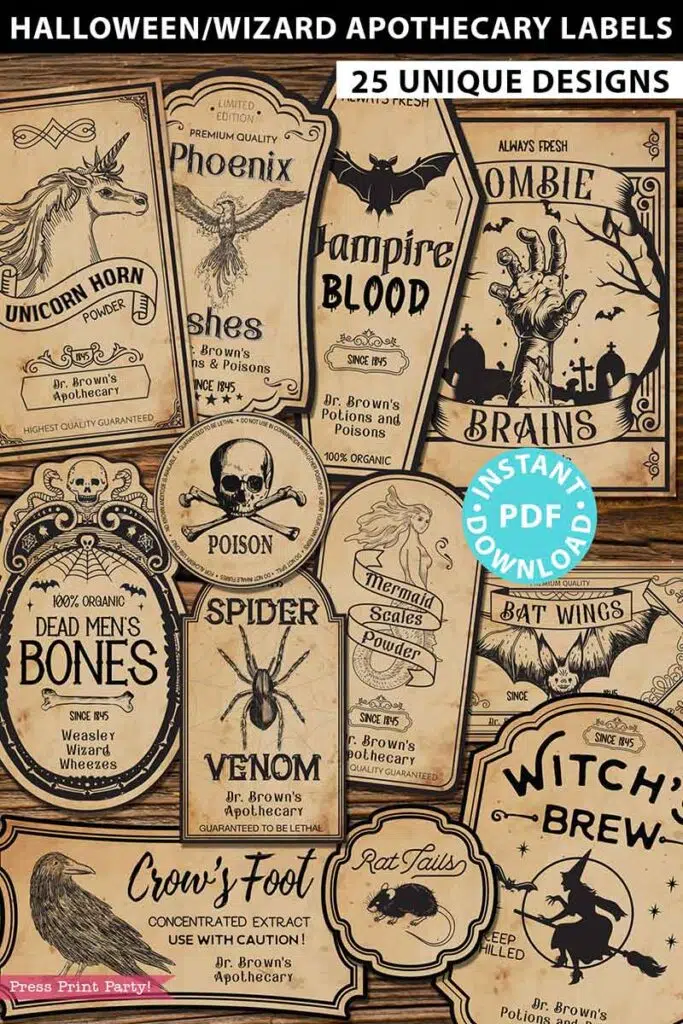
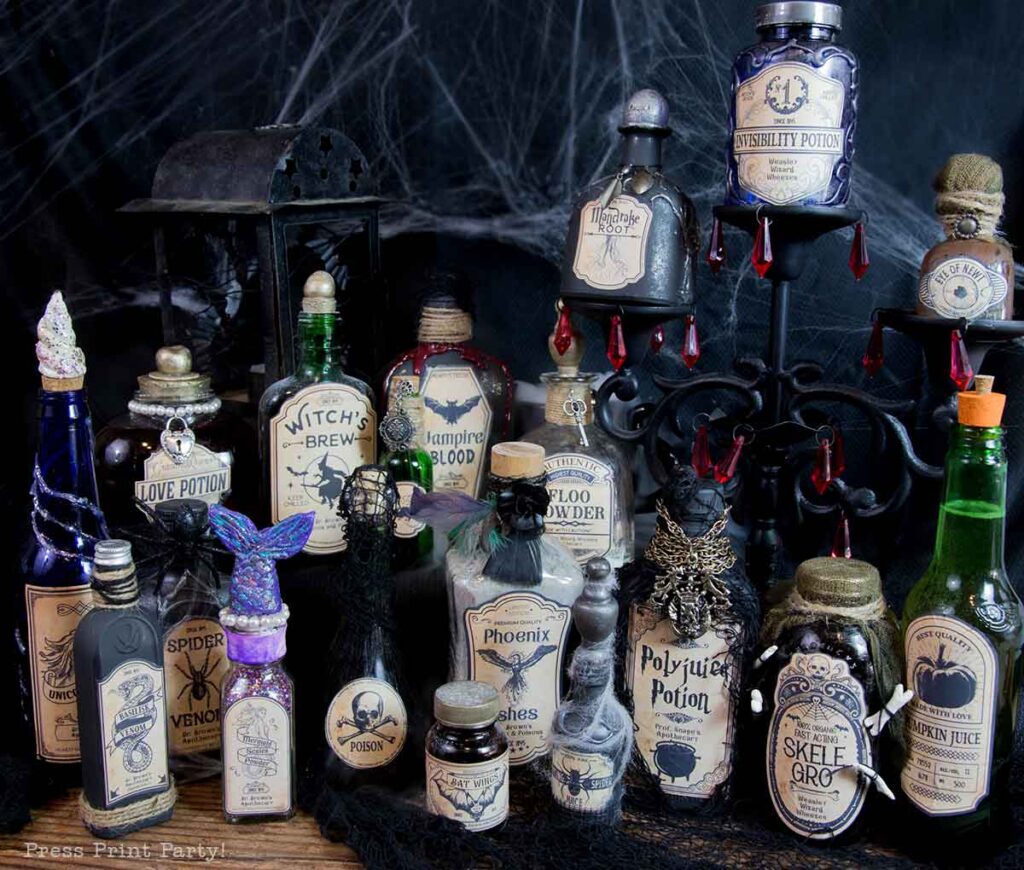
25 clever, festive, printable labels so that you can create your own spooky apothecary collection.
This post may contain affiliate links.
These DIY potion bottles are easy and fun to make with a little bit of creativity, bottles you may already own, and the craft supplies that you’ve probably already got at home.
Apothecary and Harry Potter Printable Labels
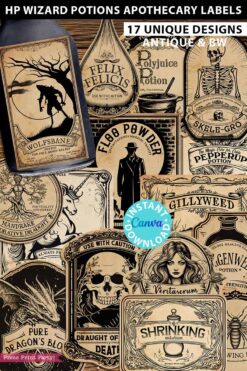
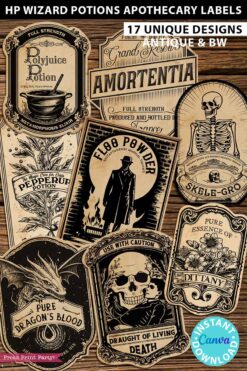
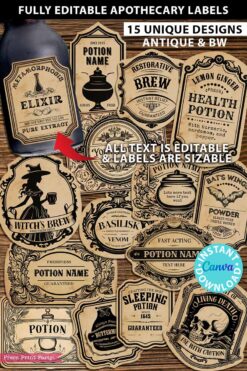
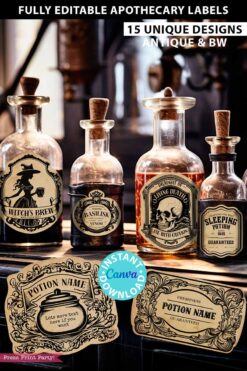
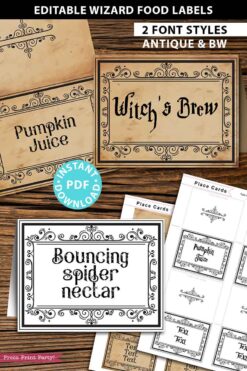
Each of these bottles are made with my brand new printable Halloween apothecary label set available now in the shop. I also have another Harry Potter-only potions label printable set as well as a collection of fully editable apothecary labels to make up your own potion names.
The labels are available with either an antique background, to print on white paper, or a white background so you can print them on any interesting paper you might have at home.
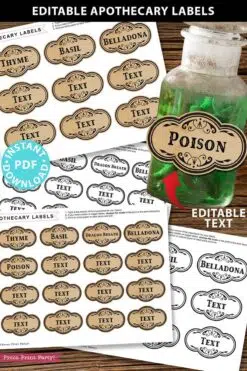
I would have loved to have been able to make the name of each item editable but because the names are part of the artwork that just wasn’t possible.
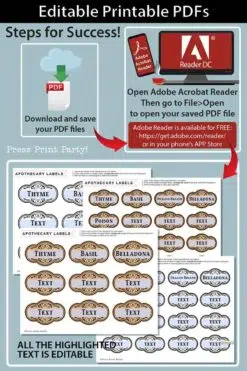
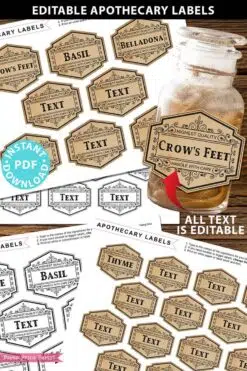
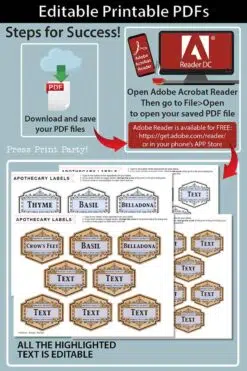
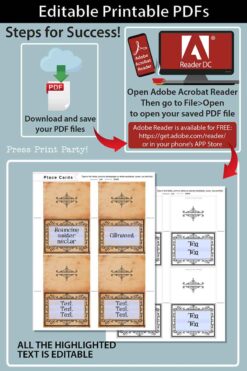
But I wanted you guys to have some ability to customize them so I added a manufacturer’s name on each label that you can edit with Adobe Reader DC. I you wish, you can come up with a cool wizard business or a wacky witch name to include on each label.
Your more detail-oriented guests will notice and be impressed.
Or there are a couple more options that my customers thought of that I’ll talk about near the end of this post.
The labels can all be printed at 100% for larger bottles or at a smaller percentage for those quirky, smaller bottles.
Potion Bottles Supply List
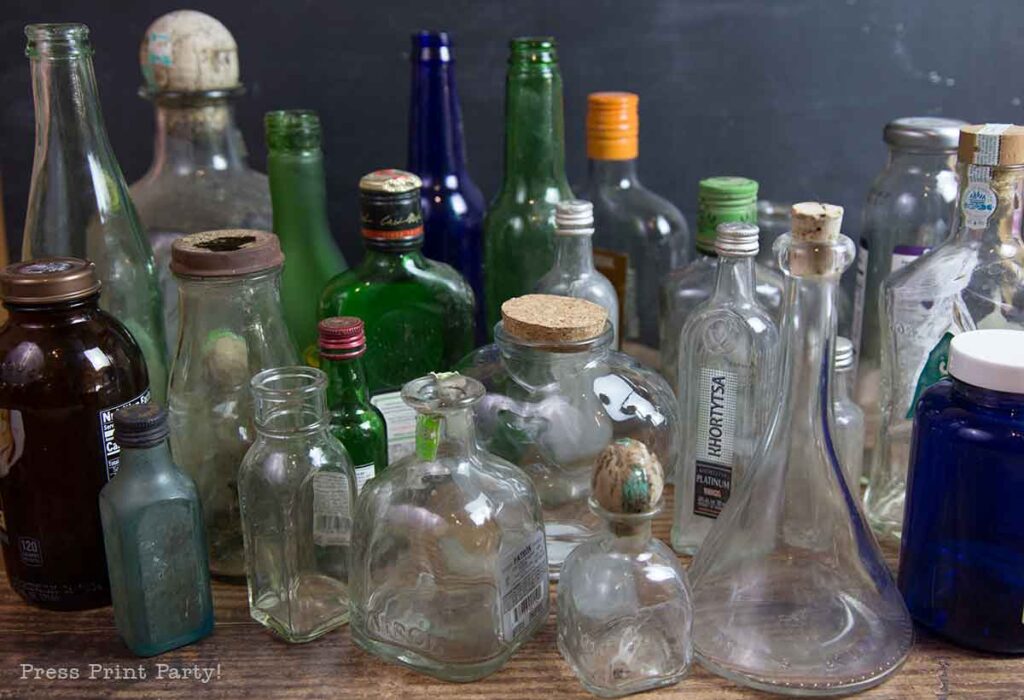
The first step is to collect your bottles. You’ll want various shapes, different sizes, and colors.
I found some great liquor bottles, Patron being my favorite because it’s such a cool shape and comes with a super cute topper too. But many hot sauces and condiments come in really interesting bottles, as well as coffees or Kombuchas.
I stayed away from the larger bottles and I even used a couple of vitamin pills bottles which made great apothecary jars.
I purchased only one single bottle for this entire project. I figured love potion just demanded a heart shaped bottle so I found one at Hobby Lobby.
I’m sure you can find interesting bottles at the dollar store too.
So the idea is to go from this:
To this:
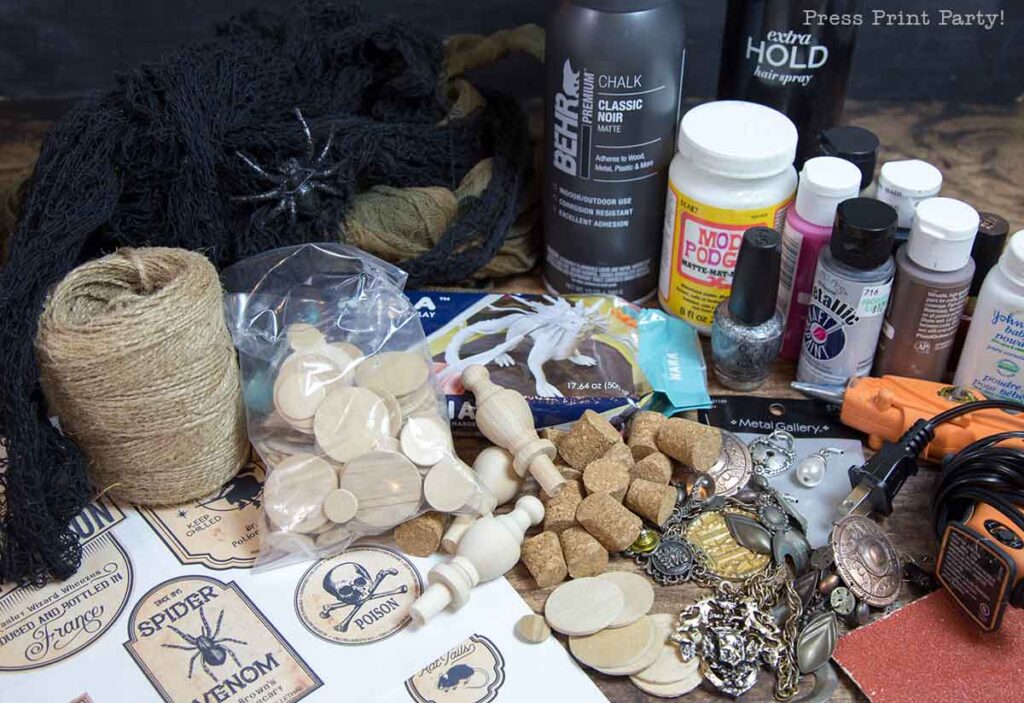
But first, you’ll need some of this:
- Twine
- Black chalk spray paint – matte
- Acrylic paints – silver, gold, brown, black
- Small sponges (cut up an old kitchen sponge) or cotton balls
- Mod Podge to affix the labels (white glue works too)
- Paint brush
- Hot Glue Gun (A must to hold pretty much everything to the bottles and make designs)
- Very black coffee
- Net material like creepy cloth.
- Spider Web Material
- Air drying modeling clay (to make cool bottle stoppers)
- Hair spray
- Baby powder
- Assorted nail polish (red, silver, glitter)
- Rough sandpaper
- Various ribbons
- Various chains/ charms/ beads/ fake spiders/ feathers
- Corks in various sizes
- Wooden items to make bottle stoppers
- Paper towels
- Printed labels
I know that’s a bit overwhelming. You don’t need everything on this list. Work with what you have on hand. I only bought the spray paint, corks, clay, and the wood accents. The rest I already had.
Filling your Halloween Potion Bottles
To tell you the truth, I didn’t fill most of the potion bottles, especially the opaque ones. I didn’t see the point.
But I did fill the transparent apothecary bottles with these magical ingredients.
I used:
- Water
- Food coloring
- Glitter
- Ashes
- Flour
- Old electrical wire (for the rat tails)
But you could also use:
- Tea
- Leaves
- Dry moss
- Beads
- Vitamin pills
- Sugar
- Gummy candies
- Hard candies
And whatever else you can find in your house or garden.
How to Make Halloween Potion Bottles Video
I’d recommend you watch the video, it goes through many of the potion bottles in my set one by one. But in case the video won’t play or you’re so excited about reading, following are detailed descriptions of what I did with several of my bottles.
And please sign up to my YouTube channel by clicking here:DIY Harry Potter Potion Bottles and ingredients
I found a long list of Harry Potter Potions and Ingredients and chose a handful to use in my potion label designs. You’ll find 17 more Harry Potter potion labels here.
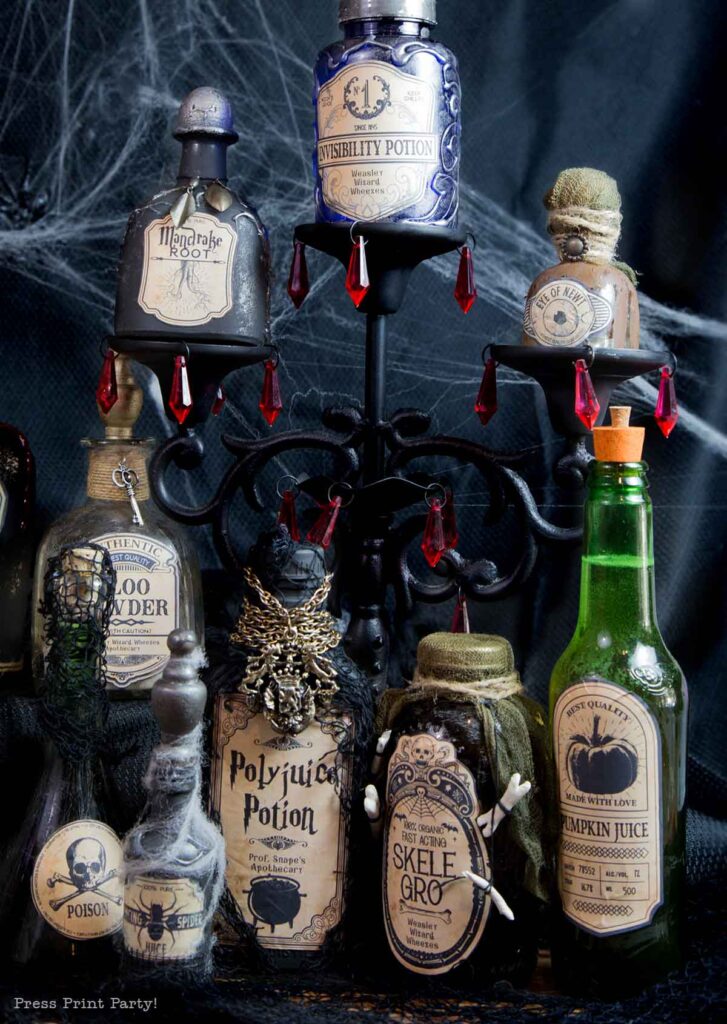
Polyjuice Potion Bottle
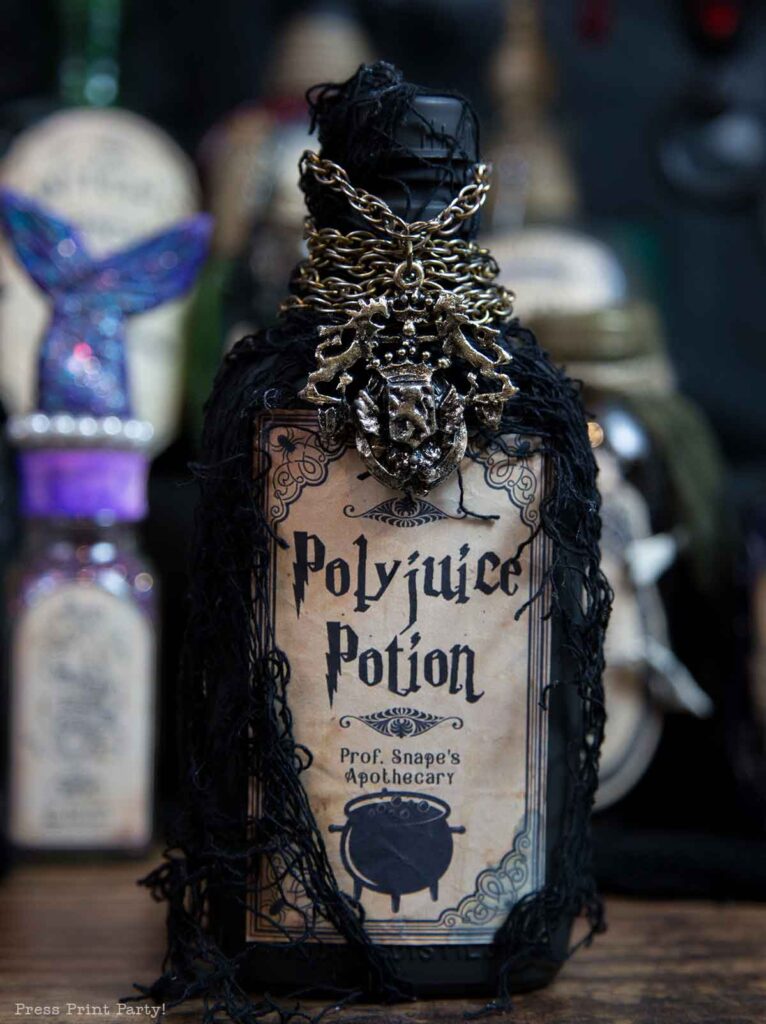
I think this is one of the most famous of Harry Potter Potions. This one comes directly from Professor Snape’s Apothecary but you can change that to whatever you’d like in my editable file.
- Spray paint the bottle with the black chalk paint.
- Scrunch up the label in a ball, open it, and place it on the bottle with Mod Podge.
- Wrap black net material around the bottle and hold it with hot glue.
- Use an old chain to wrap around the top as a perfect accent.
- A little coffee painted on the label edges gives it a well-used look.
Invisibility Potion
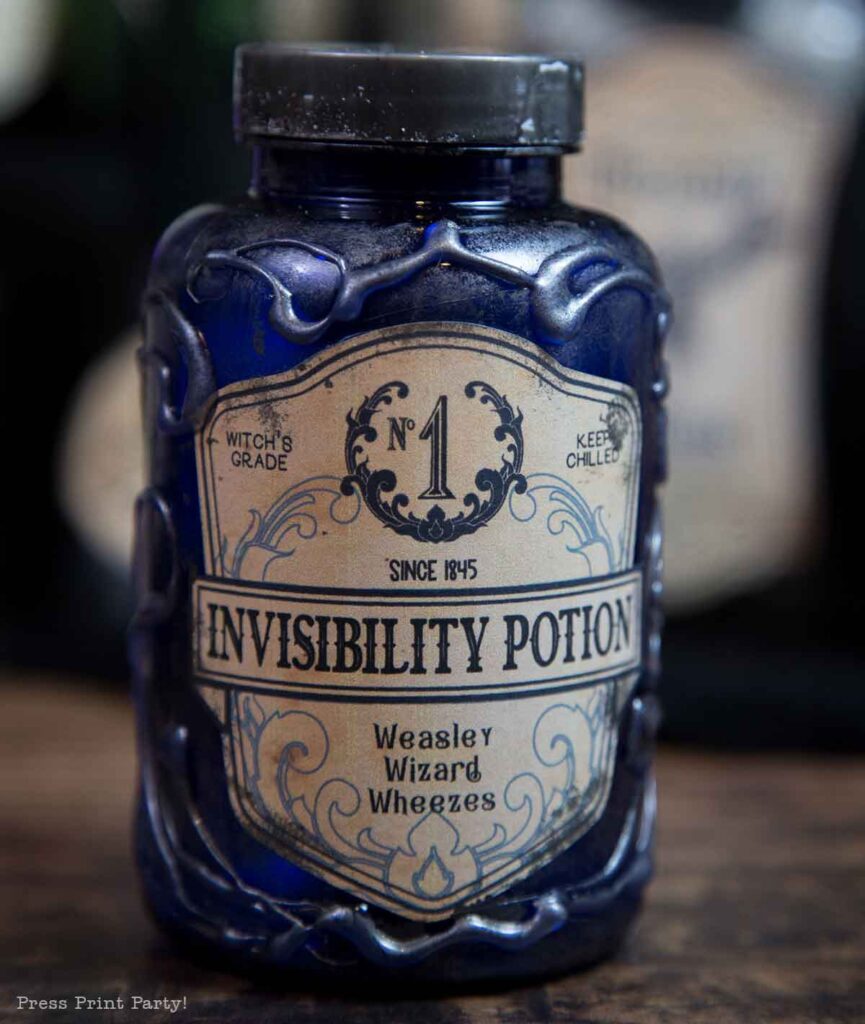
This was a vitamin bottle with a really pretty blue color. The hot glue makes a really cool effect.
- Paint the bottle cap with the silver acrylic paint.
- Glue on the potion bottle label.
- Dab some black acrylic paint around the bottle with a little sponge.
- Use the hot glue gun to make designs directly on the bottle. I made designs reminiscent of the designs on the label.
- Once the hot glue dried, I dab it with silver acrylic paint with a little sponge to make a lovely relief.
- Fill with water (or nothing, it’s invisible).
Skele-Gro
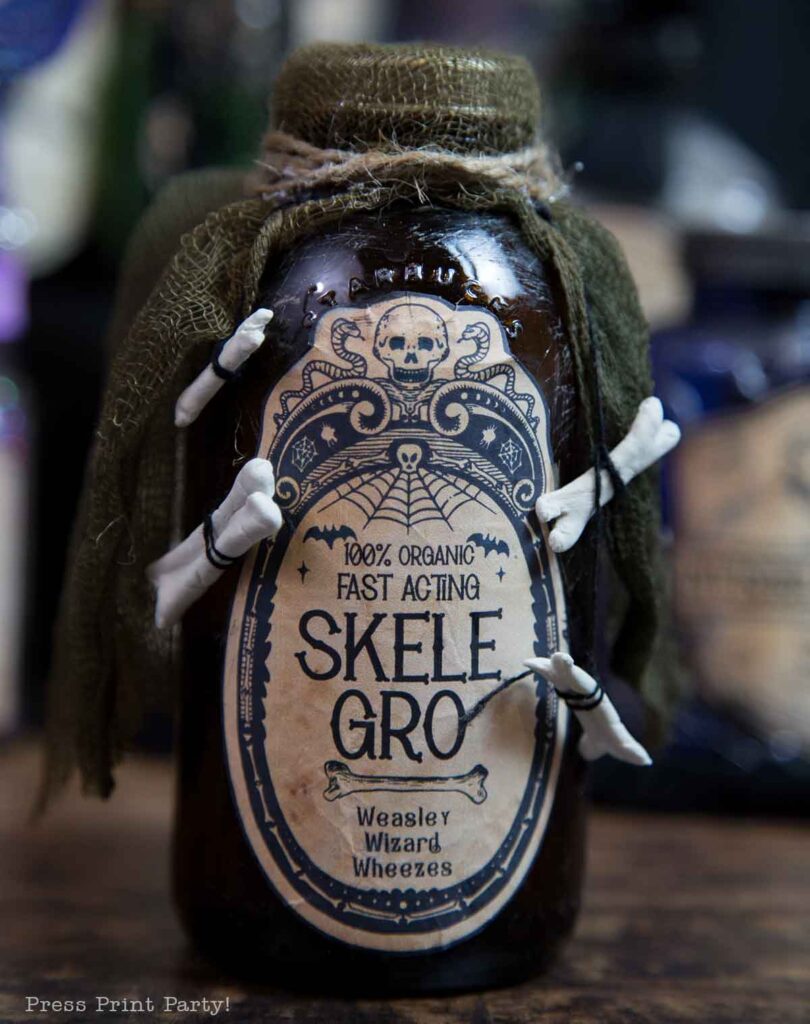
You can still see the Starbucks logo on the top of the bottle, but I’m OK with that.
- Roughly sand the bottle.
- Scrunch the label into a ball, open it, and place it on the bottle with Mod Podge.
- Place some material on the top to drape over the sides and tie in place with twine.
- Make little bones out of the air drying clay, attach them to a string to dangle on either side of the label.
Eye of Newt
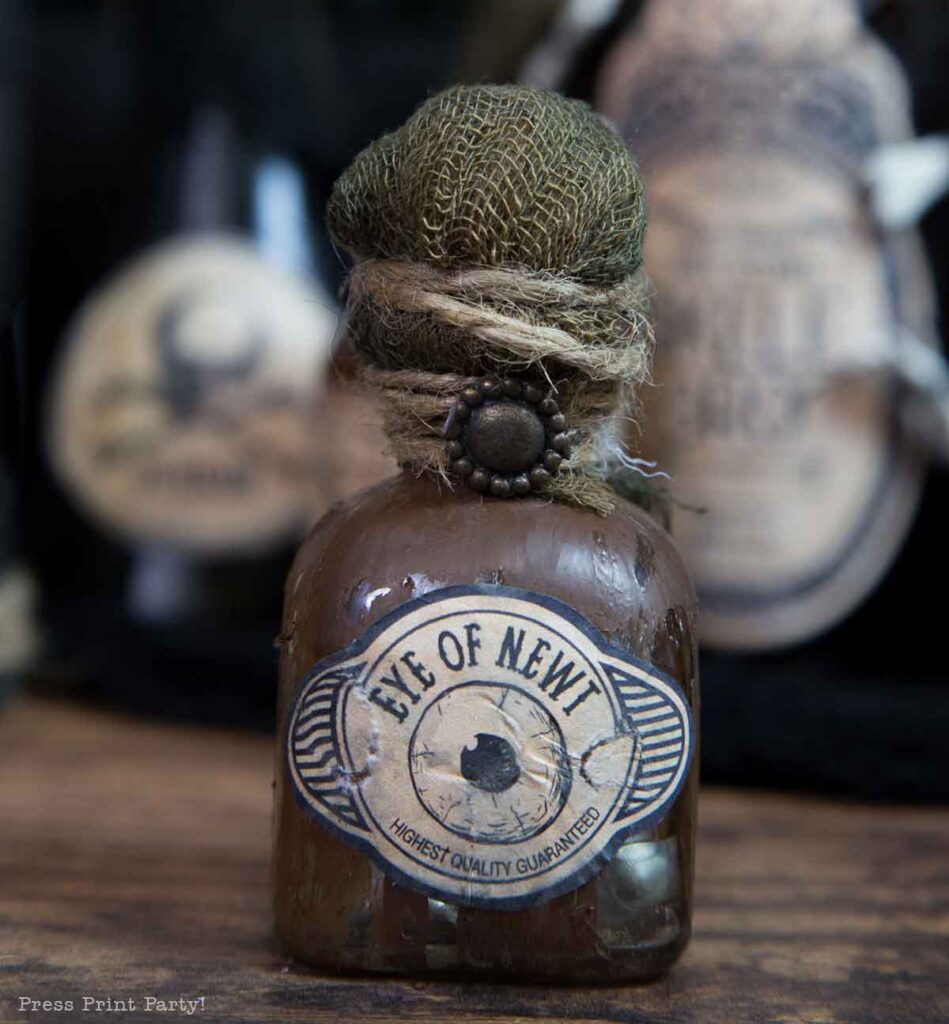
This tiny Patron tequila bottle had the perfect cute round topper for the eye of newt.
- Paint the bottle with brown acrylic paint.
- Sand the bottle to give it a flaked off effect.
- Scrunch up the label in a ball, open it, and place it on the bottle with Mod Podge.
- Paint the label with some black coffee. Here I roughed up the label a bit.
- Wrap the top with material and twine.
- Finish with a charm.
Floo Powder
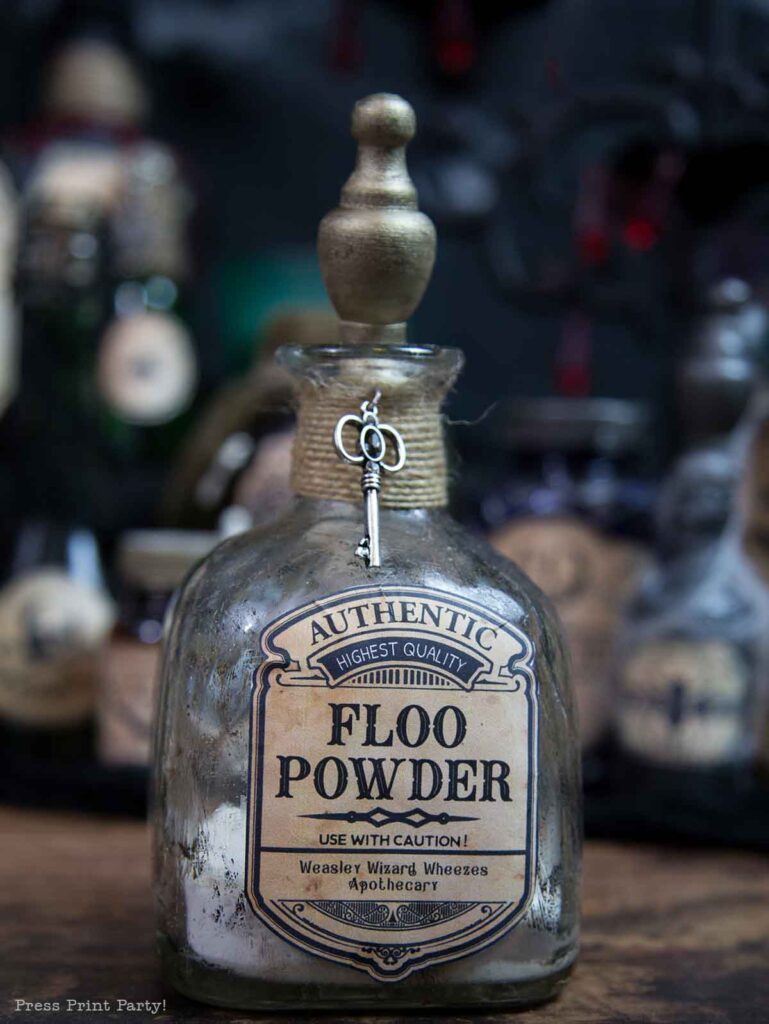
This larger Patron bottle didn’t have the typical round stopper anymore, so I used a wooden one instead.
- Dab the bottle with brown and black paint with a small sponge. Rub off the paint until you get the effect you’d like.
- Glue the label to the bottle.
- Paint the wooden stopper with golden acrylic paint.
- Wrap the top of the bottle with twine.
- Finish with a charm.
Mandrake Root
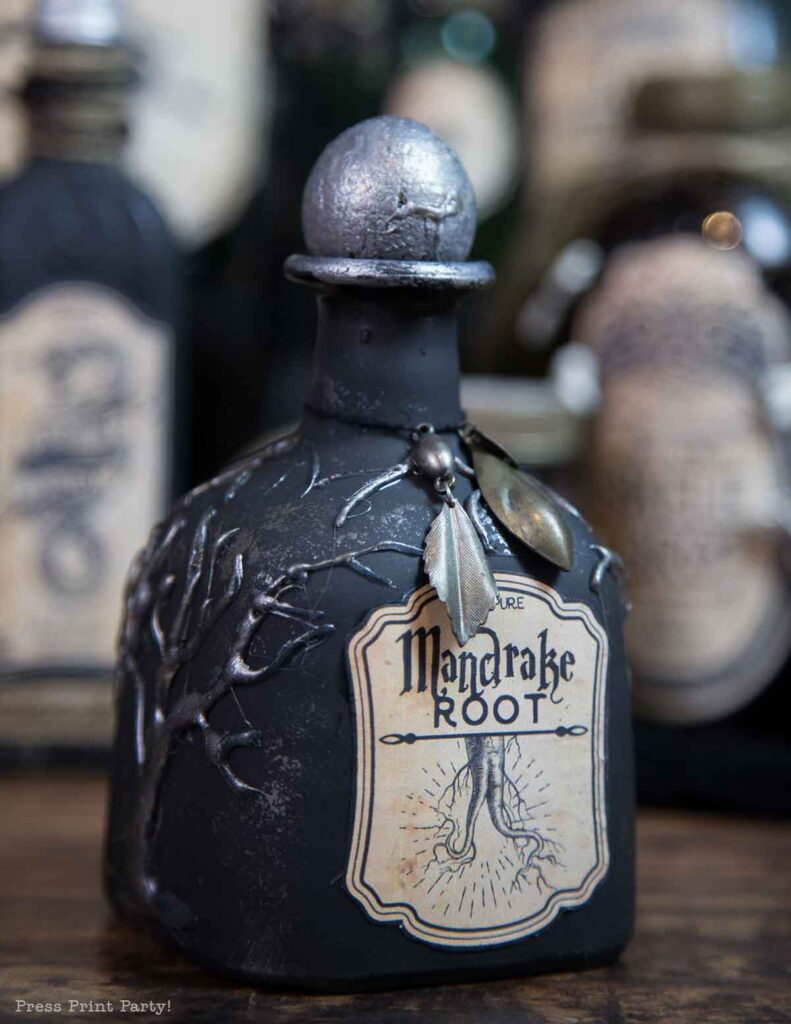
My third, and final, Patron bottle. (No, I did not drink three bottles of Patron just for this post!)
- Spray the bottle with black chalk paint.
- Glue the label on the bottle.
- Use the hot glue gun to make designs on the bottle. Here I made a tree and root design on all sides.
- Highlight the hot glue design by dabbing it with silver acrylic paint and silver nail polish.
- Paint the cork top with the silver nail polish.
- Finish with a couple of charms.
Basilisk Venom
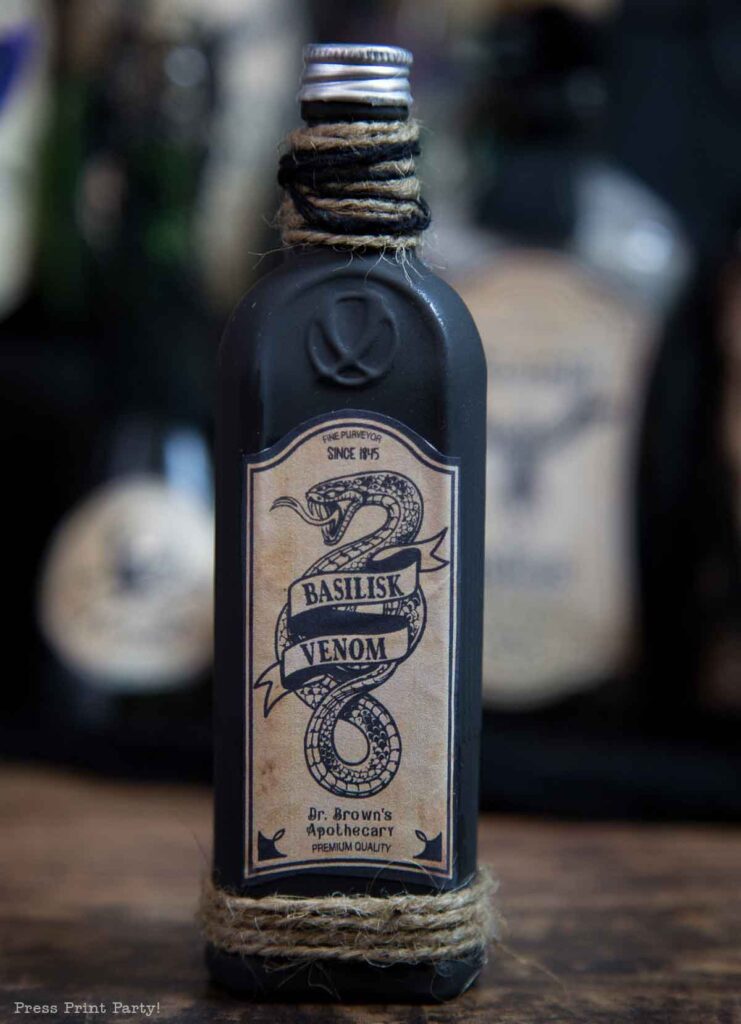
Small liquor bottles work great for apothecary labels.
The method I used for this Basilisk venom bottle could be used for most any other labels.
- Spray the bottle with black chalk paint.
- Glue the label on the bottle.
- Wrap the top and bottom of the bottle with twine.
Pumpkin Juice
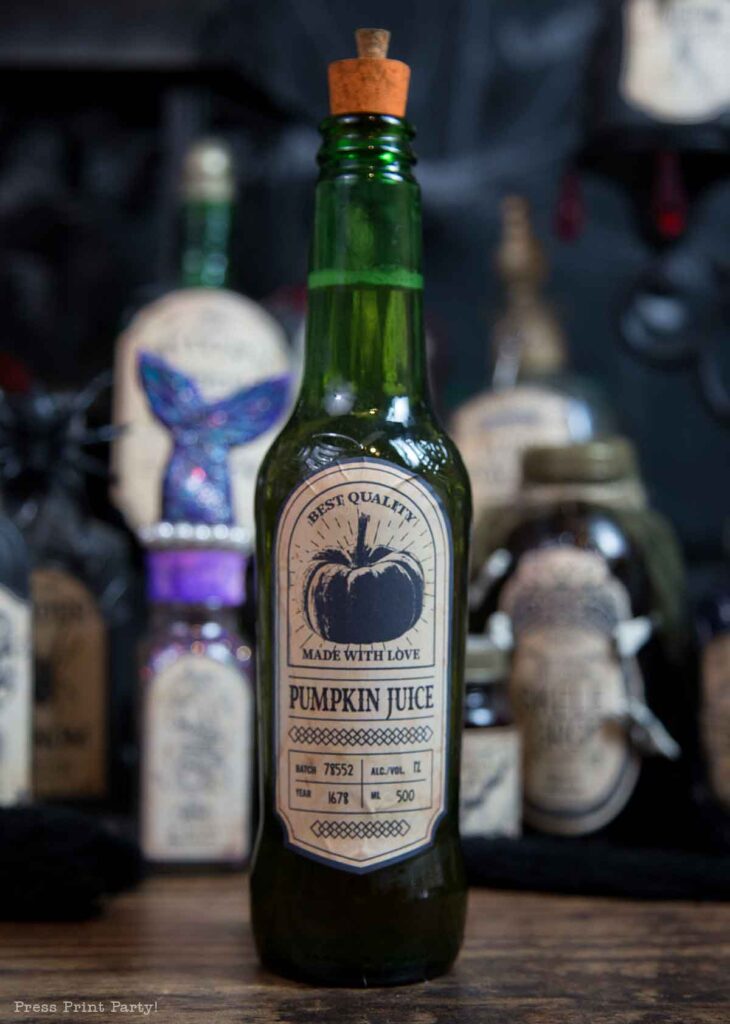
I guess it’s not really a potion bottle right? But it’s an icon of the Harry Potter series so I had to use it.
I used a green soda bottle for this one and did almost nothing to it.
- Glue the label on the bottle.
- Choose a cork to fit the top and paint it orange.
- Chose a much smaller cork and glue it to the top of the orange cork.
Bouncing Spider Juice
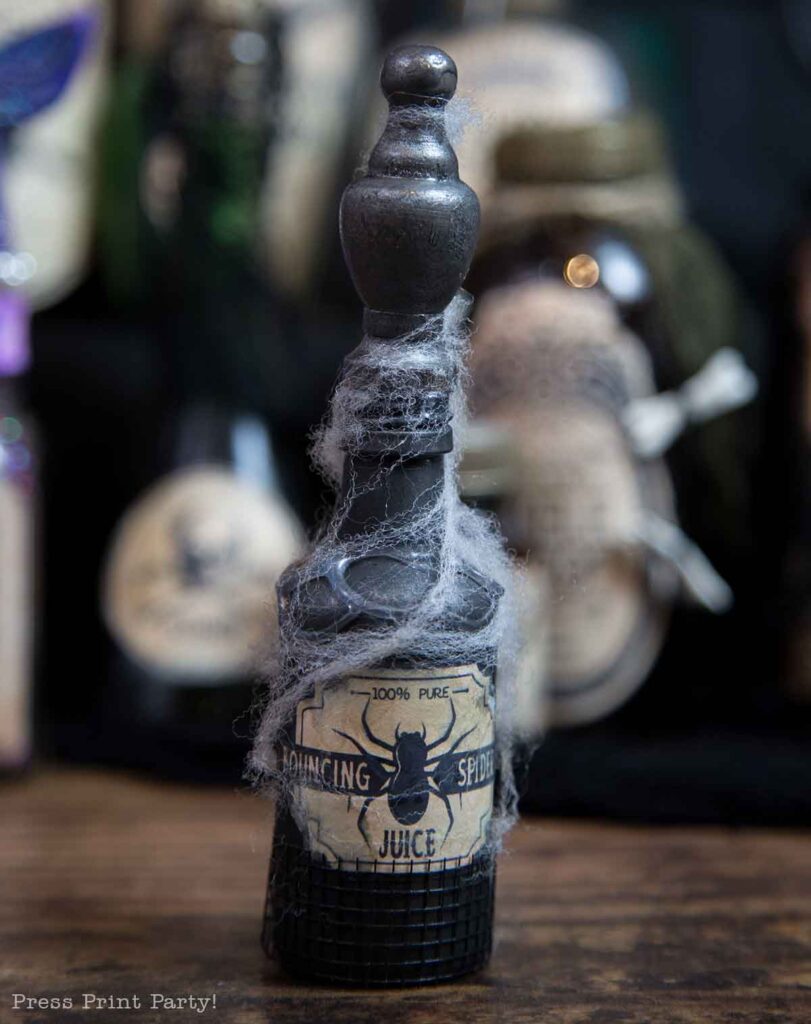
This bouncing spider juice label is small and worked great with this random mini liquor bottle.
- Spray the bottle with black chalk paint.
- Glue the label on the bottle.
- Use some coffee to rough up the label
- Decorate with a painted wooden stopper, spider webbing, and net material.
More DIY Halloween Potion Bottles
I had fun designing the rest of the labels, from vampire blood to zombie brains.
Love Potion
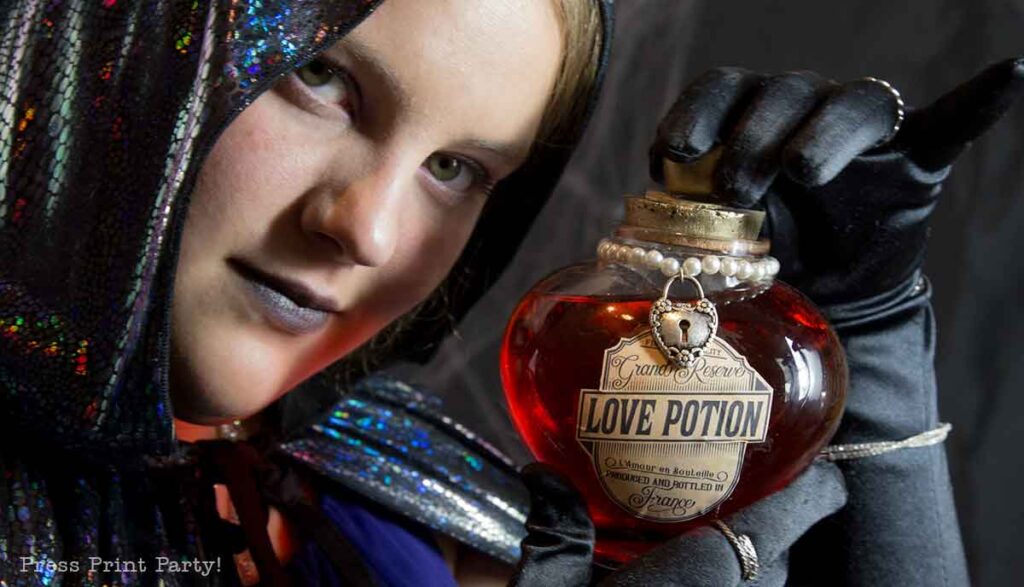
I hope this witch finds true love. In any case, a love potion needs a heart shaped bottle.
- Place label on the bottle
- Paint the cork with gold metallic paint
- Make a decorative heart stopper with a heart made of clay glued on to a wood round. Paint and glue to the cork.
- Add some finishing touches with a heart charm and pearls.
- Fill with water and red food coloring
Vampire Blood
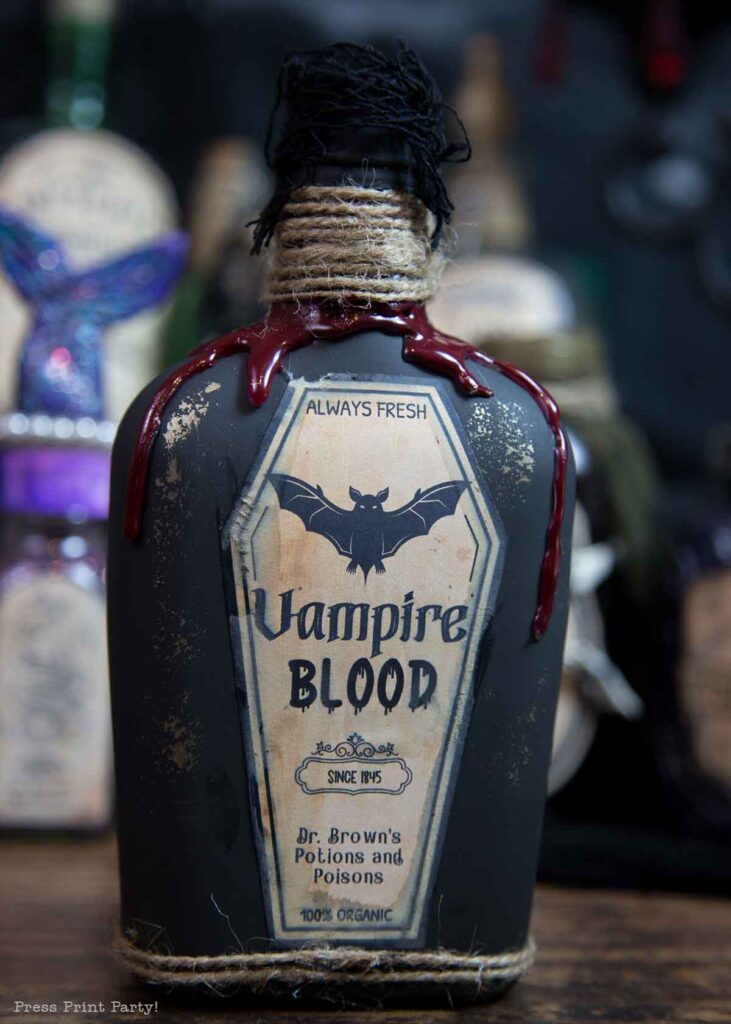
The blood effect worked so well here!
- Spray paint the bottle with the black chalk paint.
- Scrunch up the label, open it, and place it on the bottle with Mod Podge.
- Make the dribbling blood design with the hot glue directly on the bottle.
- Paint the hot glue with red nail polish.
- Dab gold paint on the bottle with a small sponge.
- Wrap twine at the top and bottom.
- Add some net material at the top.
- Dab the label with coffee to accentuate the dripping effect.
Witch’s Brew
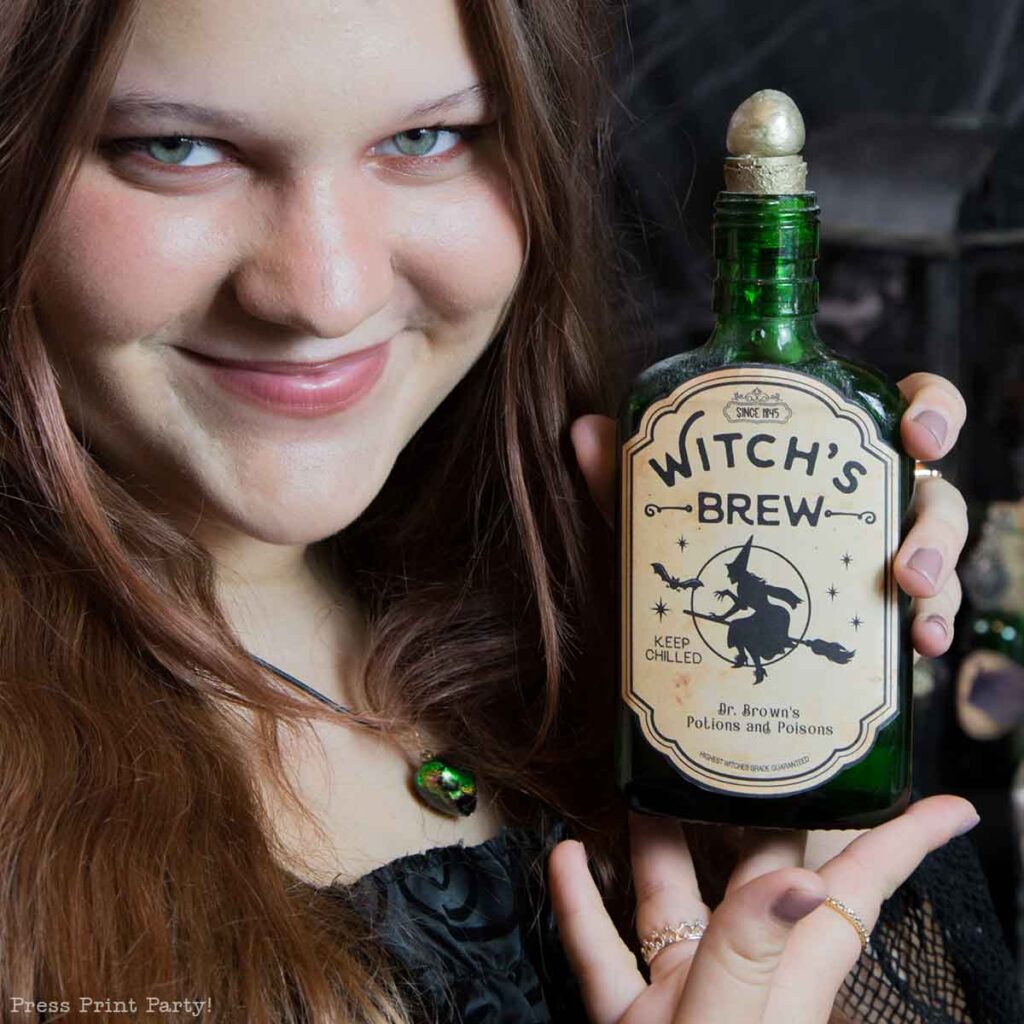
This one is very simple and includes a neat trick to make your bottles look dusty.
- Glue the label on the bottle.
- Make a cool topper by making a ball out of clay. Let it dry and glue it on the wood round, then glue on the cork. Paint the whole thing gold.
- Spray the top of the bottle with hair spray.
- Blow some baby powder onto the sticky bottle and voila, dusty, old bottle.
Unicorn Horn Powder
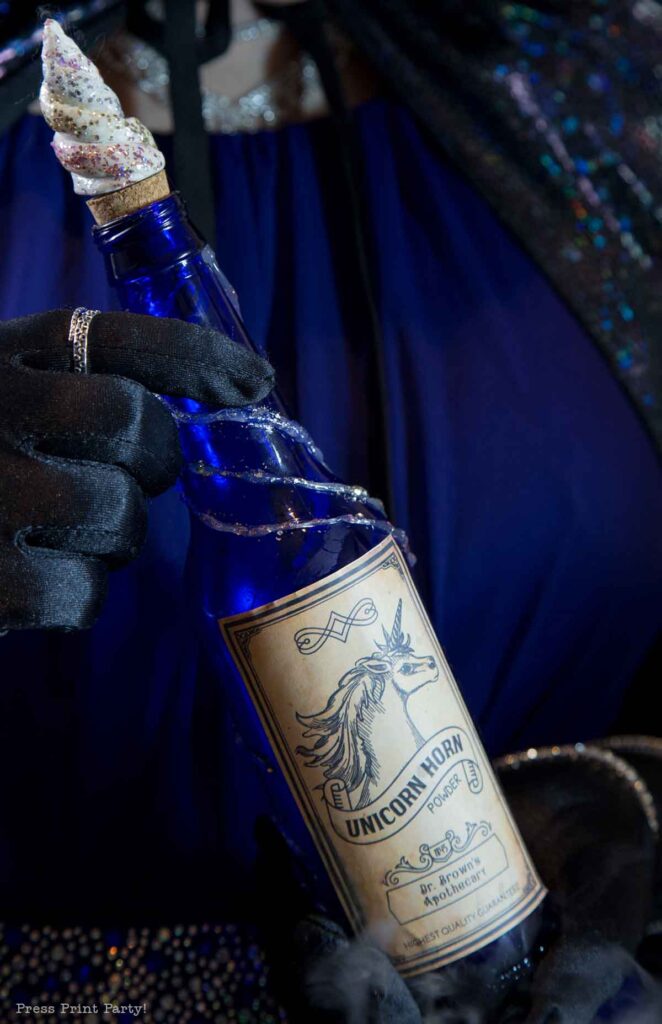
Unicorn horn seemed like the perfect label for a blue bottle with lots of glitter
- Make a unicorn horn with the modeling clay by twisting 3 rolls of clay together and pinching the top. Cut the bottom straight and let dry.
- Paint the horn with 3 colors of glitter nail polish.
- Glue the horn to a cork.
- Place the label on the bottle.
- Draw lines around the bottle from the label to the top with the hot glue gun.
- Highlight the glue lines with more glitter nail polish.
Phoenix Ashes
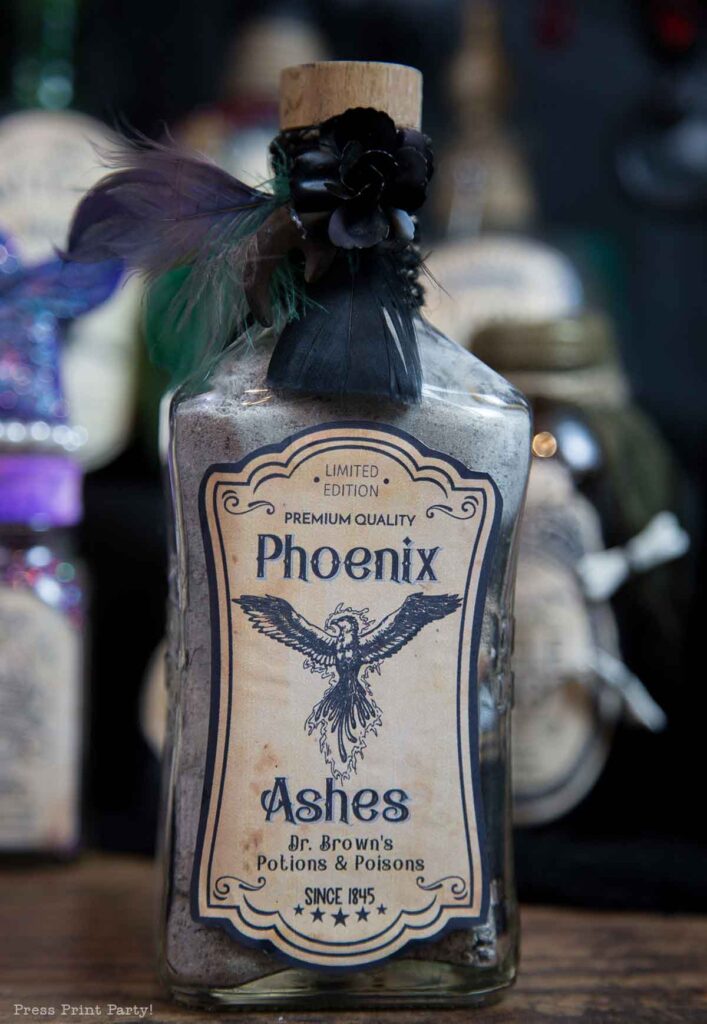
My daughter told me that I messed up the colors of the phoenix feathers. I guess they’re supposed to be orange and red. But I still love this design.
- Fill a clear bottle with ashes from the fireplace or fire pit.
- Glue the label on the bottle.
- Wrap black twine around the top (I painted regular twine).
- Embellish with feathers and charms.
Spider Venom
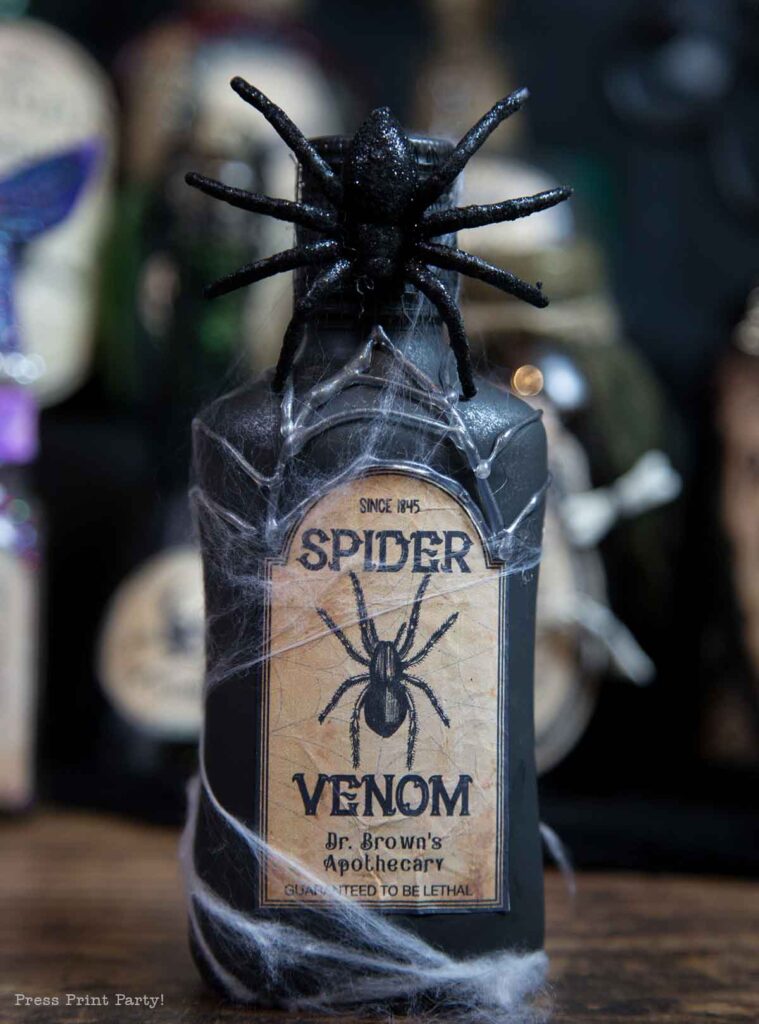
One of my favorite magic potion bottles!
- Spray paint the bottle with black chalk paint.
- Scrunch up the label in a ball, open it, and place it on the bottle with Mod Podge.
- Make a web design with the hot glue gun directly onto the bottle.
- Dab the dried hot glue with silver paint.
- Wrap the bottle with spider web material. Holding it in place with hot glue.
- Glue a large spider on the cap.
Mermaid Scales Powder
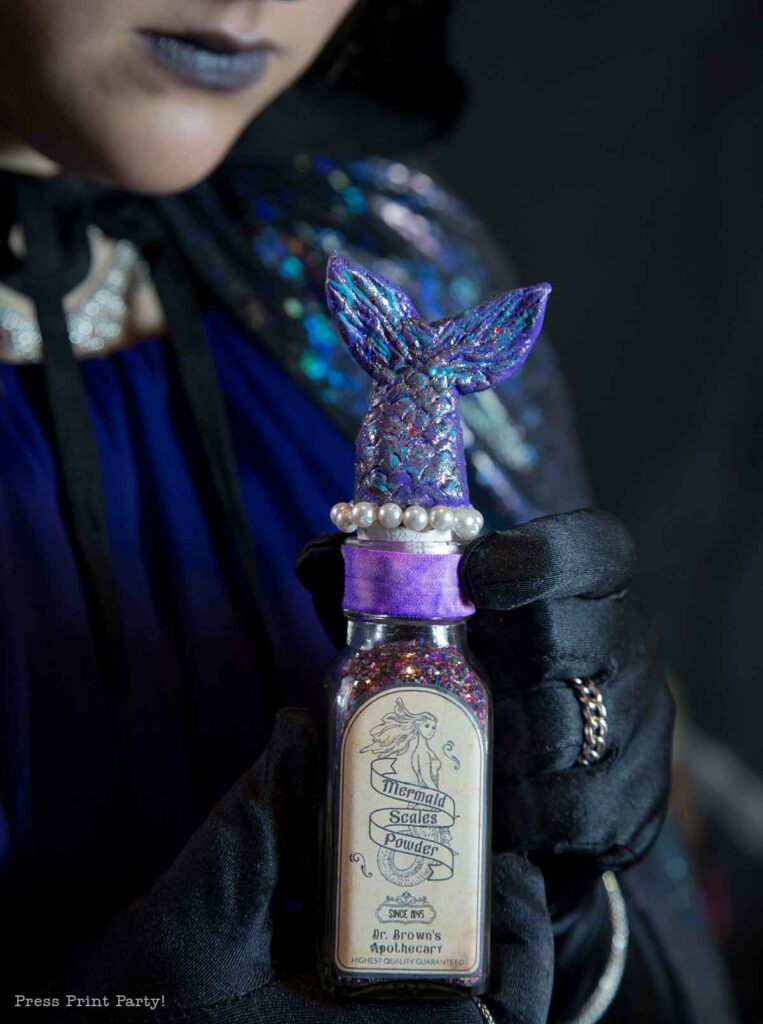
I went completely whimsical with the mermaid theme here.
- Make the mermaid tail out of clay and let dry.
- Paint the tail with lots of fun colors and glitter nail polish.
- Glue the tail onto the bottle’s cork and finish off with pearls all around.
- Glue the label onto the bottle.
- Fill the bottle with glitter.
Rat Tails
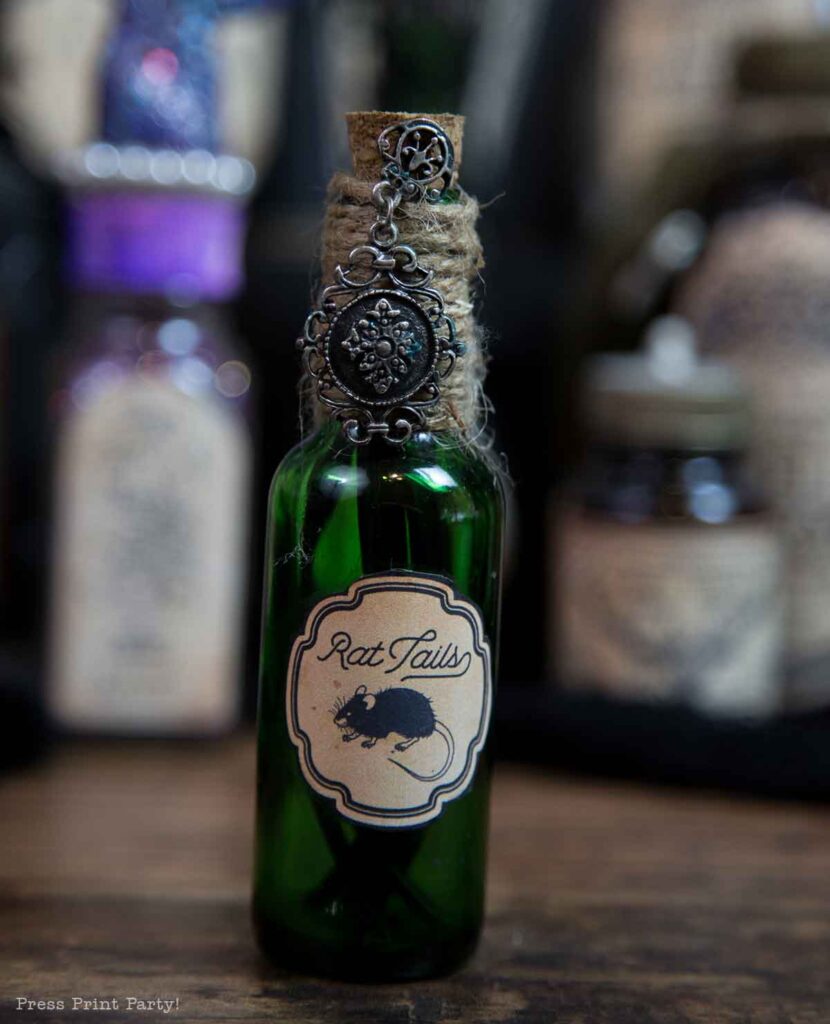
- Glue the label on the bottle
- Wrap the top of the bottle with twine
- Cut some old electric wires and place in bottle. (I finally found a use for that old headset cord!)
- Embellish with a charm.
Other Halloween Potion Bottles DIY Options
I offered these labels for sale just a couple of weeks before launching this post and already my customers have surprised me. My customers are so clever and creative that they came up with a use for these labels that I never imagined!
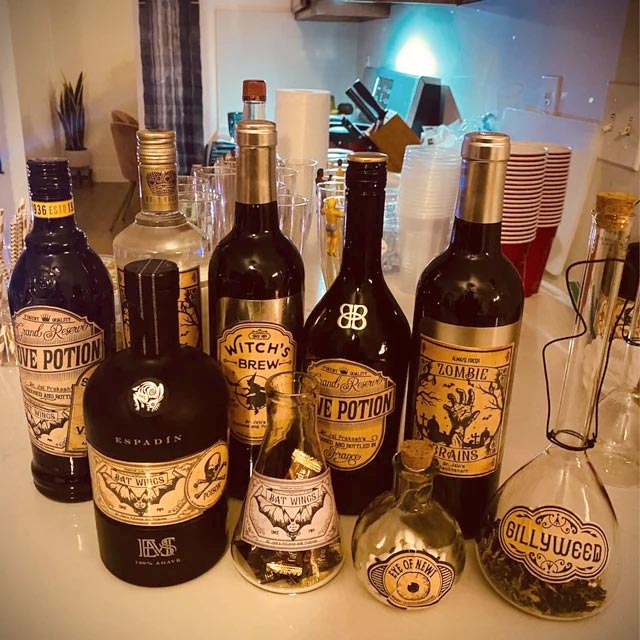
Soak the labels off the beer or soda bottles that you’re offering at your Halloween party and add these labels instead. Now rather than mundane beverages all of your guests will be drinking potions and poisons at your party!
And because you can customize each label you can accurately identify the real item inside. So your guests get the drink they were looking for but everyone’s drinking from the apothecary.
I even had a customer who was going to permanently label their home brewed alcohol with these labels!
For the person who absolutely wanted to go way over the top, they could permanently relabel part of their liquor cabinet or their home spice bottles. Fun, crazily labeled bottles with the real item discreetly posted on the bottle.
That’s fantastic!!
Can you tell here that Halloween is my girls’ favorite holiday?
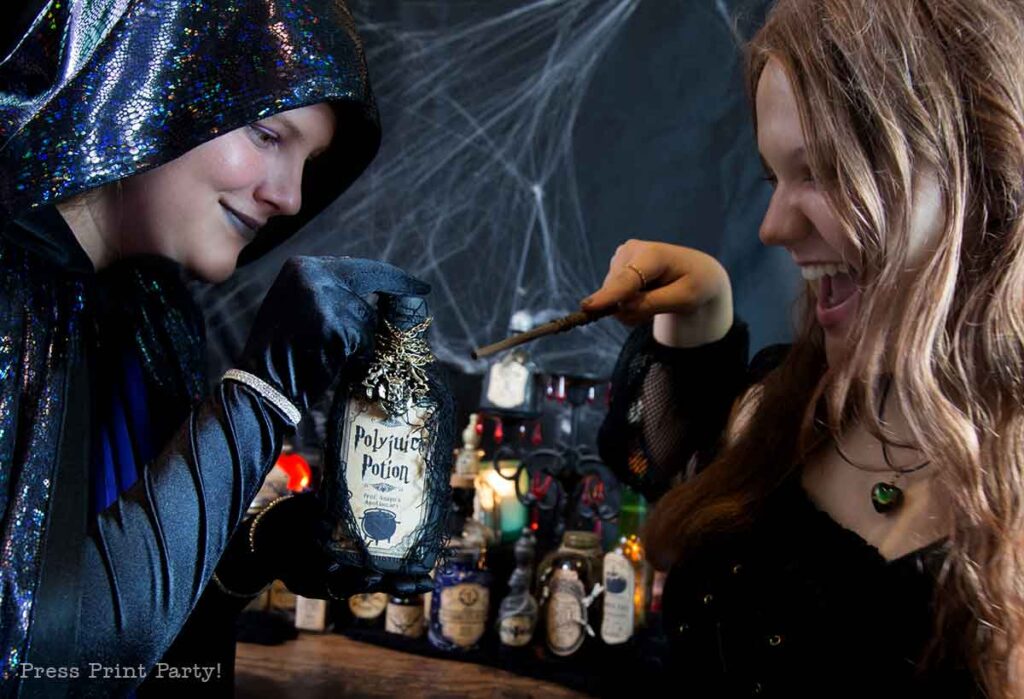
I still can’t believe these are the same girls who were modeling for this free printable lemonade stand post. And they are still best friends.
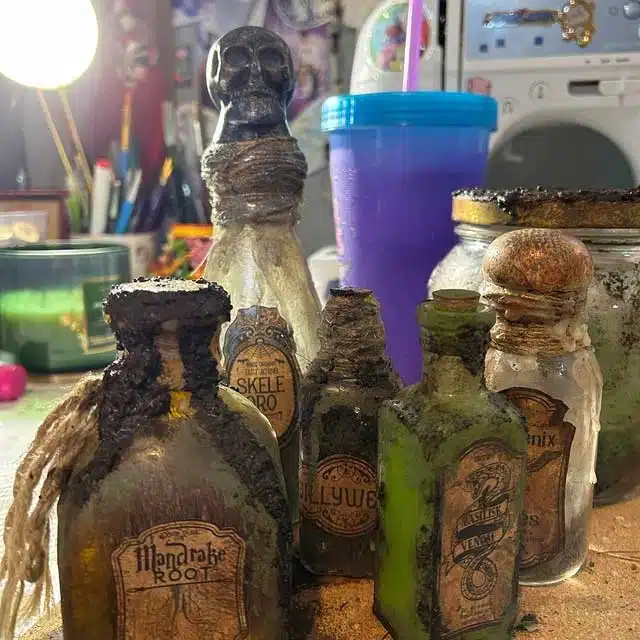
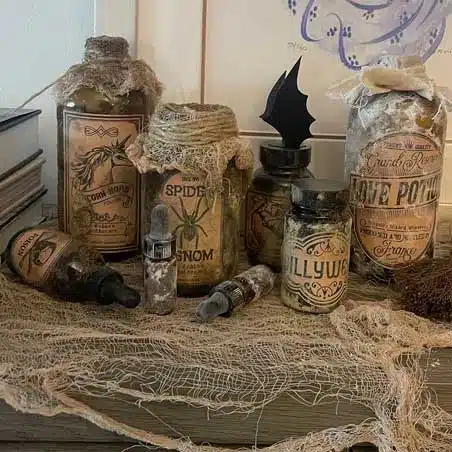
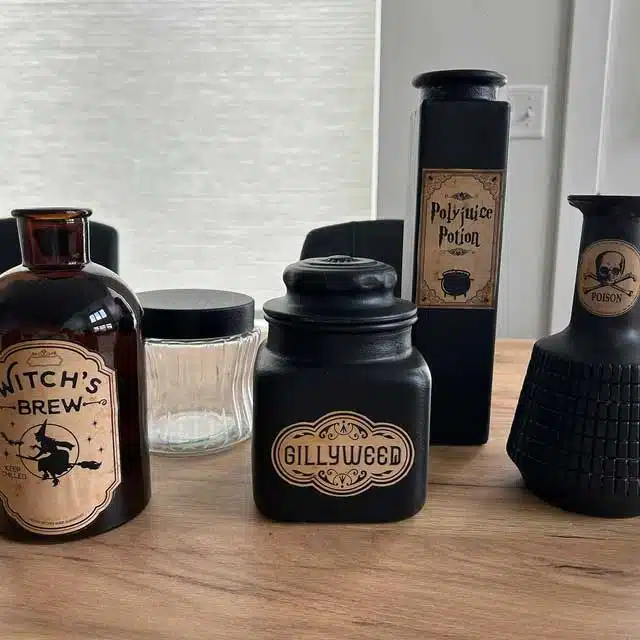
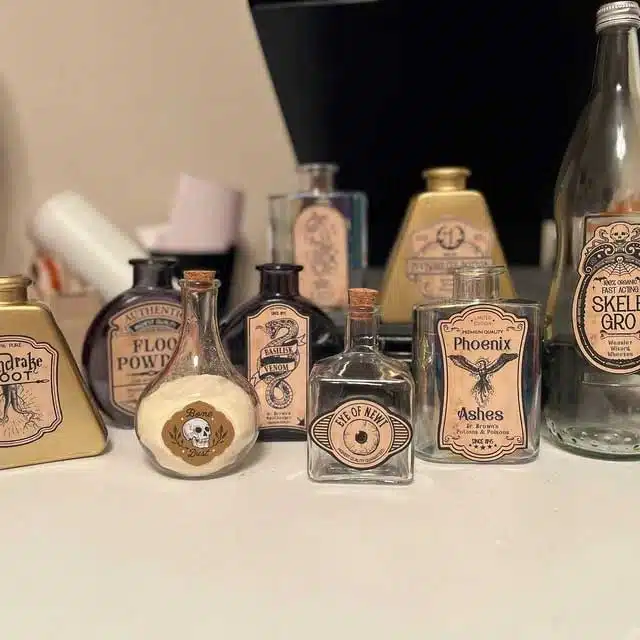
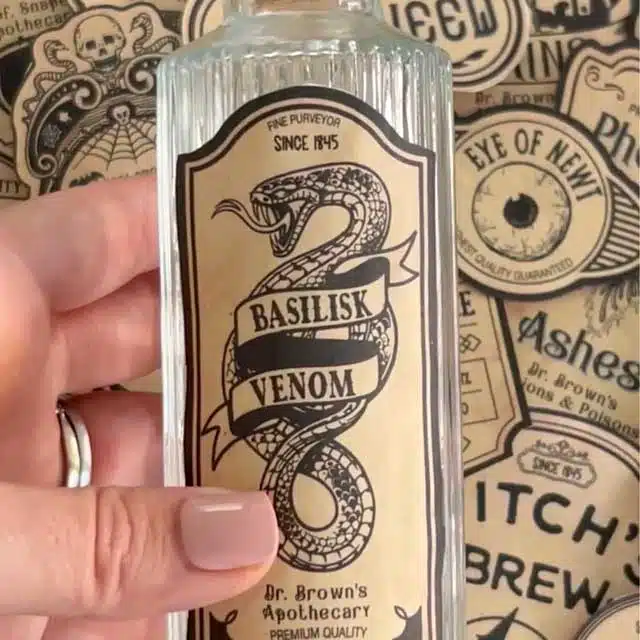
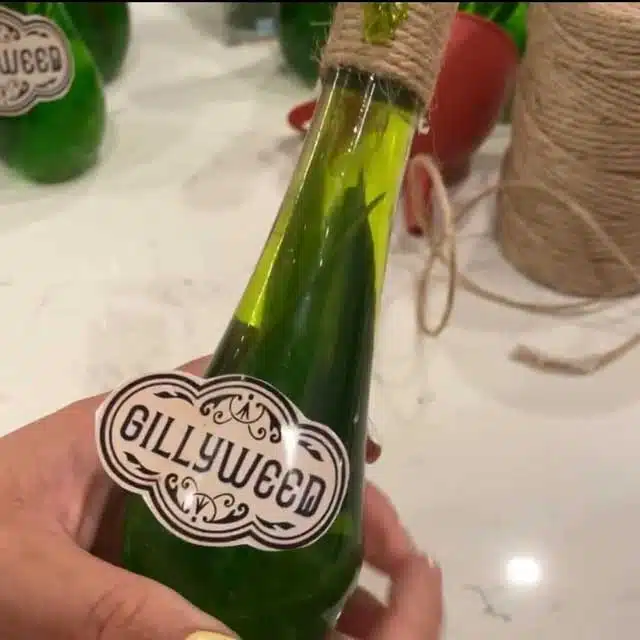
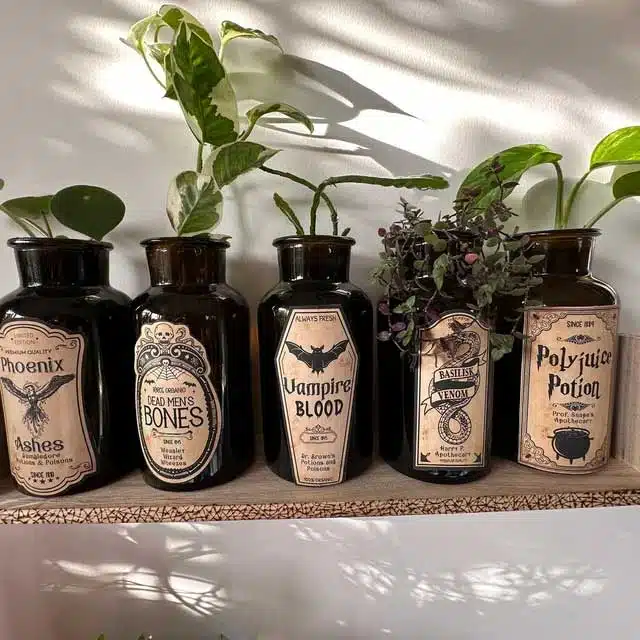
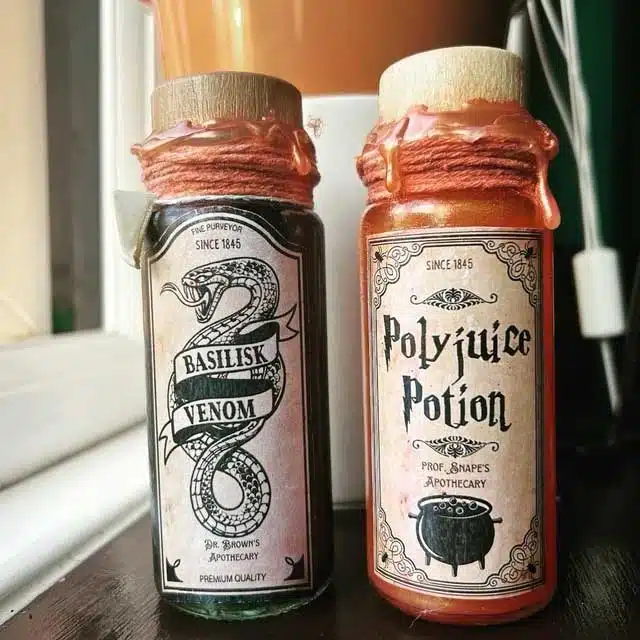
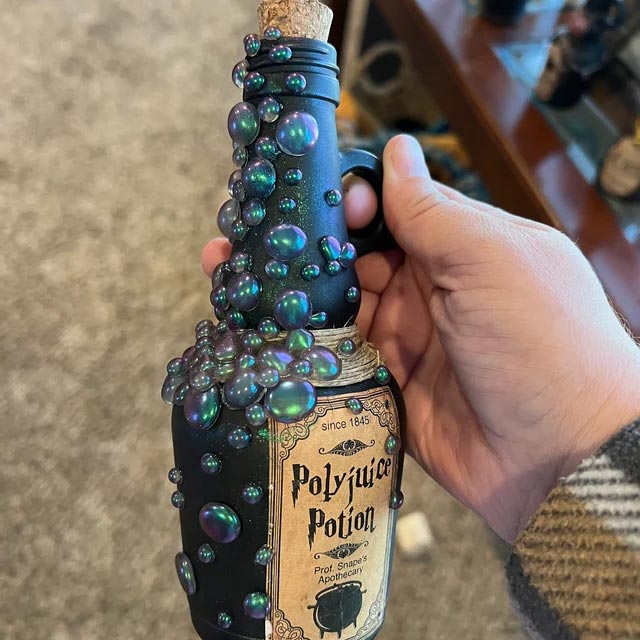
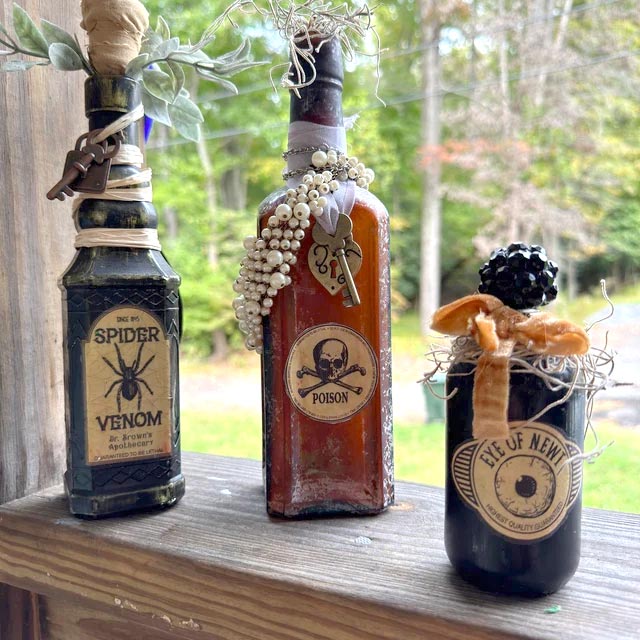
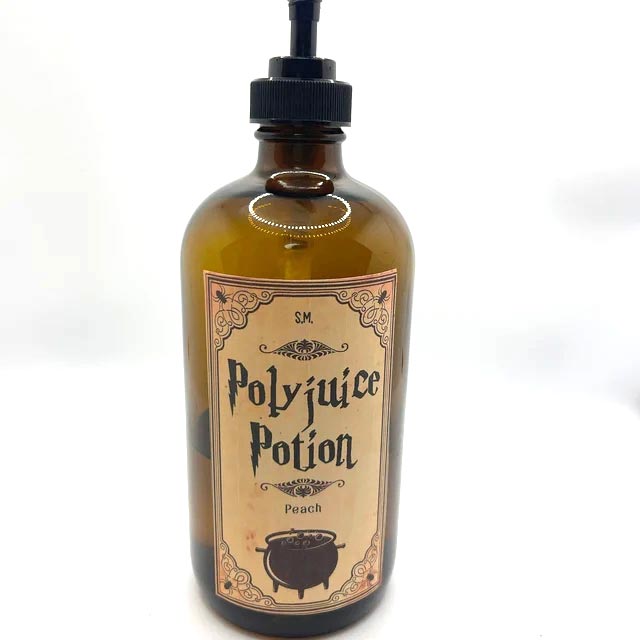
I hope you’ll take the time to make this fun craft. I often have customers sending me pictures of their own DIY Halloween potion bottles. Here’s a sample of them.
My blog is full of more fun Halloween DIYs like:
- 17 Must-see Harry Potter potion labels
- Bat Garland Halloween Decorations
- FREE Printable Hanging Bat
- Easy Ghost Costume Tutorial
- Awesome Jellyfish Costume DIY
- Ghost Lollipops DIY w. Free Printable
I wish you a happy Halloween!
Don’t forget to pin this fun Halloween potion bottles DIY:
