
Rustic Wood Snowflake Ornament DIY – Holiday Party Hop!
I’m very excited to have teamed up with seventeen fabulous and creative bloggers for the 2017 Holiday Party Hop, where I’m also featuring a beautiful Wood Snowflake Ornament. We’re all sharing some wonderful holiday entertaining ideas all week!
This post contains affiliate links. I may earn a small commission at no extra cost to you. Thank you for supporting my blog!
🎄 More Rustic Christmas DIY Decor Ideas
Looking to keep that cozy cabin vibe going? These fun and rustic DIYs will have your home feeling warm, festive, and totally holiday-ready!
✨ Rustic Wood Snowflake Ornaments – Create charming wood snowflakes for your tree or mantel with this easy DIY.
❄️ Paper Snowflake Templates – Free printable designs to cut your own snowy decorations.
🎁 Christmas Crafts for Adults – Sophisticated rustic ideas to elevate your holiday decor.
🌟 DIY Christmas Ornaments for Kids – Fun projects to make with kids that still fit your cozy theme.
🕯️ Rustic Christmas Centerpiece Printable – Printable centerpiece to add a warm focal point to your holiday table.


Read my post then scroll to the bottom of the post to move on to the next amazing holiday post in the hop.
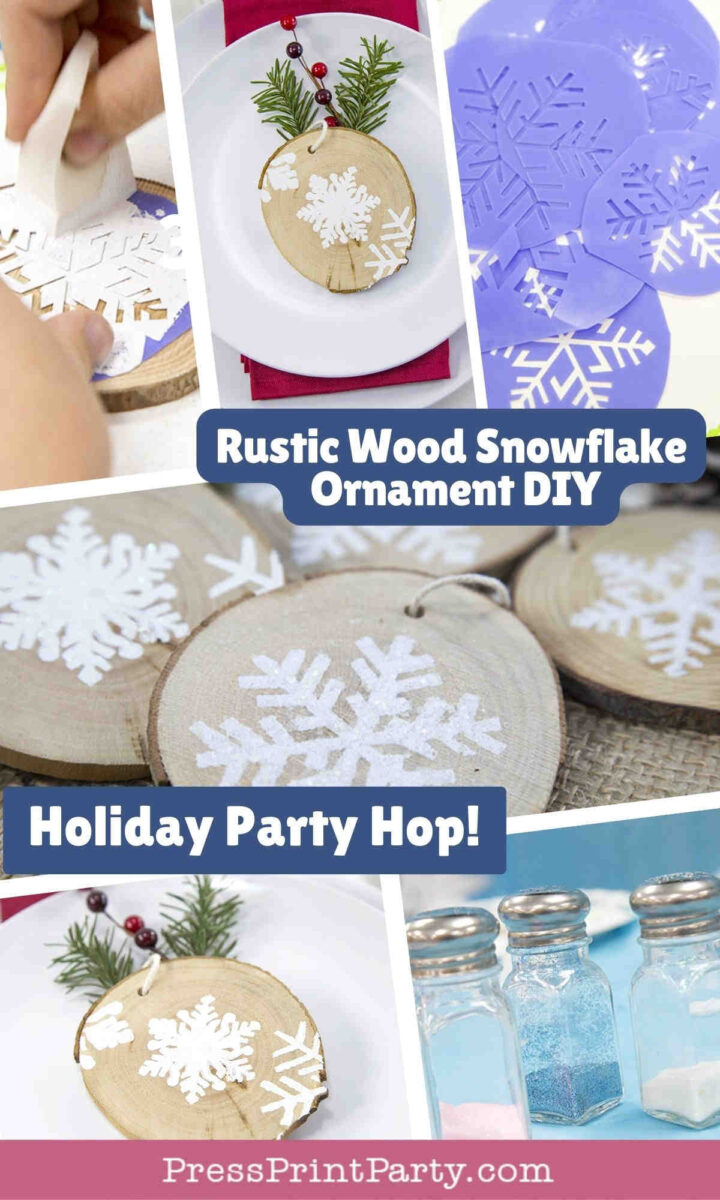
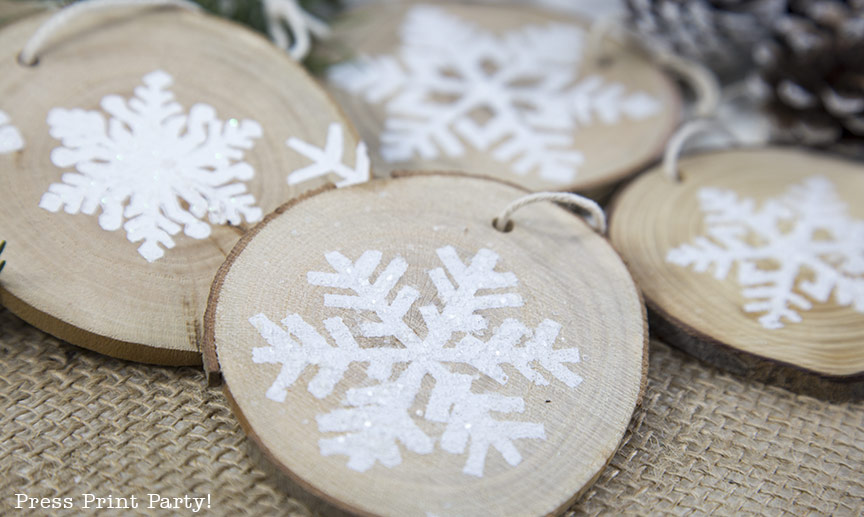
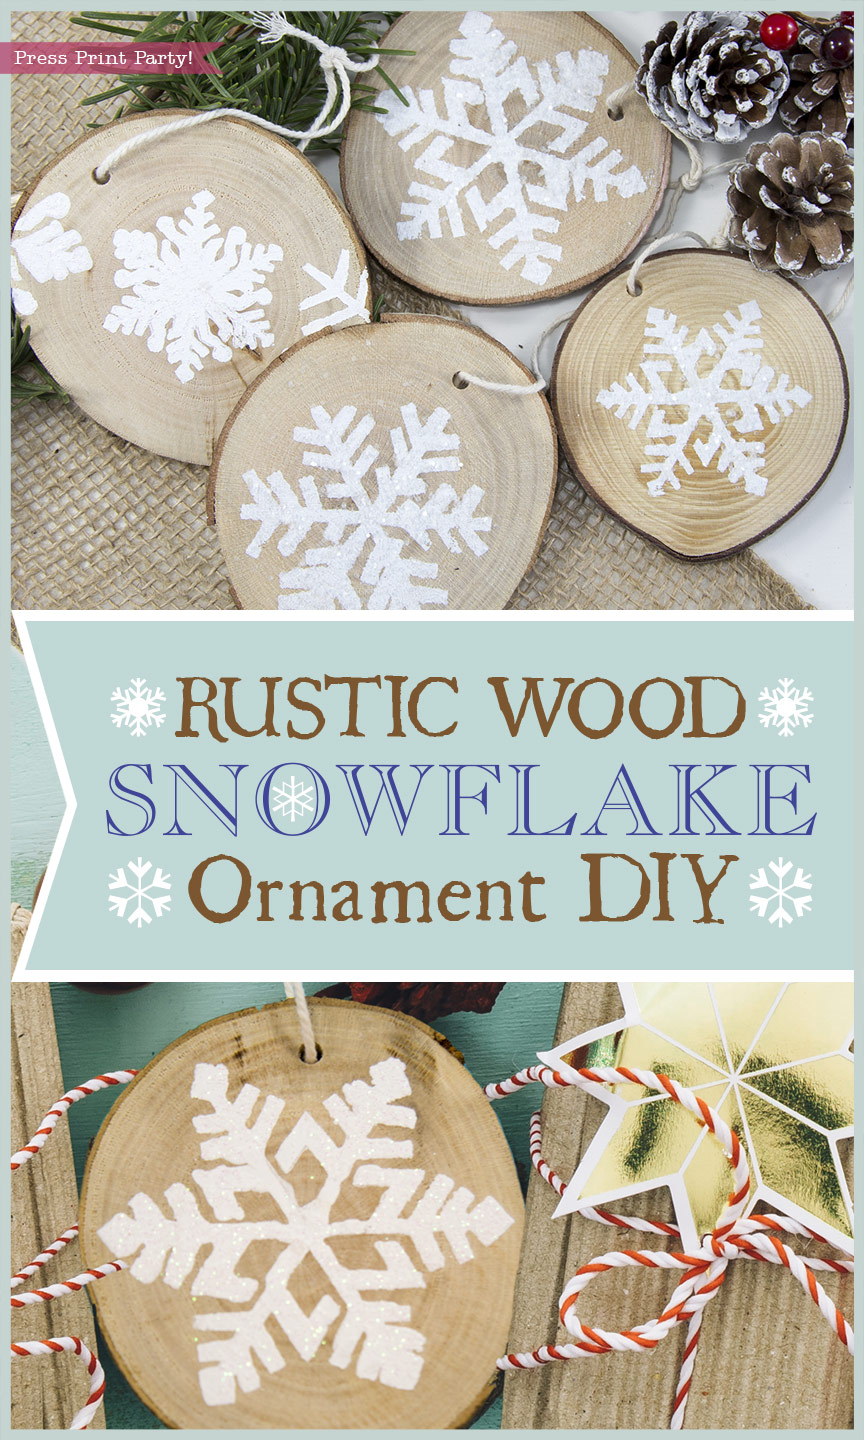
Rustic wood snowflake ornament DIY
We have a tradition in our family where we make a new Christmas ornament each year.
My kids love to remember each ornament as they haphazardly put them up on the tree.
This year, we had a fabulous winter themed Vacation Bible School (in the hot California summer) where we taught the kids how to make these terrific and easy wood snowflake ornaments.
This post may contain affiliate links at no cost to you, so you know where to get all this cool stuff.
Materials
- Wood rounds with a small hole for hanging – 3-4 inches work great. If you have a chop saw you can make your own, if not, you can find them on Amazon.
- White craft paint
- Make-up sponge
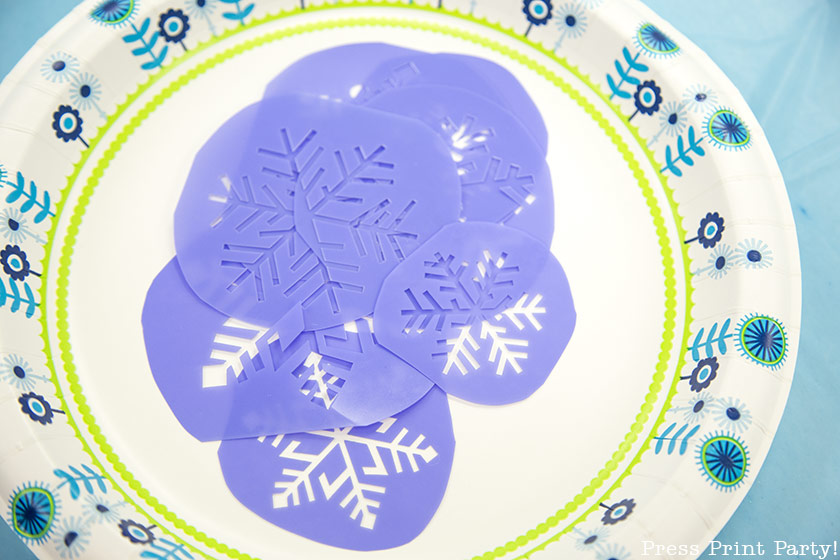
- Snowflake stencils
- Glitter
- String
- Clear wood finish spray
Instructions
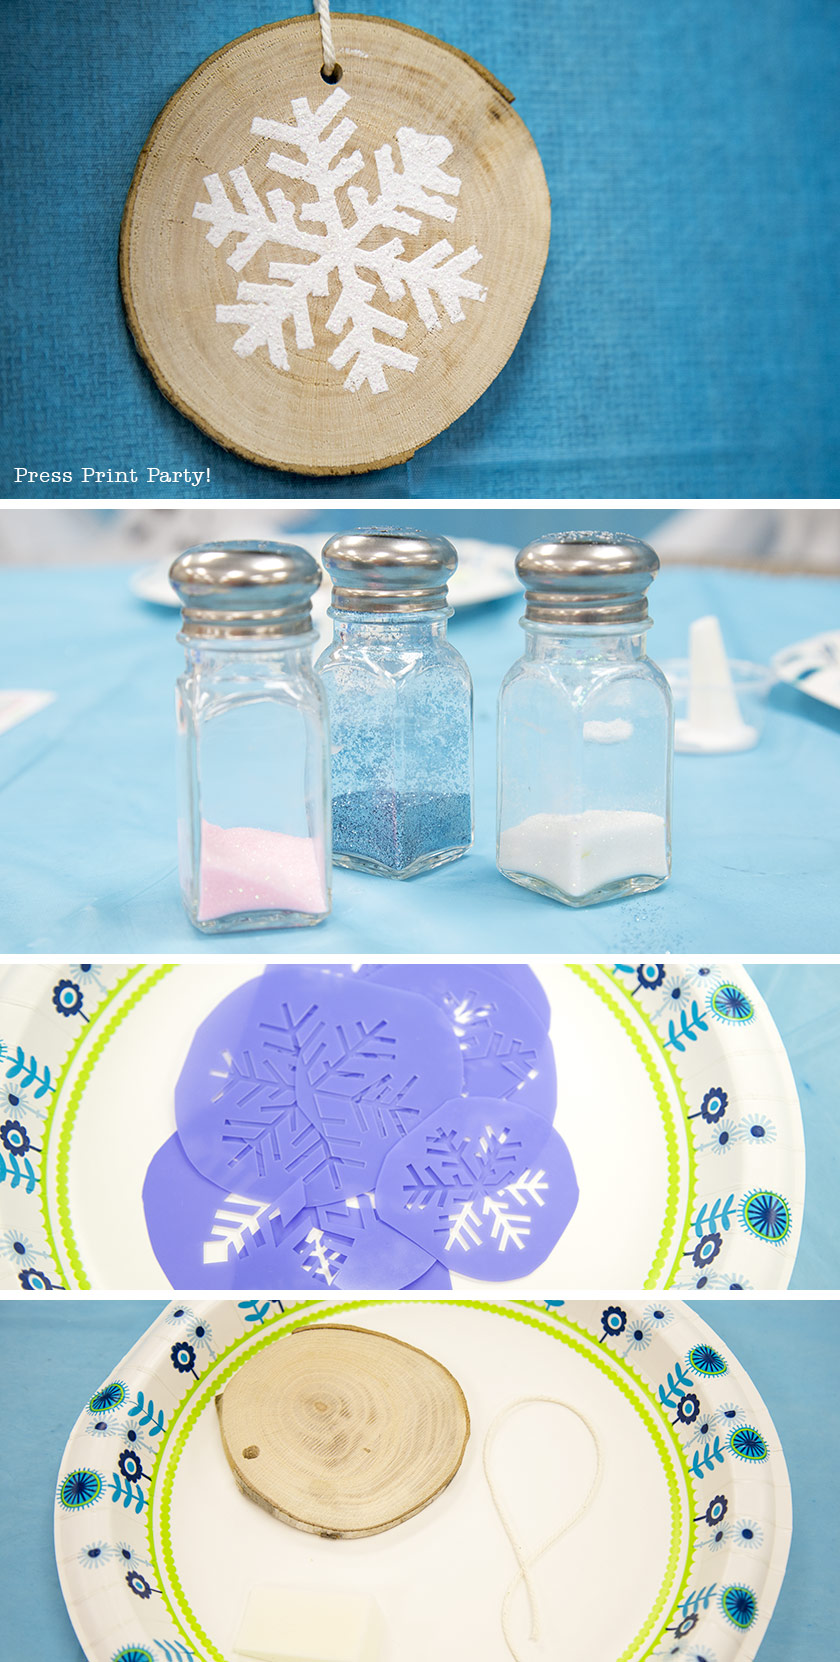
The whole thing is pretty simple really. We cut the stencils into individual snowflakes to make it easier for the kids to use.
Place the stencil on the wood round. Use the make-up sponge to dab the paint. Remove the stencil.
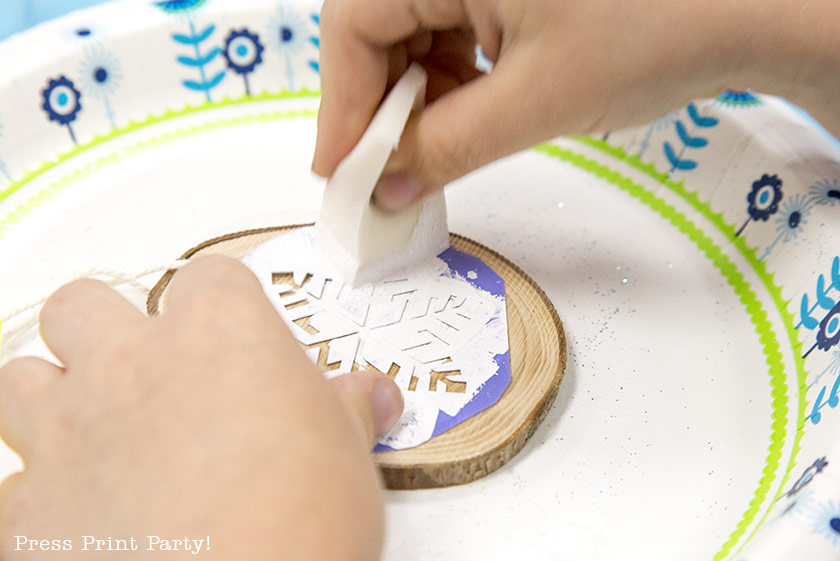
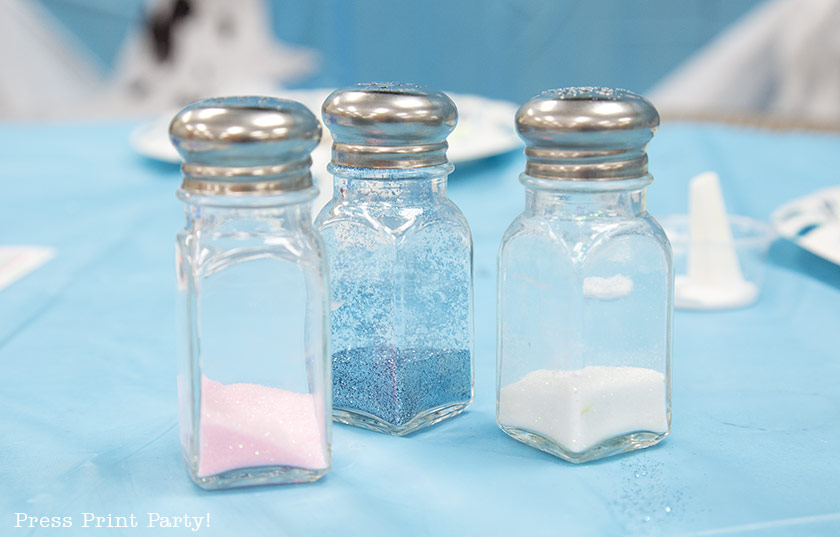
Before the paint dries, shake the glitter on it. You can use all kinds of glitter colors. We chose white, pink and blue to give the kids a choice. These salt shakers were perfect to shake the glitter.
Let dry. Do the same to the other side if you wish. Spray a clear wood finish and let dry. Add the string and enjoy!
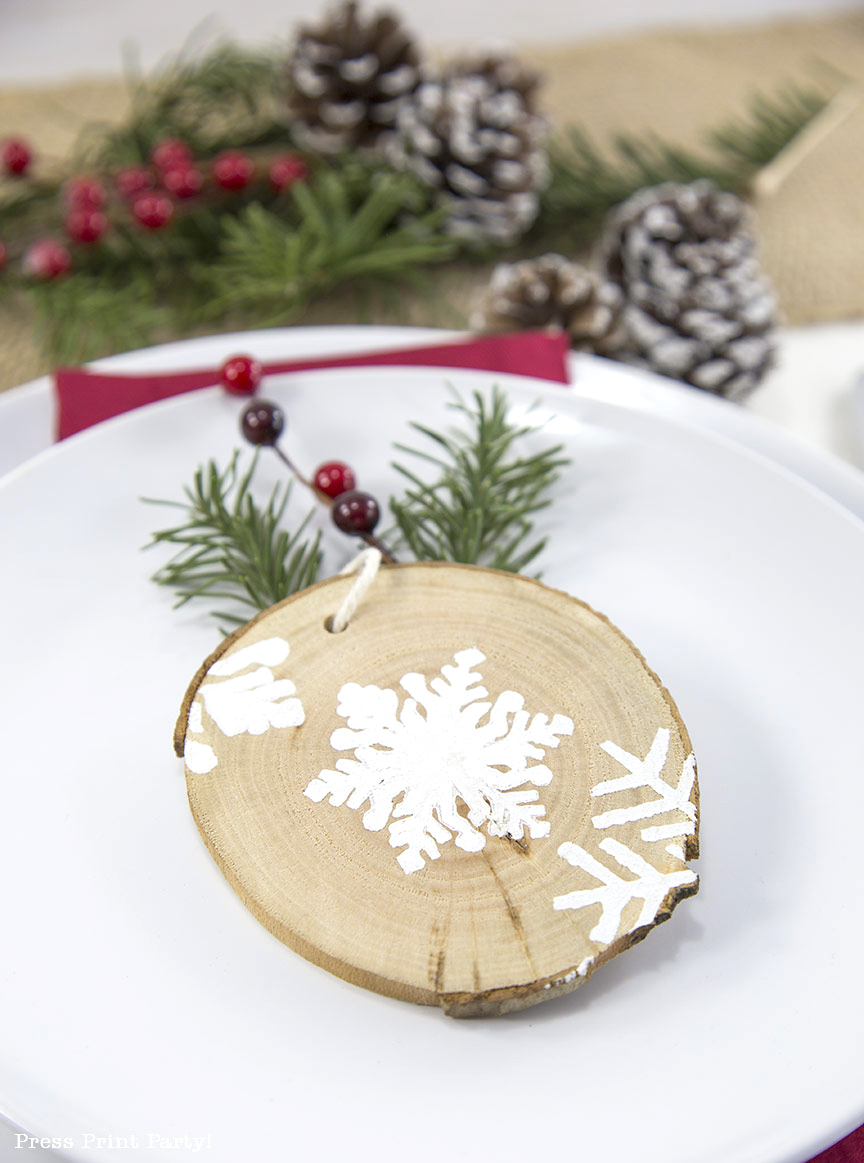
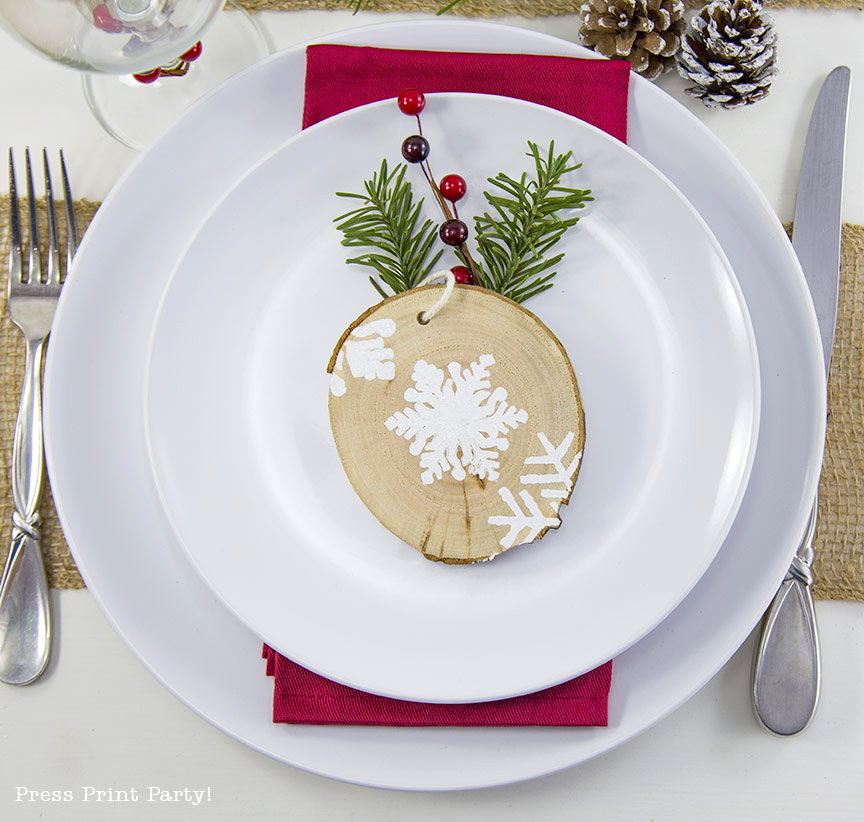
These rustic wood snowflake ornaments make quick and beautiful little gifts for your guests or tags for presents too!
Continue on to the talented Bri of Halfpint Party Design for more holiday party fun!


Don’t forget to pin these Wood Snowflake Ornament:
I would love to have you come share with Create-it Link party https://tryit-likeit.com/link-party-it/
These are so pretty!
Thank you!
How gorgeous are these ornaments. The perfect accessory for the tree or garland banner. So inspired!
Thank you Lisa, I have several on my tree right now and they look great!
This is such a beautiful idea!!! Tank you for all the inspiration!!
Thank you for your kind words.
Oh I love this sweet project!! It’s so natural and beautiful!!
Thank you Lori! It’s simple but beautiful!
Nathlie, these DIY wood snowflake ornaments are so festive! I can’t believe how easy they are to make! I have a bunch of round wood coasters that I’m going to use for this tutorial! XOXO, Sarah
Go for it Sarah!
These are so beautiful! And, I love the sparkle you added to them!
Sparkle is a must for Christmas 🙂
These wood slices are some of my favorites! I might need to add a chop saw to my wish list! What a great idea for place cards, favors, ornaments, and gift tags! So so fun. The rustic look works perfectly with my own home decor….better get moving.
Chop saws are so much fun! All the wood tools in the garage are mine not my hubby’s 🙂
I have some wood logs at home and am loving this idea! 🙂
Go for it! You’ll have a bunch of ornaments to give out in no time!